Introduction
Sitting at the top of Samsung’s line-up of premium smartphones, the Galaxy S21 Ultra was announced in January 2020. Aimed more squarely at photographers than Samsung’s Note series, it features a quad-camera setup and a number of other features which should directly appeal to those concerned with camera quality.
It’s a follow on from last year’s S20 Ultra, with some similar specifications, and some which are new for the latest model. The most important and obvious difference is the addition of an extra camera unit, so there’s now a quad-camera setup on the back of the S21 Ultra.
You get an 108MP wide-angle standard lens, joined by a 12MP ultra-wide, and two 10MP telephoto lenses – one offering a 3x zoom, and the other offering a 10x. There is also a 40MP front-facing camera.
Other differences include a slightly smaller screen (but which has been improved in other ways – we’ll go into more detail as we progress through the review) and compatibility with an S Pen Stylus. Not every change is necessarily positive – there’s now no longer a Micro SD card slot, nor do you get a charger included in the box.
Additional relevant features include 8K video recording, a 5000mAH battery, and 5G connectivity.
On the plus side, the S21 Ultra retails for cheaper than the S20 Ultra did at launch. At the time of writing, the Samsung Galaxy S21 Ultra will set you back £1,149 for the minimum storage space option (128GB), rising up to £1,329 for the largest (512GB).
Ease of Use
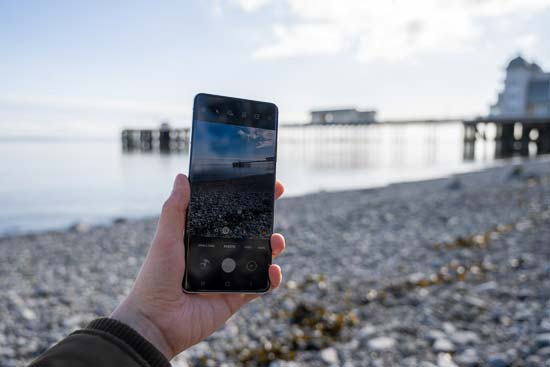 |
Although the Galaxy S21 Ultra is fractionally smaller than its predecessor, the S20 Ultra, with a 6.8inch screen, the S21 Ultra is certainly one of the larger phones on the market – some might even go so far as to call it a “phablet”.
The benefit of such a large screen is that your videos and images look fantastic on it, but it does make using the phone as an actual phone a little tricker than those with a smaller overall body.
The screen, although smaller, has seen some improvements when comparing it with the S20 Ultra. It’s now brighter and has a faster refresh rate, plus there’s an Eye Comfort Shield which is designed to reduce eye fatigue.
It’s worth mentioning at this point that the display takes up almost the entirety of the front panel, with just a tiny cut out for the front-facing camera – there’s no notch here, such as you might find with the likes of the iPhone 12 Pro.
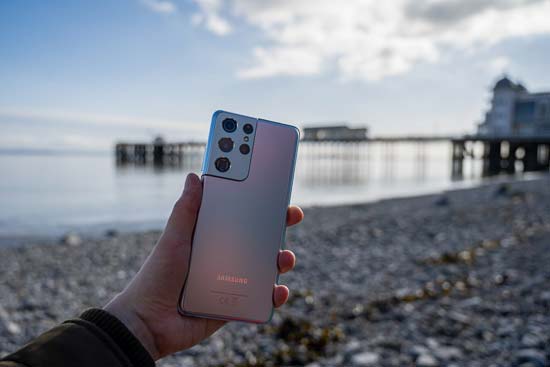 |
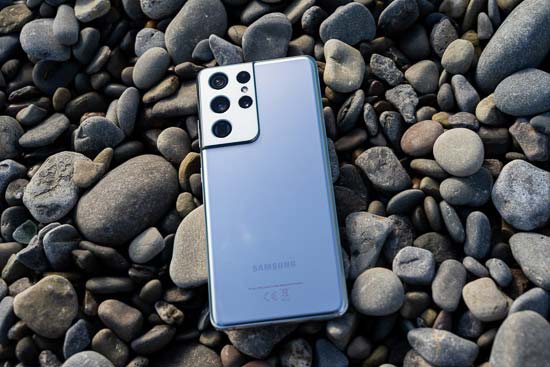
The overall design is very sleek and stylish, while there’s a few different colours to choose from – some are exclusive to the Samsung online store. We’ve been using the Phantom Silver colour way, which has a lovely sheen to it. There’s also Phantom Black, Titanium, Navy and Brown available.
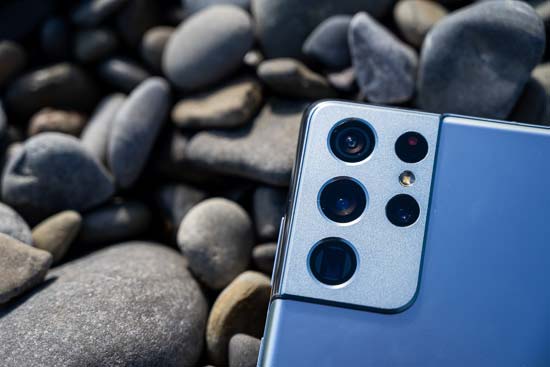
Flip to the back of the phone and you’ll see the large camera bump, which now houses four selectable lenses. Although it protrudes from the back of the phone, it’s smaller than that on the S20 Ultra, so that’s a slight improvement.
It’s best if you opt to use the phone with a case which will flatten out the back of the phone, which will mean it will then lay flat on a hard surface.
As is pretty common for most modern smartphones, the number of physical buttons found on the S21 Ultra is very few. Indeed, there are just two found on the right hand side of the phone, which are used to wake the screen and for controlling volume, or, if in the native camera app, you can use the volume buttons to take a shot.
 |
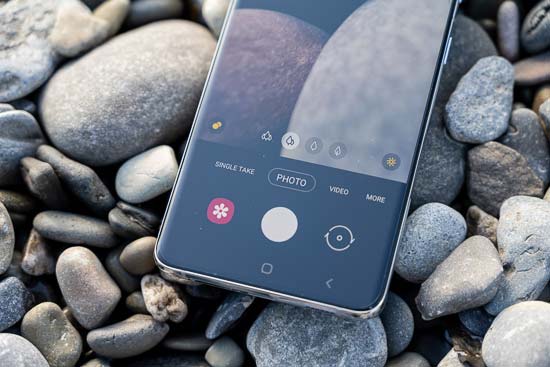
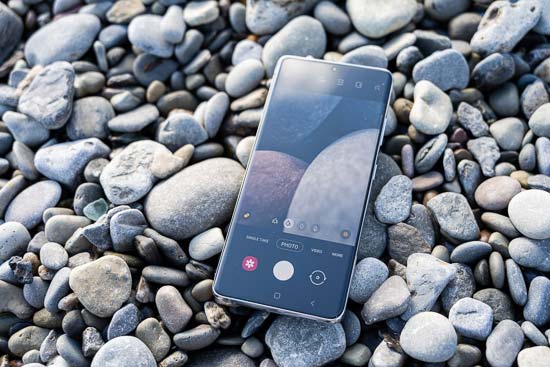
The native camera app can be launched by swiping up from the bottom right hand corner of the lock screen. As we’ve seen before from other Samsung models, the S21 Ultra’s native camera app is very well featured, giving you a good range of different shooting options which should match the needs of most users.
By default, the app launches in the standard ‘Photo’ mode. This is probably the mode that most will use for the majority of the shots, and it’s where the phone makes all of the most important decisions for you, leaving you free to concentrate on framing and composition.
At the bottom the main camera window, you’ll see your options for switching between the different lenses that the S21 Ultra offers. The different zoom options are represented by trees / leaves – meaning the ultra wide angle is represented by three trees, the standard lens, two trees, the 3x zoom a single tree, and finally the 10x zoom, a leaf.
Once you tap on any of these options, you’ll also see numerical options appear at the bottom of the screen, giving you 0.6x, 1.0x, 2.0x, 4.0x, 10x, 30x and 100x. The 30x and 100x options are digital options. Alternatively, you can also pinch to zoom in and out of the screen to adjust the zoom ratio.
 |
Also displayed within the main window is the scene optimiser icon, which you can tap to switch on or off. It’s worth leaving this on most of the time, but if you’re finding that colours are going a little overboard, switching it off can be helpful.
At the top of the screen, you’ll see a number of icons. The first is a cog icon, which you can use to change a number of different settings, including switching on/off Auto HDR, enabling location tags, video stabilisation and so on – essentially any setting which you’re not likely to be changing on a regular basis. The options displayed in this menu change depending on the shooting mode you’re in, however, so you’ll see different choices if, for example, you’re in Pro mode.
The next icon is the flash icon, which you can tap to switch the flash on, off or switch it to automatic. Note that you can’t use flash when working with the ultra-wide-angle lens. Next up is a timer, giving you options of 2 seconds, 5 seconds, 10 seconds, or off.
Then there’s aspect ratio, where you can choose between 3:14, 9:16, 1:1 or “Full”. It’s also here that you can select an 108 megapixel mode if you’re using the main sensor – by default images are output at 12 megapixels, so only switch this on if you really want the full resolution.
 |
Next you can switch on “Motion pictures”. This is where a short video clip is recorded alongside a still image. Lastly there’s an icon which looks like a magic wand, where you’ll find a selection of filter options.
If you want to use a different shooting mode, you’ll find all of these at the bottom of the main camera window. To the left of Photo mode is “Single Take”. This is a fun mode, particularly at a social event or during a day trip.
With it you can take a variety of different shots and videos with just a single press of the shutter. Move the phone around the scene to capture lots of different clips and shots, and then play them back later.
To the right of the Photo mode is “Video”. With this mode, you can record at up to 8K resolution. There are different options depending on the resolution you choose. If you shoot at 4K (UHD), for example, you can record with each of the four lenses.
 |
Meanwhile, if you elect to record in 8K, you can only use the standard lens – while a crop is also applied. Full HD (1080) similarly gives you access to all four lenses. “Super Steady” is an option which you can elect to activate if you want to record ultra smooth video, but you can only shoot with this in Full HD.
Again, if you tap on the cog icon, you’ll be presented with a number of different more advanced options. Finally, you’ve also got the option to record video at either 9:16, 1:1 or Full.
For more modes, head to the right of Video and tap “More”. Now you’ll be shown a whole host of additional shooting modes, for both stills shooting and video. You’ve got options here such as Panorama, Food, Super-Slow Mo, Hyperlapse and more. Particularly interesting are the Pro, Night, Portrait and Pro Video modes, which we’ll explore in more depth.
The Pro mode is arguably the one that enthusiasts will be most drawn towards. With this, you get a large degree of control of your shots, being able to change parameters such as ISO, shutter speed, exposure compensation, AF type, white balance and more. It’s a shame you can only shoot with the standard and ultra-wide lenses when using this mode, but otherwise it’s a good option.
 |
It’s also this mode you’ll need to use if you want to record raw format images – something which you’ll need to activate from the cog menu (find it under Format and advanced options). If you switch on raw format shooting, both a JPEG and a DNG file will be captured simultaneously.
Night mode should be activated automatically if you’re shooting in low light conditions, but you can also switch it on from this section of the app too. Night mode can be used with all four lenses, and you can also combine it with a timer.
The mode works by shooting a number of frames and then combining them together, to give the same effect as shooting a longer exposure. It will choose how long to gather those frames together for automatically, but you can also select a “max” option where it will record for longer – that’s particularly handy if you’ve got something to stabilise the phone on, or are using a tripod.
Portrait mode is fairly self-explanatory, though you are able to use it with subjects other than people if you wish. With this mode, you’ll be creating a shallow depth of field, using either the main camera or the telephoto camera. To use it, you’ll need to tap on the subject within your frame – you need to be a certain distance from the subject, with a warning displayed on screen if you’re too close – or too far away.
 |
You can choose different portrait effect modes, including High-Key Mono and Studio. If light is low, you can mix Portrait and Night mode together. A Portrait Video mode is also available, where you can create high resolution video with a shallow depth of field effect.
Finally, the Pro video mode is likely to be of interest to content creators and vloggers. Similar to the Pro photo mode, with this you can adjust settings such as ISO, shutter speed, exposure compensation and white balance. You can also choose different microphone settings, as well as attaching an external mic if you prefer. In this mode you can shoot at a variety of different resolutions, all the way up to 8K.
Although the Galaxy S21 Ultra doesn’t come with a stylus including – such as you’ll find with Samsung’s Note 20 Ultra – it is compatible with one. That means you could buy one separately and use it for certain functions, including triggering the camera’s shutter remotely.

