Camera Review
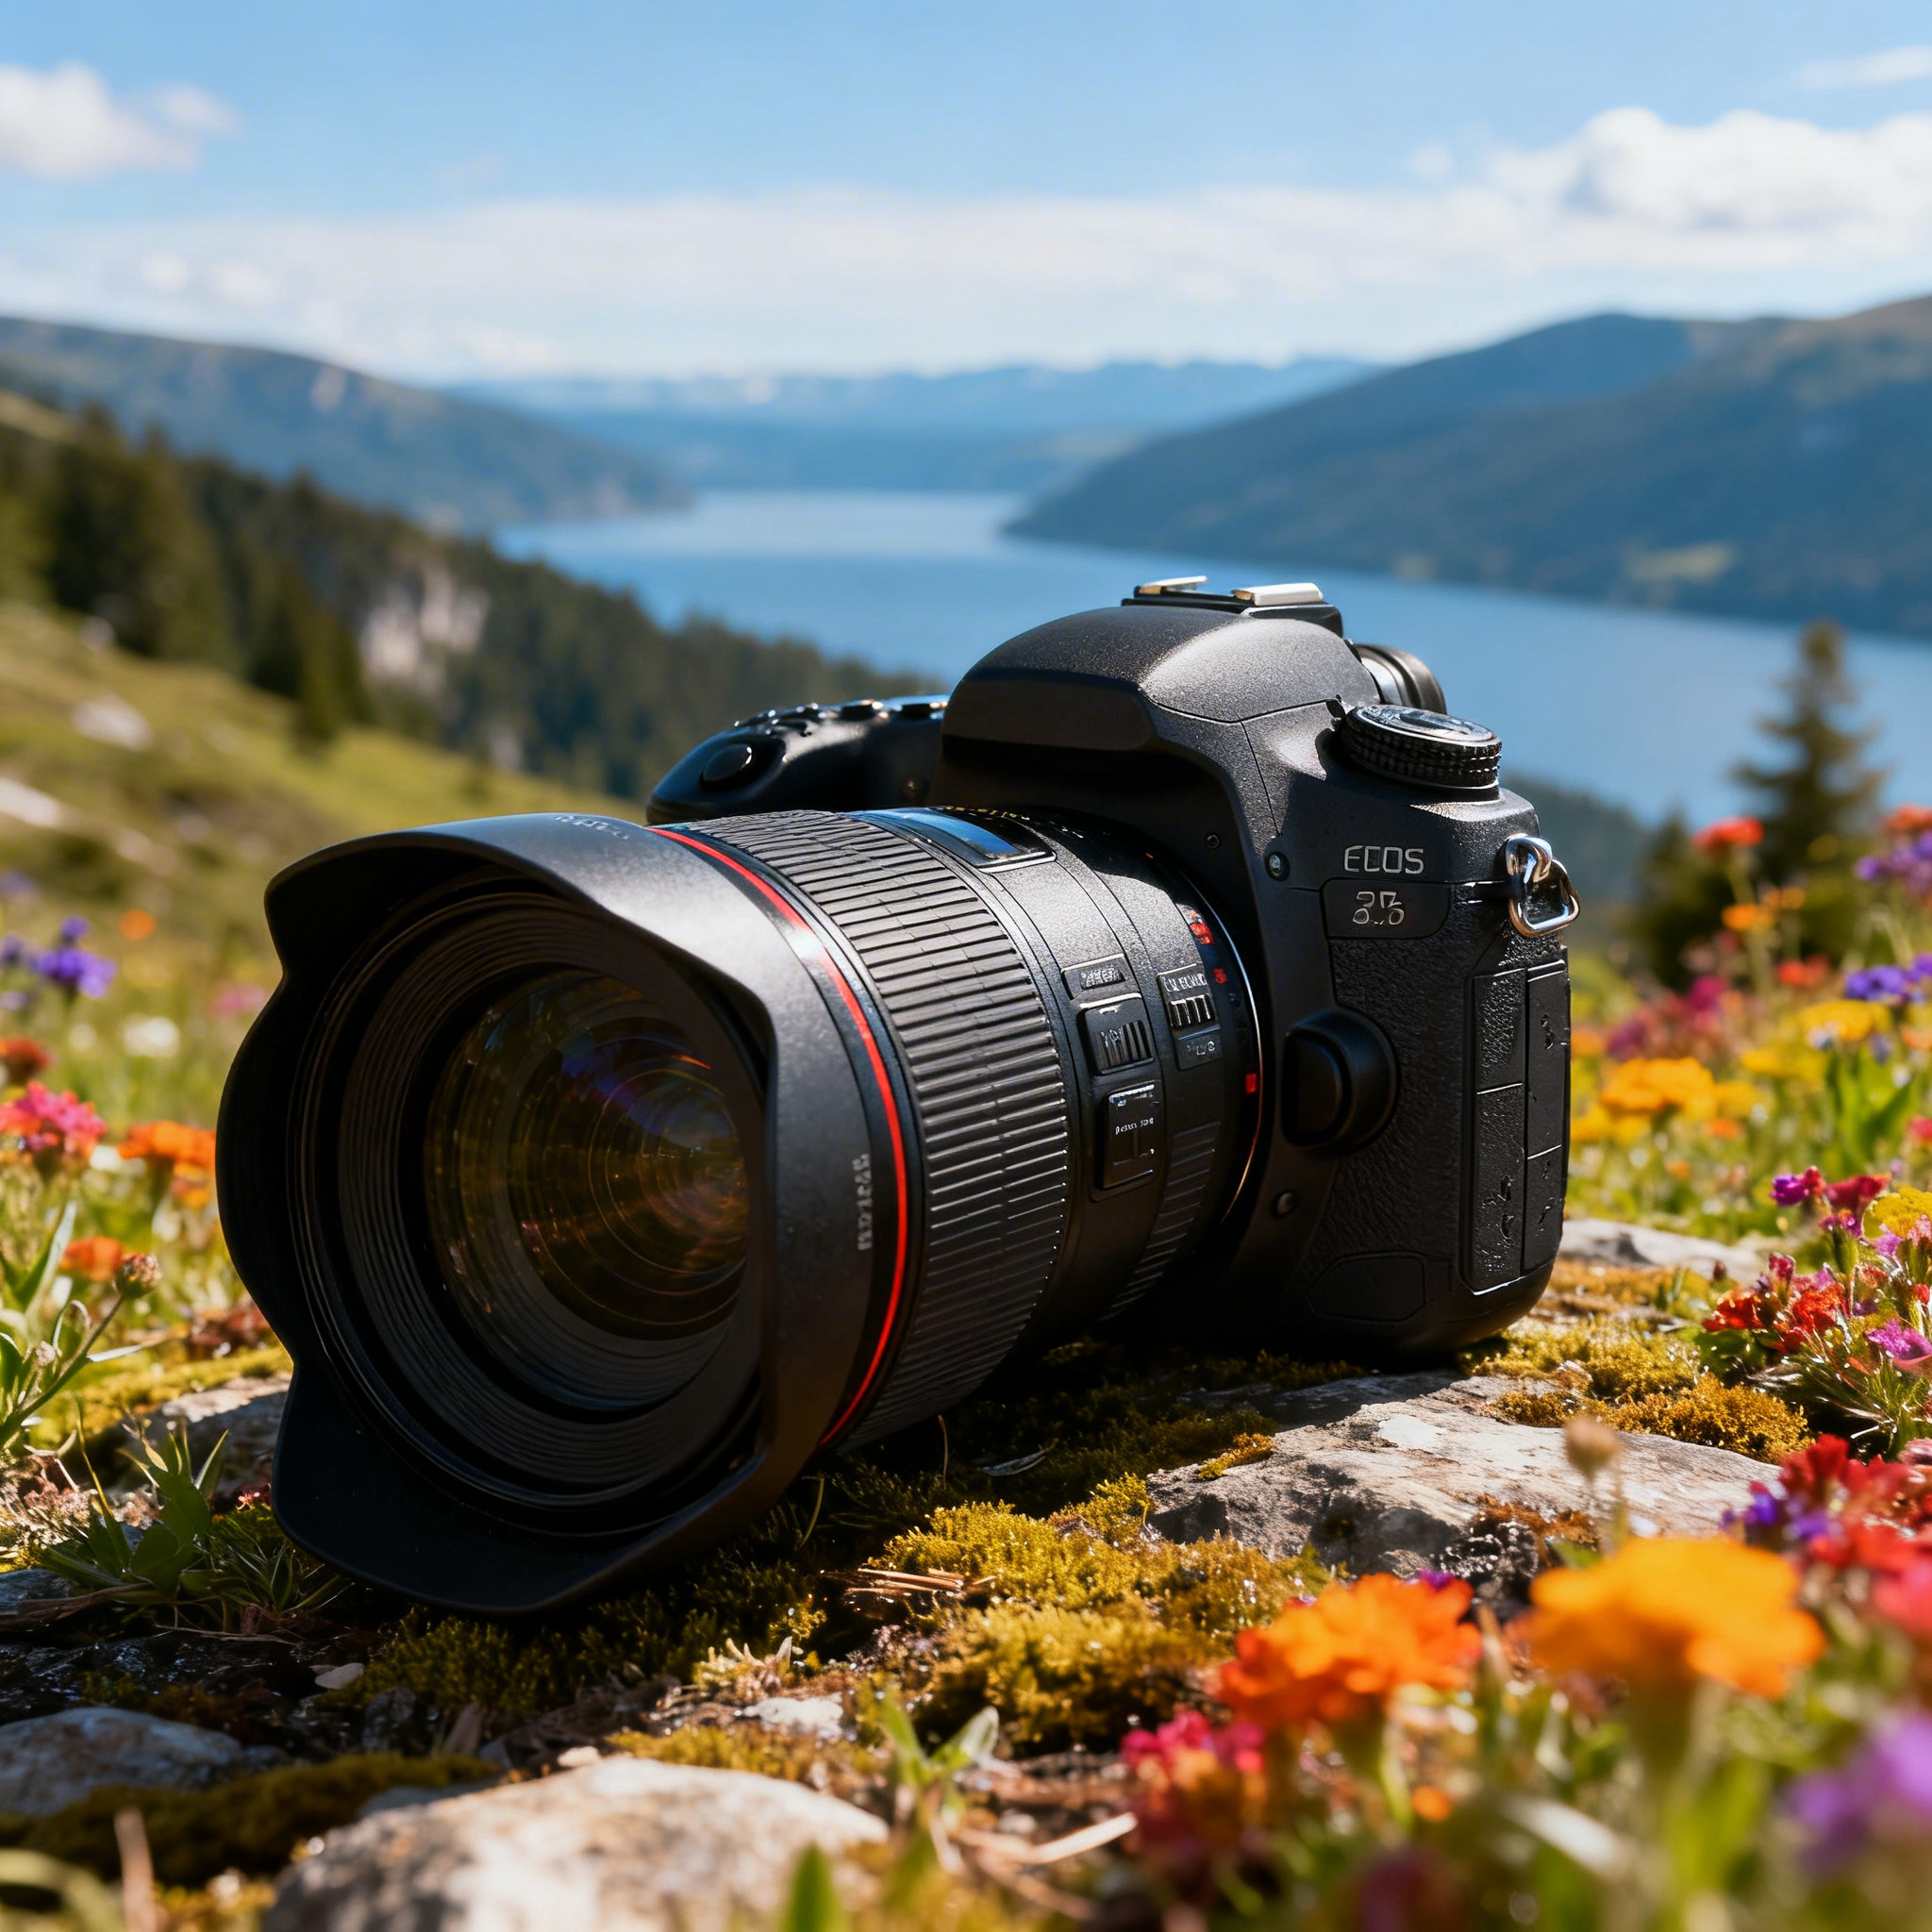
Canon EOS R6 Mark III Review: Complete Performance Test
In-depth Canon EOS R6 Mark III review covering image quality, autofocus, video specs, and real-world performance. See if this mirrorless camera delivers.
Read MoreExpert reviews, in-depth comparisons, and buying guides for digital cameras and lenses. Find the perfect gear for your photography journey.

Discover the top cameras under $1000 in 2026. Our expert buying guide reviews the best budget-friendly DSLRs and mirrorless cameras for every photographer.
Read Article In-depth Canon EOS R6 Mark III review covering image quality, autofocus, video specs, and real-world performance. See if this mirrorless camera delivers.
Read More
Discover the top full frame mirrorless cameras of 2026. Expert reviews, specs comparison, and buying guides to help you choose the perfect camera.
Read More
Master flash photography with expert tips on techniques, settings, and equipment. Learn to create stunning photos in any lighting condition with our step-by-step guide.
Read More
Master night sky photography with our complete guide. Learn camera settings, equipment tips, and techniques for capturing stars, galaxies, and more.
Read More
Compare Sony A7C II vs Nikon Zf full-frame cameras. In-depth analysis of specs, performance, image quality, and value to help you choose the best.
Read More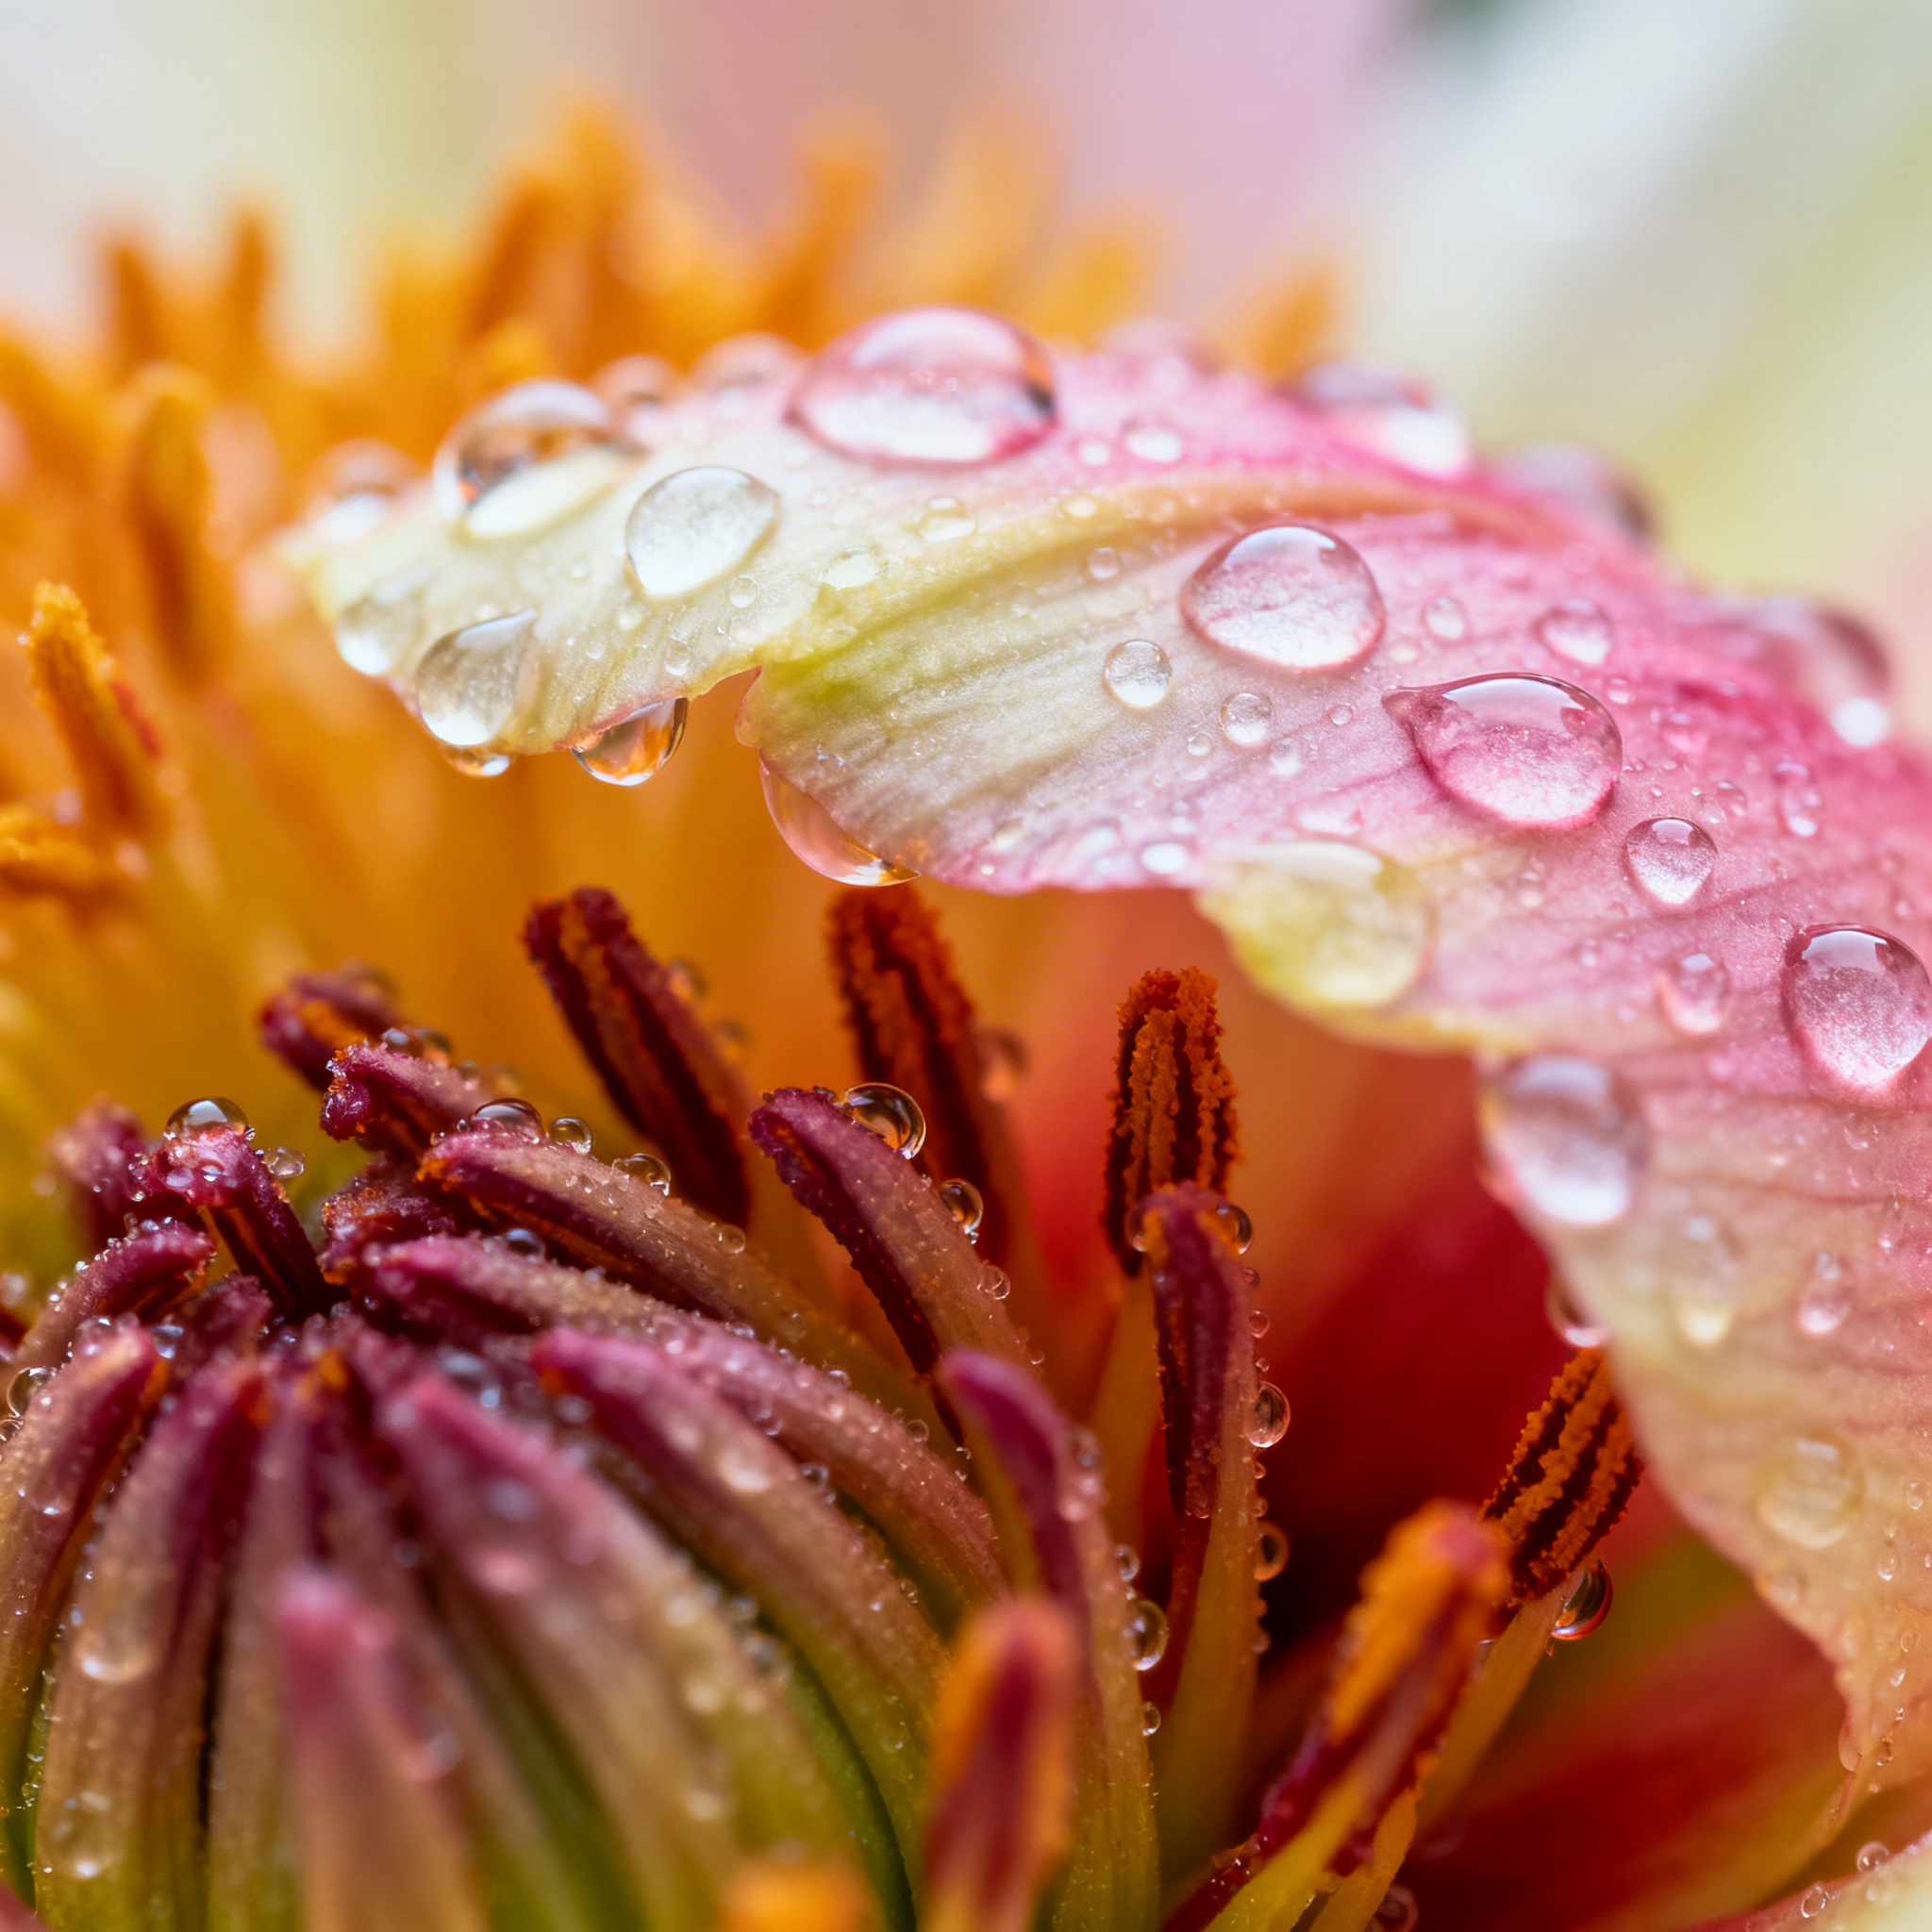
Master macro photography with expert techniques for sharp, stunning close-ups. Learn lighting, focus stacking, and composition tips to elevate your work.
Read MoreGet the latest camera reviews, comparisons, and exclusive deals delivered to your inbox.
Browse All Articles