
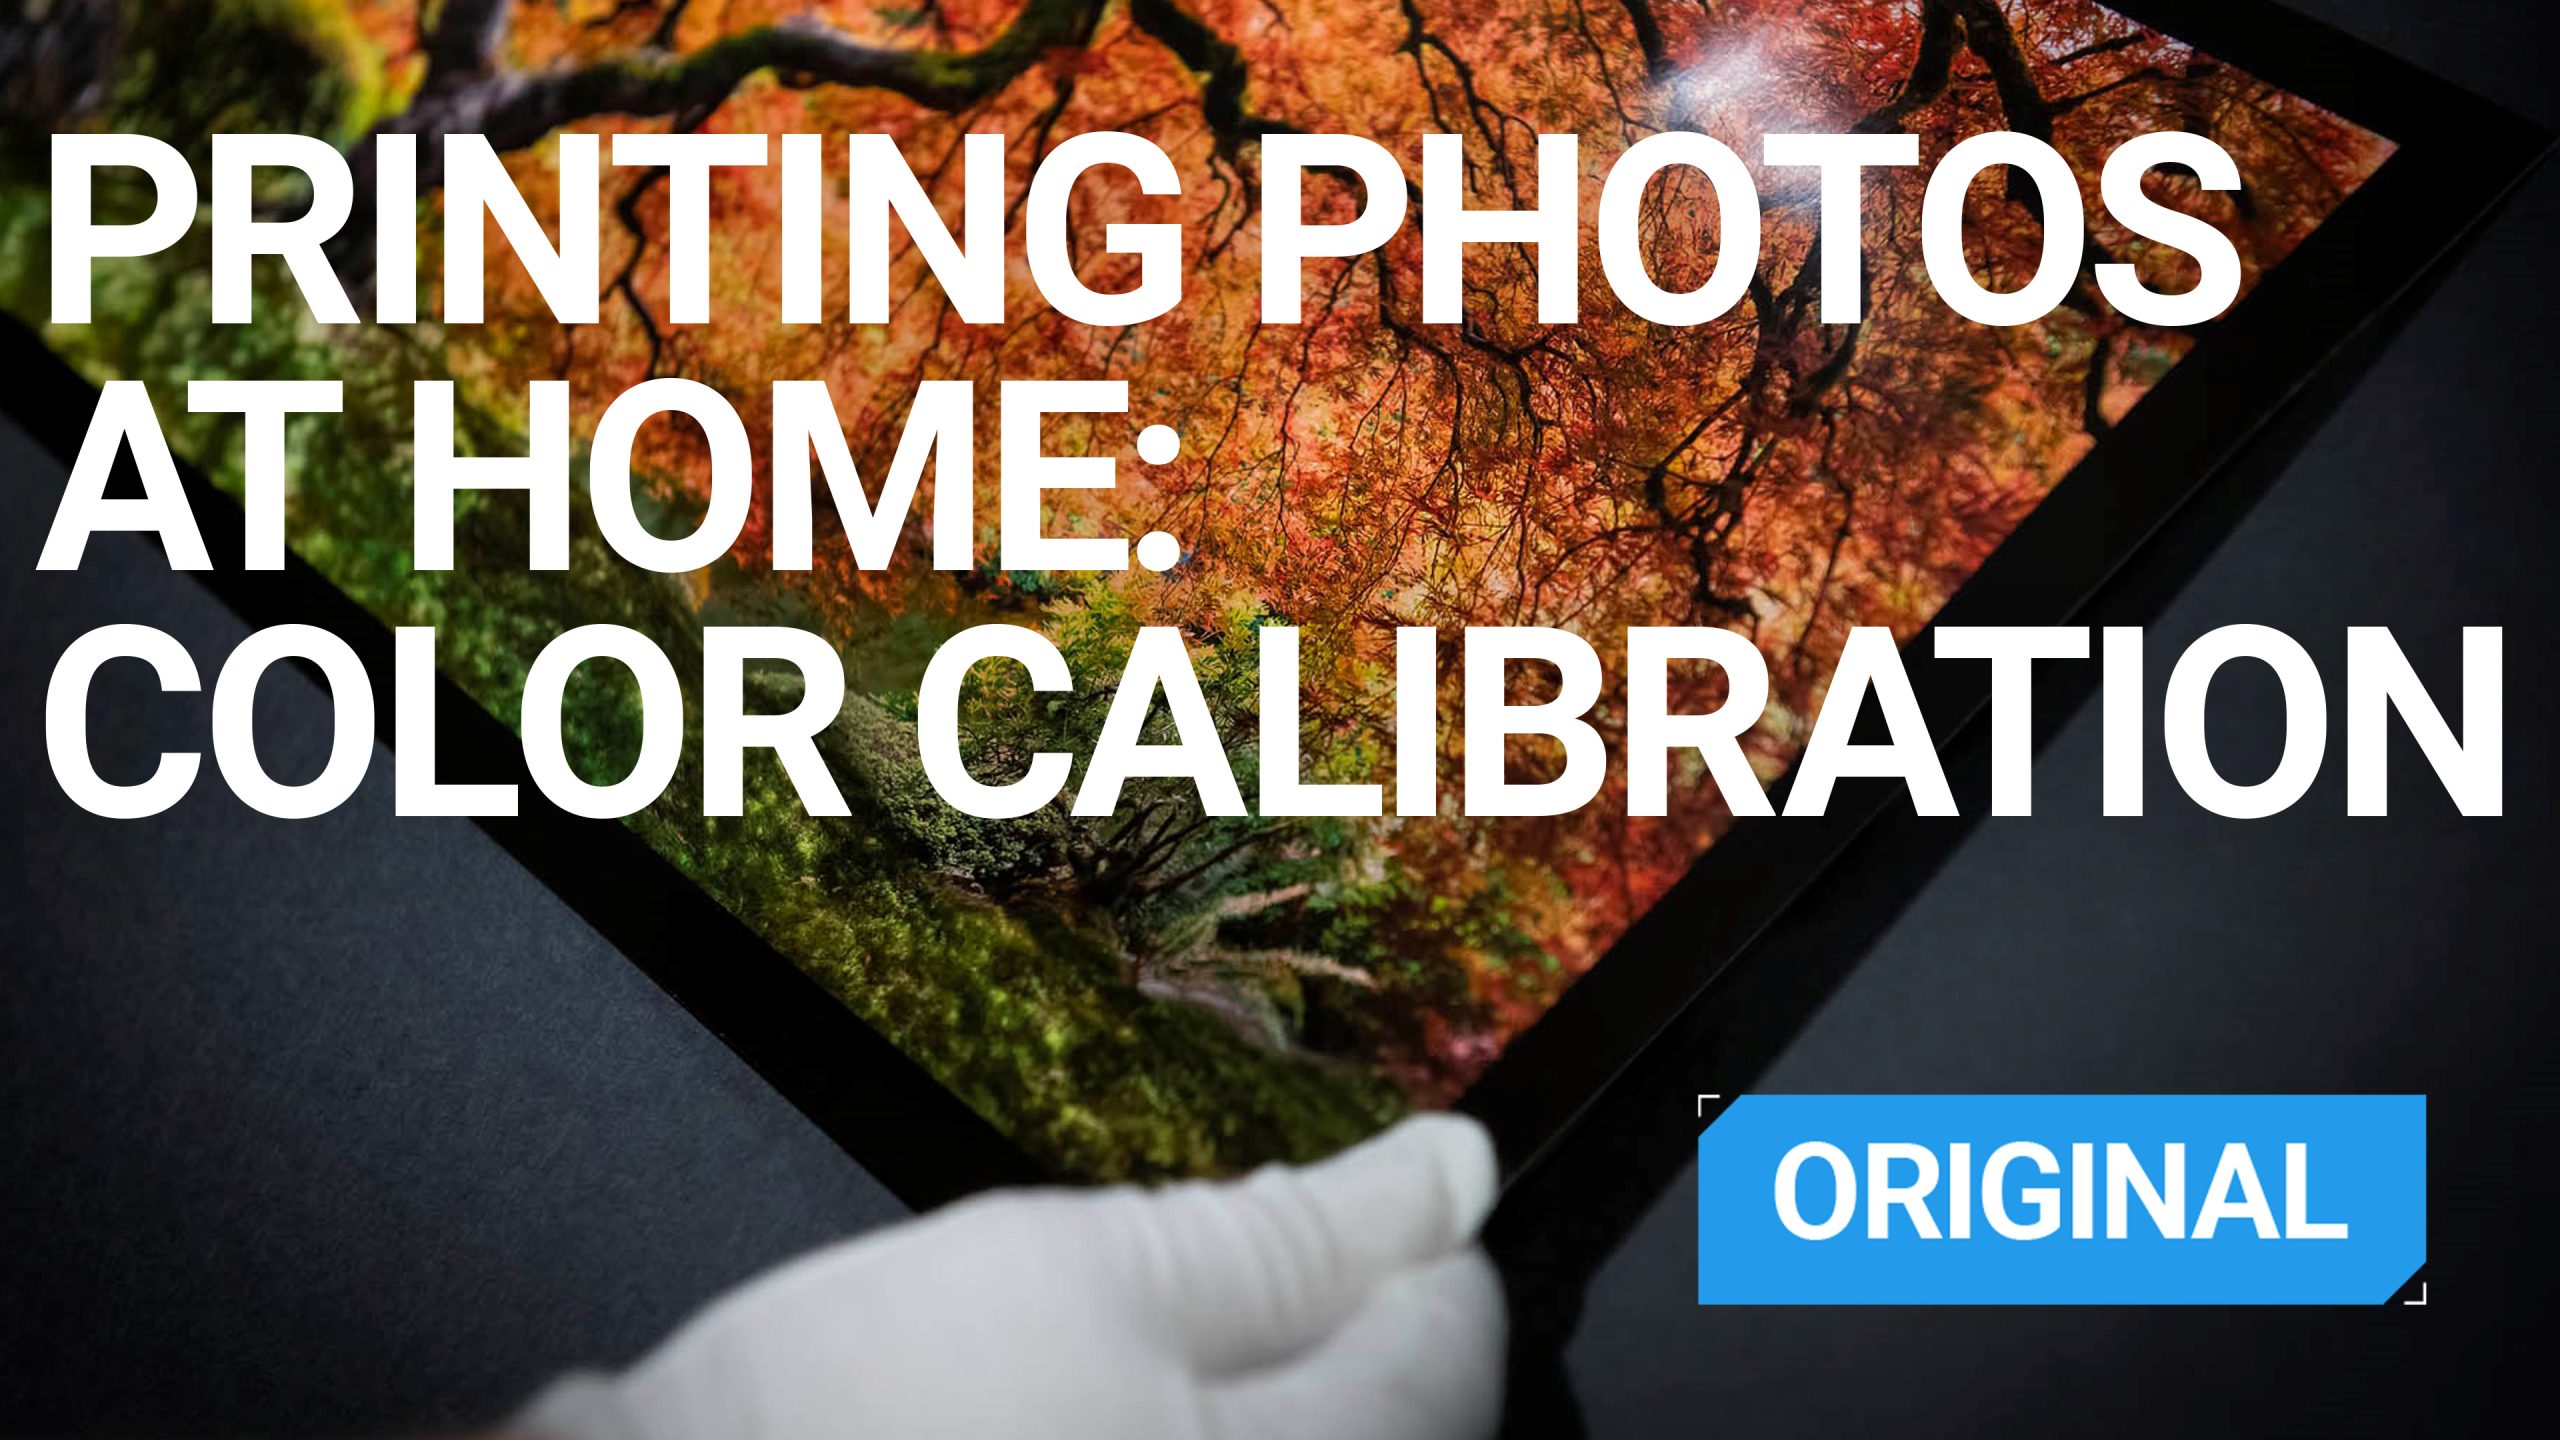
In the world of photography, color is everything. Whether you’re a professional or an enthusiast, ensuring that the colors in your prints match what you see on screen is essential for achieving the best possible results. Color calibration and accuracy are crucial when printing photos at home on a color inkjet printer. Without proper calibration, your prints may not reflect the vibrant colors you see on your monitor. This guide will walk you through the essential steps to ensure you optimize your home printing setup for color accuracy.
What is Color Calibration?
Color calibration is the process of adjusting your printer, monitor, and other color-related devices to ensure that they produce consistent and accurate colors. When a printer is calibrated, it matches the color profile of the monitor, so what you see on-screen is what you get on paper. This is important because colors on different devices can appear differently due to varying color gamuts, contrast levels, and lighting conditions.
Key devices involved in color calibration:
- Monitors: Your display device is the first step in seeing accurate colors.
- Printers: Ensures the printed colors are true to what you see on-screen.
- Scanners: For digitizing prints or artwork, accurate color calibration ensures consistency.
[Related Reading: Get Started with Home Photo Printing: Choosing the Right Printer and Setting Up Space.]
The Importance of Color Accuracy
Color accuracy is not just about pleasing aesthetics—it’s about ensuring that your images are represented correctly. For photographers and artists, accurate color means that the photo printed on paper will mirror what they saw during the editing process. Whether it’s for personal prints, a professional portfolio, or selling art, color accuracy ensures your audience views your work as you intended.
If the colors are off, prints can end up looking too warm, too cool, or even washed out compared to what you see on your screen. This can create confusion, frustration, and a lack of trust in your printing process.
By ensuring proper calibration, you’ll gain:
- Consistency in prints, reducing the likelihood of unexpected color shifts.
- Better client satisfaction by providing prints that match their expectations.
- Time savings by reducing the number of trial-and-error prints.
[Related Reading: Selecting the Best Photo Paper for Printing]
Calibrating a Printer for Accurate Color
Calibrating a printer is one of the most critical steps in achieving color accuracy in your prints. Unlike monitors, which use a software-based calibration process, printers require a more hands-on approach. Printer calibration typically involves adjusting the printer’s settings and creating a custom color profile that matches your specific printer model and ink.
1. Use the Right Printer Profile
Before you start printing, ensure you’re using the correct ICC profile for your printer and the type of paper you’re using. ICC (International Color Consortium) profiles are designed to ensure color consistency across devices. These profiles provide the printer with the necessary information about how to handle colors in a print job based on the paper type, ink, and other variables.
Many printer manufacturers provide their own ICC profiles, or you can find profiles for third-party papers. Make sure that you’ve installed the profile and selected in your printing software before printing.
2. Use High-Quality Paper
The type of paper you print on has a huge impact on the final result. Different papers absorb ink differently, which can alter the way colors appear on the print. To ensure the most accurate results, use high-quality paper designed specifically for inkjet photo printing. Make sure to set the paper type correctly in your printer settings to avoid unnecessary color shifts.
3. Print a Test Image
Once you set your ICC profile, print a test image using a standardized color chart or photo that contains a variety of colors. This allows you to compare the printed colors to the reference image. You may need to adjust the printer’s settings, such as brightness, saturation, and contrast, to fine-tune the colors.
How to Make Sure Your Monitor is Color Accurate
Your monitor is your window into the digital world of color. If you haven’t calibrated your monitor properly, you could be editing photos based on inaccurate color displays, leading to prints that don’t match your expectations. Here’s how to make sure your monitor is color accurate:
1. Use a Hardware Color Calibration Tool
One of the most effective ways to ensure your monitor is color accurate is by using a hardware calibration tool. These devices, such as the X-Rite i1Display or Datacolor Spyder, measure your monitor’s output and adjust its color settings to match a standard color profile. The tool will create a color profile that accounts for the monitor’s color gamut and adjusts the display’s settings accordingly.
2. Adjust Your Monitor’s Settings
Before using a hardware tool, it’s a good idea to start with the basic monitor settings. Ensure the brightness is set to a comfortable level (typically between 100 and 120 cd/m² for photo editing), and make sure to adjust the contrast and color temperature properly. Most monitors have presets like “sRGB” or “Adobe RGB”—stick to these if you’re doing color-sensitive work.
3. Calibrate Regularly
Color calibration isn’t a one-time task. You should do it regularly, especially if you’ve moved your workspace, changed lighting conditions, or noticed any color drift. Monthly calibration is recommended to keep your monitor’s color accuracy at its peak.
Working with Color Profiles
Once both your printer and monitor are calibrated, the next step is working with color profiles. As mentioned, ICC profiles help ensure color consistency between your monitor and printer. These profiles tell your printer how to manage colors based on the settings on your monitor, so the colors you see while editing are translated accurately when printing.
When you export your files for printing, make sure you embed the correct ICC profile in the image. This ensures that the printer uses the right color data, and no colors are lost in the translation between devices.
The Workflow: From Editing to Printing
Once you calibrate both your monitor and printer, your workflow will become more streamlined and accurate. Follow these key steps when printing photos at home:
1. Edit Your Photos on a Calibrated Monitor
Ensure that the image you’re editing looks correct on your screen. Use the correct color space (sRGB for web or Adobe RGB for print) and make final adjustments to exposure, contrast, and color balance.
2. Embed the ICC Profile
When saving your image, make sure to embed the ICC profile you used for editing, ensuring color consistency when you print.
3. Select the Correct Printer Profile and Paper Type
In your printing software, make sure to select the correct printer profile, paper type, and quality settings. This step is crucial to match the colors from the screen to the print.
4. Print a Test Image
Print a small test image to check for color accuracy before doing a full print run. This way, you can adjust if necessary without wasting expensive paper.
Troubleshooting Common Color Issues
Even with all the right settings, color issues may still arise. Here are some common problems and solutions:
- Colors are too dark or too light: This can happen if the brightness on your monitor is too high or low. Check and adjust the brightness regularly to match your print output.
- Colors are too saturated or not vibrant enough: Try adjusting the printer settings, such as saturation and contrast, to better reflect the colors you see on your screen.
- Color shifts when switching papers: Different paper types can affect color output. Always ensure you’re using the correct profile for each paper type.
Conclusion
Mastering color accuracy and calibration is a key aspect of home photo printing that you cannot overlook. With the right tools and techniques, you can ensure that your prints are as accurate and vibrant as the images you edit on your monitor. Regular calibration of both your printer and monitor, along with the correct use of ICC profiles, is essential for achieving consistent, high-quality results. By following the steps outlined in this guide, you can improve your home printing workflow and create prints that reflect your creative vision with precision.
You will find examples of color calibration tables below:


