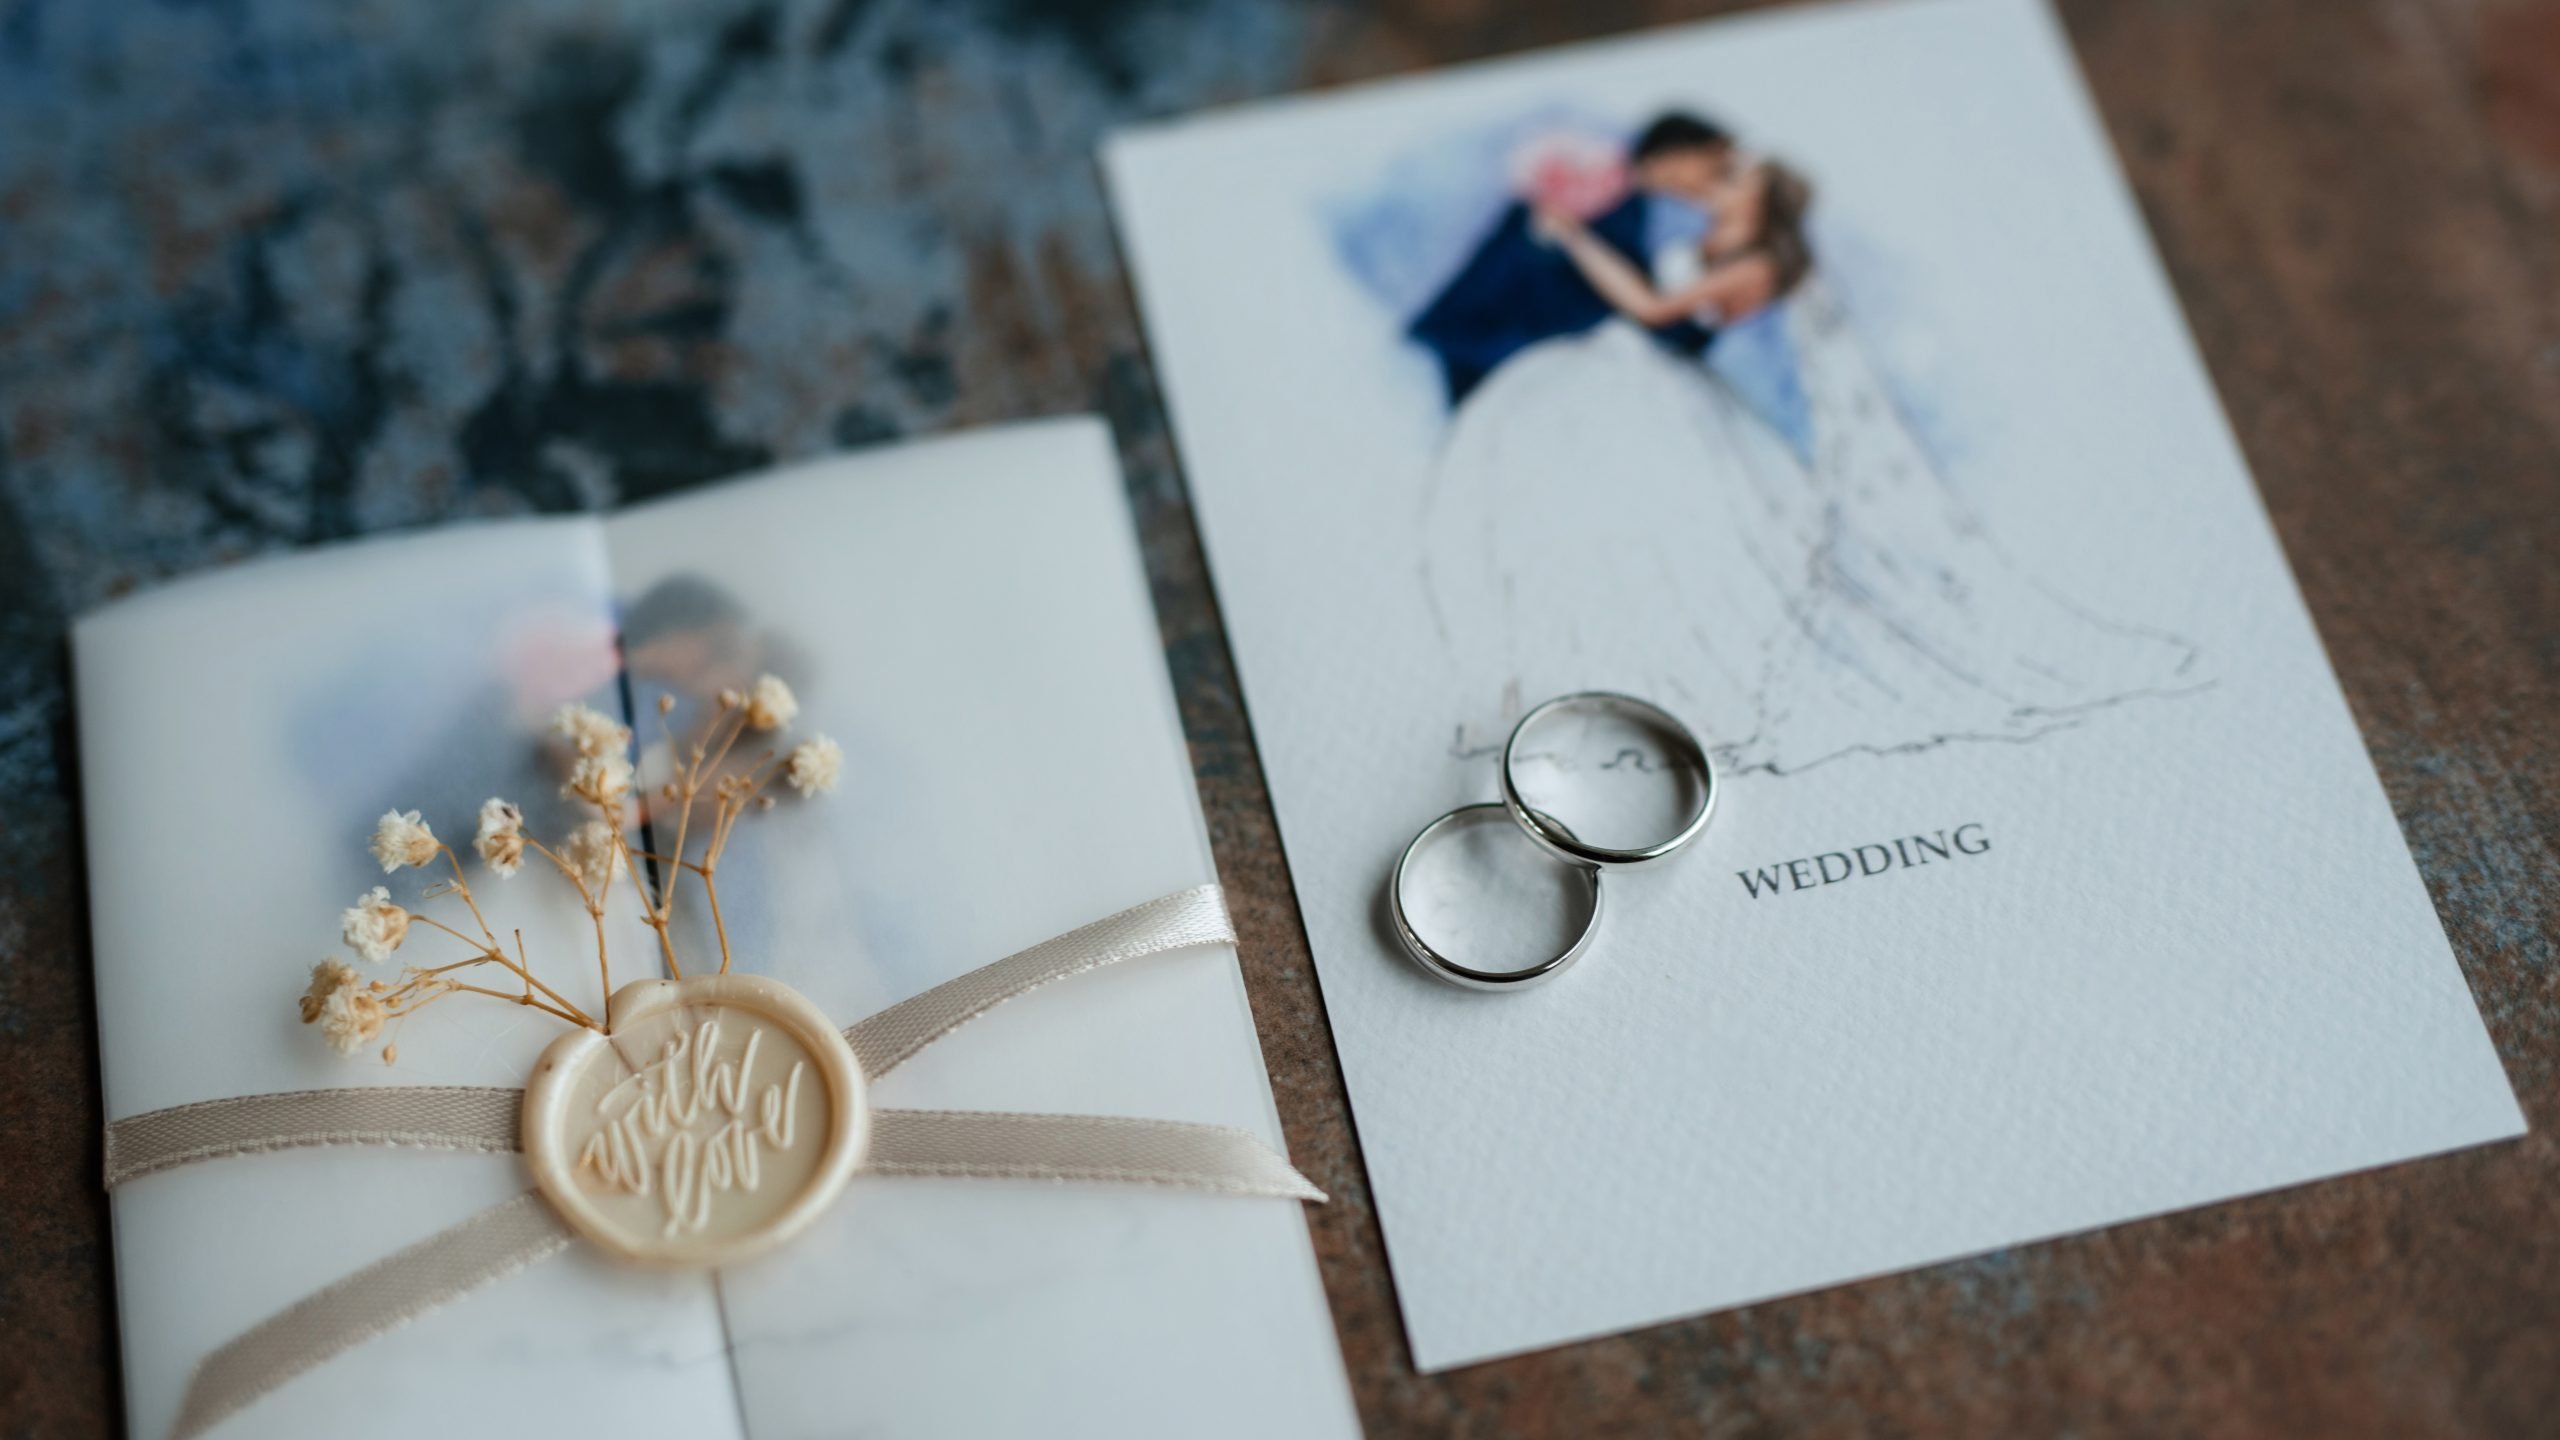
Wedding photographers are used to delivering digital galleries, framed wall prints, and polished albums. But a growing number of couples now ask a new question: “Can we use these on our invitations?” From save-the-dates to formal wedding invitations, printed designs are embracing wedding photography for print on heavyweight cardstock, not glossy photo paper like in the past.
This shift introduces new creative and technical challenges. While shooting for web or social media offers flexibility, printing images on textured cardstock is another thing entirely. To make your work stand out from lens to cardstock, you must shoot with the final print in mind.
So, we bring you a photographer’s guide to invitations that turn your captures into keepsakes.
[Related Reading: Why your camera’s resolution doesn’t matter when you print images]
1. Be Familiar with the Medium: What Cardstock Can and Can’t Do
Cardstock invitations are usually printed using full-color digital or offset methods. While this offers flexibility for wedding photographers, there still are some limitations to keep in mind:
- Cardstock flattens contrast — shadows and highlights won’t appear as dramatic in print.
- Glossy finishes enhance color but may show glare and fingerprints.
- Matte finishes are softer but can mute fine detail.
- Heavily textured paper absorbs ink differently than smooth paper.
To account for any of these, keep your edits clean and your exposures balanced for optimal paper printing results.
2. Think of Wedding Photography for Print, Not Just for Likes
Just because a photo performs well online doesn’t mean it’s right for a printed invitation. Design space is limited—usually 5×7 inches—so photography must support layout needs. Therefore:
- Leave negative space for text. Look for open skies, blank walls, or blurred backgrounds.
- Avoid busy or cluttered environments that could interfere with readability.
- Shoot slightly wider than needed to account for cropping or bleed.
These are simple but essential print tips that will preserve your photo’s integrity from shot to print. The images will still be beautiful and earn you and the couple some recognition and social media likes. And yet, they’ll be able to use them for the wedding invitations if they want to.
[Related Reading: Six tips to help you get perfect photo prints]
3. Prioritize Even, Natural Light
Lighting plays a critical role in wedding photography for print. Sadly, dramatic edits often lose their magic when transferred to cardstock. To account for this:
- Use soft natural light: Think golden hour, open shade, or cloudy skies. If you shoot with artificial lighting, make sure it’s soft and diffused.
- Avoid blown out highlights, especially on skin and light fabrics. They will appear very messy in a print, if they appear at all.
- Keep tones consistent: Warm sunset tones print beautifully when white balance is accurate.
Overall, aim for flattering lighting that captures authentic skin tones and subtle background details.
4. Provide Print-Ready Files
Now that your couple has chosen the photo they want on their invitations, you need to prepare it for printing:
- Always shoot in RAW for post-processing flexibility.
- Export in high-resolution JPEG at 300 DPI — the standard for quality print.
- Confirm the printer’s specs for file size and format. Resize accordingly.
Most couples won’t think about DPI or bleed — but as a professional, these technical details are what separate your work from the rest.
[Related Reading: Does size matter? DPI (dots per inch) for printing explained]
5. Steer the Image Selection Process
Not every photo belongs on an invitation or wedding save the date. Help couples choose photo that translates beautifully from screen to paper.
- Offer 2–3 strong, emotion-filled photos with clean backgrounds.
- Provide options in both color and black-and-white.
- Mock up the chosen photo within a sample invitation layout for added clarity. Canva or Adobe Express could be of great help here to whip it up pretty quickly, yet make it look good.
Guiding the selection process is part of being a professional and makes sure that your work ends up in print at its best.
6. Coordinate with Stationers and Designers
Stationery design is a specialty, but collaboration benefits everyone involved. When you coordinate with the designer, you raise the overall quality of the final product. Plus, you’ll gain some referrals, which is always welcome.
- Share a curated folder of print-optimized images.
- Adjust files for specific finishes—matte, glossy, or textured paper.
- Be open to re-edits for alternate crops, contrast, or tone adjustments.
This collaboration ensures your photos shine in every medium and preserve your style across all formats.
Why Wedding Photography for Print Still Matters
In a digital world, a printed invitation is a tactile memory just like a printed photo. It’s something kept on fridges, tucked into keepsake boxes, or added to scrapbooks. When wedding photographers shoot with printing in mind, they contribute to a more permanent legacy.
While this may seem intimidating at first, keep in mind that shooting for print doesn’t limit your creativity—it amplifies it. It needs you to compose, light, and edit your photos carefully so that they honors the physical product just like they do the digital result.
You can use this guide as a sort of checklist of what to keep in mind during a shoot, and what to do while editing and preparing for print. So next time a client asks, “Can we use this on our invitation?” you’ll be ready with a confident answer: “Absolutely. Let’s make it unforgettable.”

