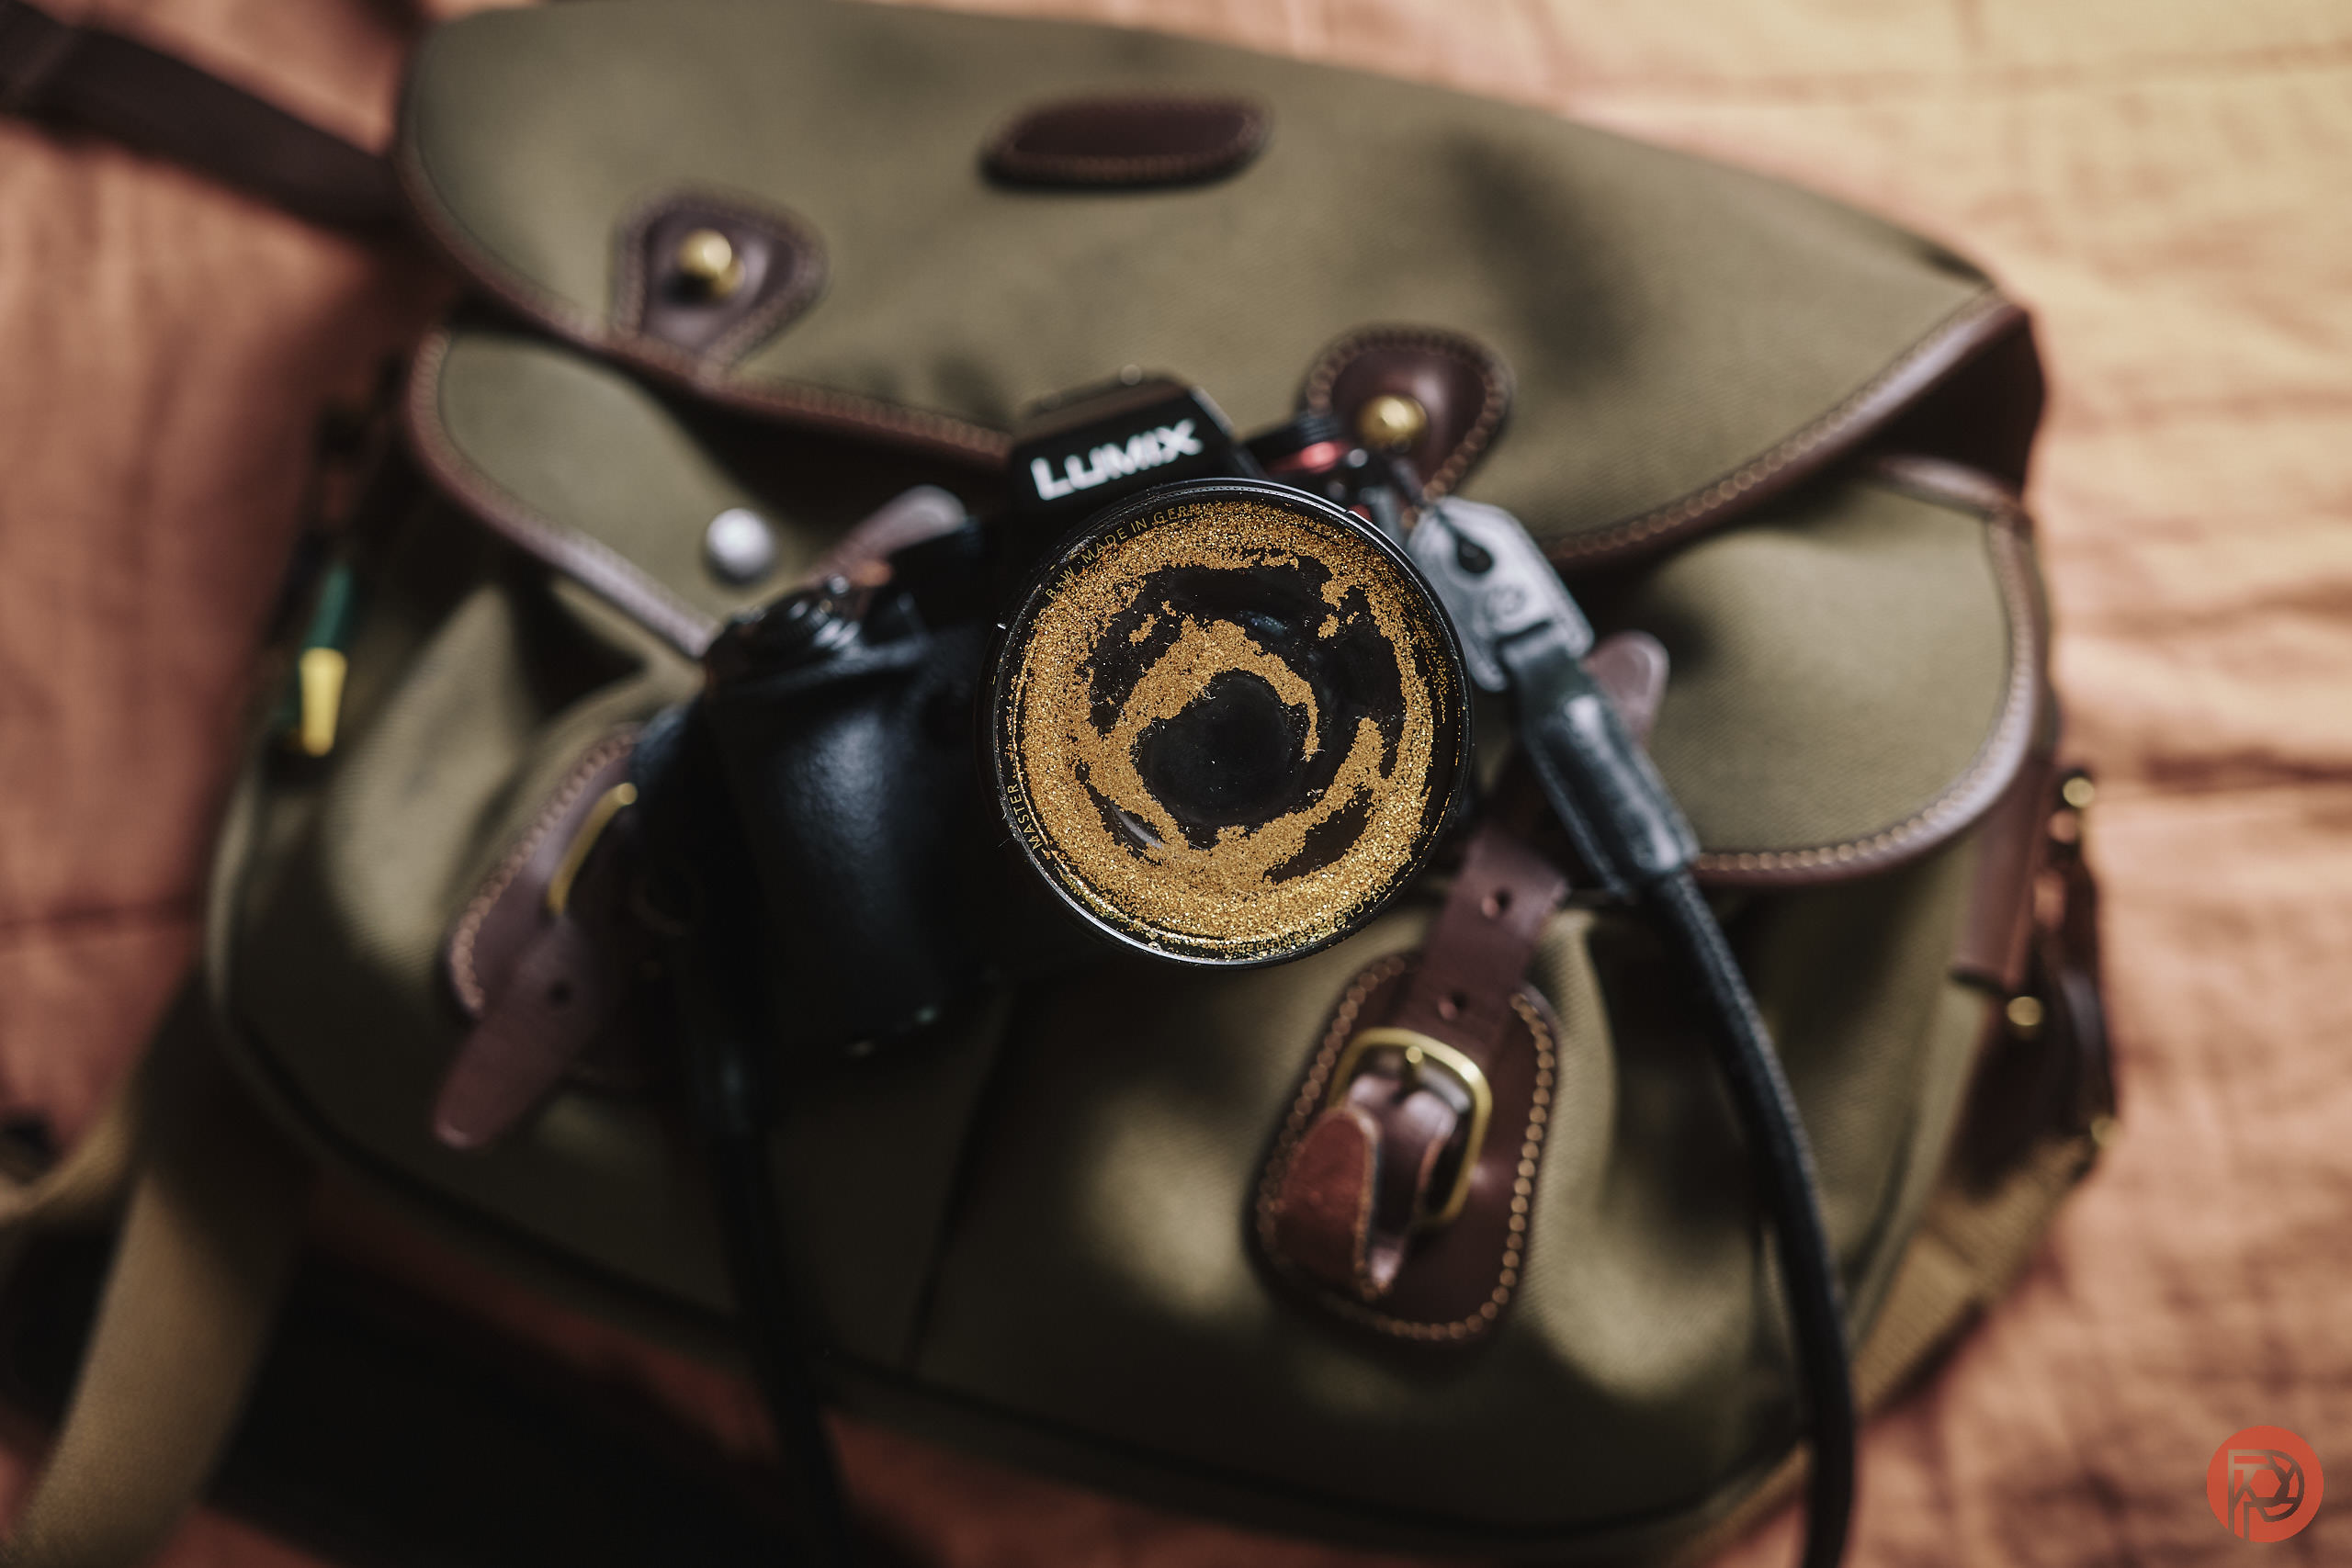
With lenses today, one often gets exceptional sharpness and clarity. While this is something many photographers aspire to, there are some artists who prefer to shoot moody images rather than go beyond details. It could be for an assignment or a personal project, but achieving a unique vision can be daunting. And so, we bring you a few DIY lens filters that can help you get the image you desire. Plus, they won’t cost you a lot, just some patience and imagination.
Diffusion
To make this, you need a basic filter to protect your lens. Amazon has one UV filter option, which costs about $7. You also need extra firm hairspray, 91% isopropyl alcohol, and a lint-free cloth. The latter two are just for cleaning up the filter later.
Once you have the items, clean the filter with the alcohol and let it dry in the air. Then, hold the filter above your sink and shoot one short burst of the hairspray into the air. Let the filter pass through the mist, like you are roasting corn. Repeat the process two to three times, and the heavy coat may appear like Vaseline. This will give cinematic halation, where highlights will look vivid. You can also use a red gel behind the filter to get a red effect.
Custom Bokeh Shapes
Everyone likes custom bokeh. For this, you will require dark construction paper, which you can get for $2 to $4. Take the lens cap, put it on the construction paper, and draw a circle. Use an exacto knife and cut out that circle. Then, take a pencil and draw the shape you like at the center of the circle. You can use arrows, hearts, smiley faces, or a shape that is easy to draw and cut. It has to be small, because the bigger it is, the less chance you will get a custom bokeh. After the shape, cut around the edges of the circle so that you can fit the paper inside your UV filter. Or, you can tape it. Use a lens with a shallow depth of field to see your bokeh come to life.
Psychedelic Effects
This one is just another easy DIY lens filter. You need cardboard diffraction glasses (because you can’t cut through glass), a lens filter, and a piece of cardboard. The first step is to cut out the diffraction glass while keeping the border intact. If it’s rectangular, keep the rectangular cardboard in place. After this, use the spare cardboard to cut out a circle the size of the filter, and then cut a hole in the middle of the cardboard circle, which will work as a shield to block extra light around the lens filter. Once that is done, glue the edge of the diffraction lens over this hole. And viola! You have quirky effects.
Tinsel Foreground
This DIY lens filter is ideal for capturing sparkles in your images. Get a 30cm strand of holographic Christmas tinsel and your UV filter. You can use tape to stick the tinsel on the front of your filter. The shape and design are up to you. You can stick it like a circle, or you can cover only the edge of the frame to get an effect. You can also spray a little water on the tinsel to get a prism effect. In addition, color gels on your flash alongside the tinsel can also give you cooler effects.
Moisac Filter
Last but not least in our DIY lens filter list is the mosaic effect. To achieve this, you need transparent or warm-toned acrylic mosaic pieces, transparent super glue, and an air blow dryer. Clean the filter first. Place the acrylic pieces on the filter to check the kind of effect you need. Play with the focal range and the f-stops if need be. Once you are certain of the placement, remove the acrylic, clean the filter again. On the outside surface of the filter, put small drops of the transparent glue in the place where you need the acrylic. Put the pieces on top, and gently press them. If you have some other placement in mind, do this process again with a new filter.
We hope these DIY lens filter ideas can help you in your venture. They are easy, but they do take some time and planning to make. Either way, take this opportunity to expand your horizons.

