
The process of cyanotypes is one of the oldest methods of making photographic prints. The strikingly beautiful blue colours set cyanotypes apart, and they make perfect wall art. Perhaps the best thing about them is just how easy and relatively cheap they are to make. Cyanotypes are the original DIY photography!
I met up with artist Celia Kettle, who has been printing cyanotypes for some time. Her work is often mixed media, and she uses the cyanotype process as a jumping-off point in her workflow. Celia walked me through the process and showed me a few extra tips to get great results. Cyanotypes offer a satisfying blend of science, art, and DIY fun. Here’s how you can make your own.
What are Cyanotypes?
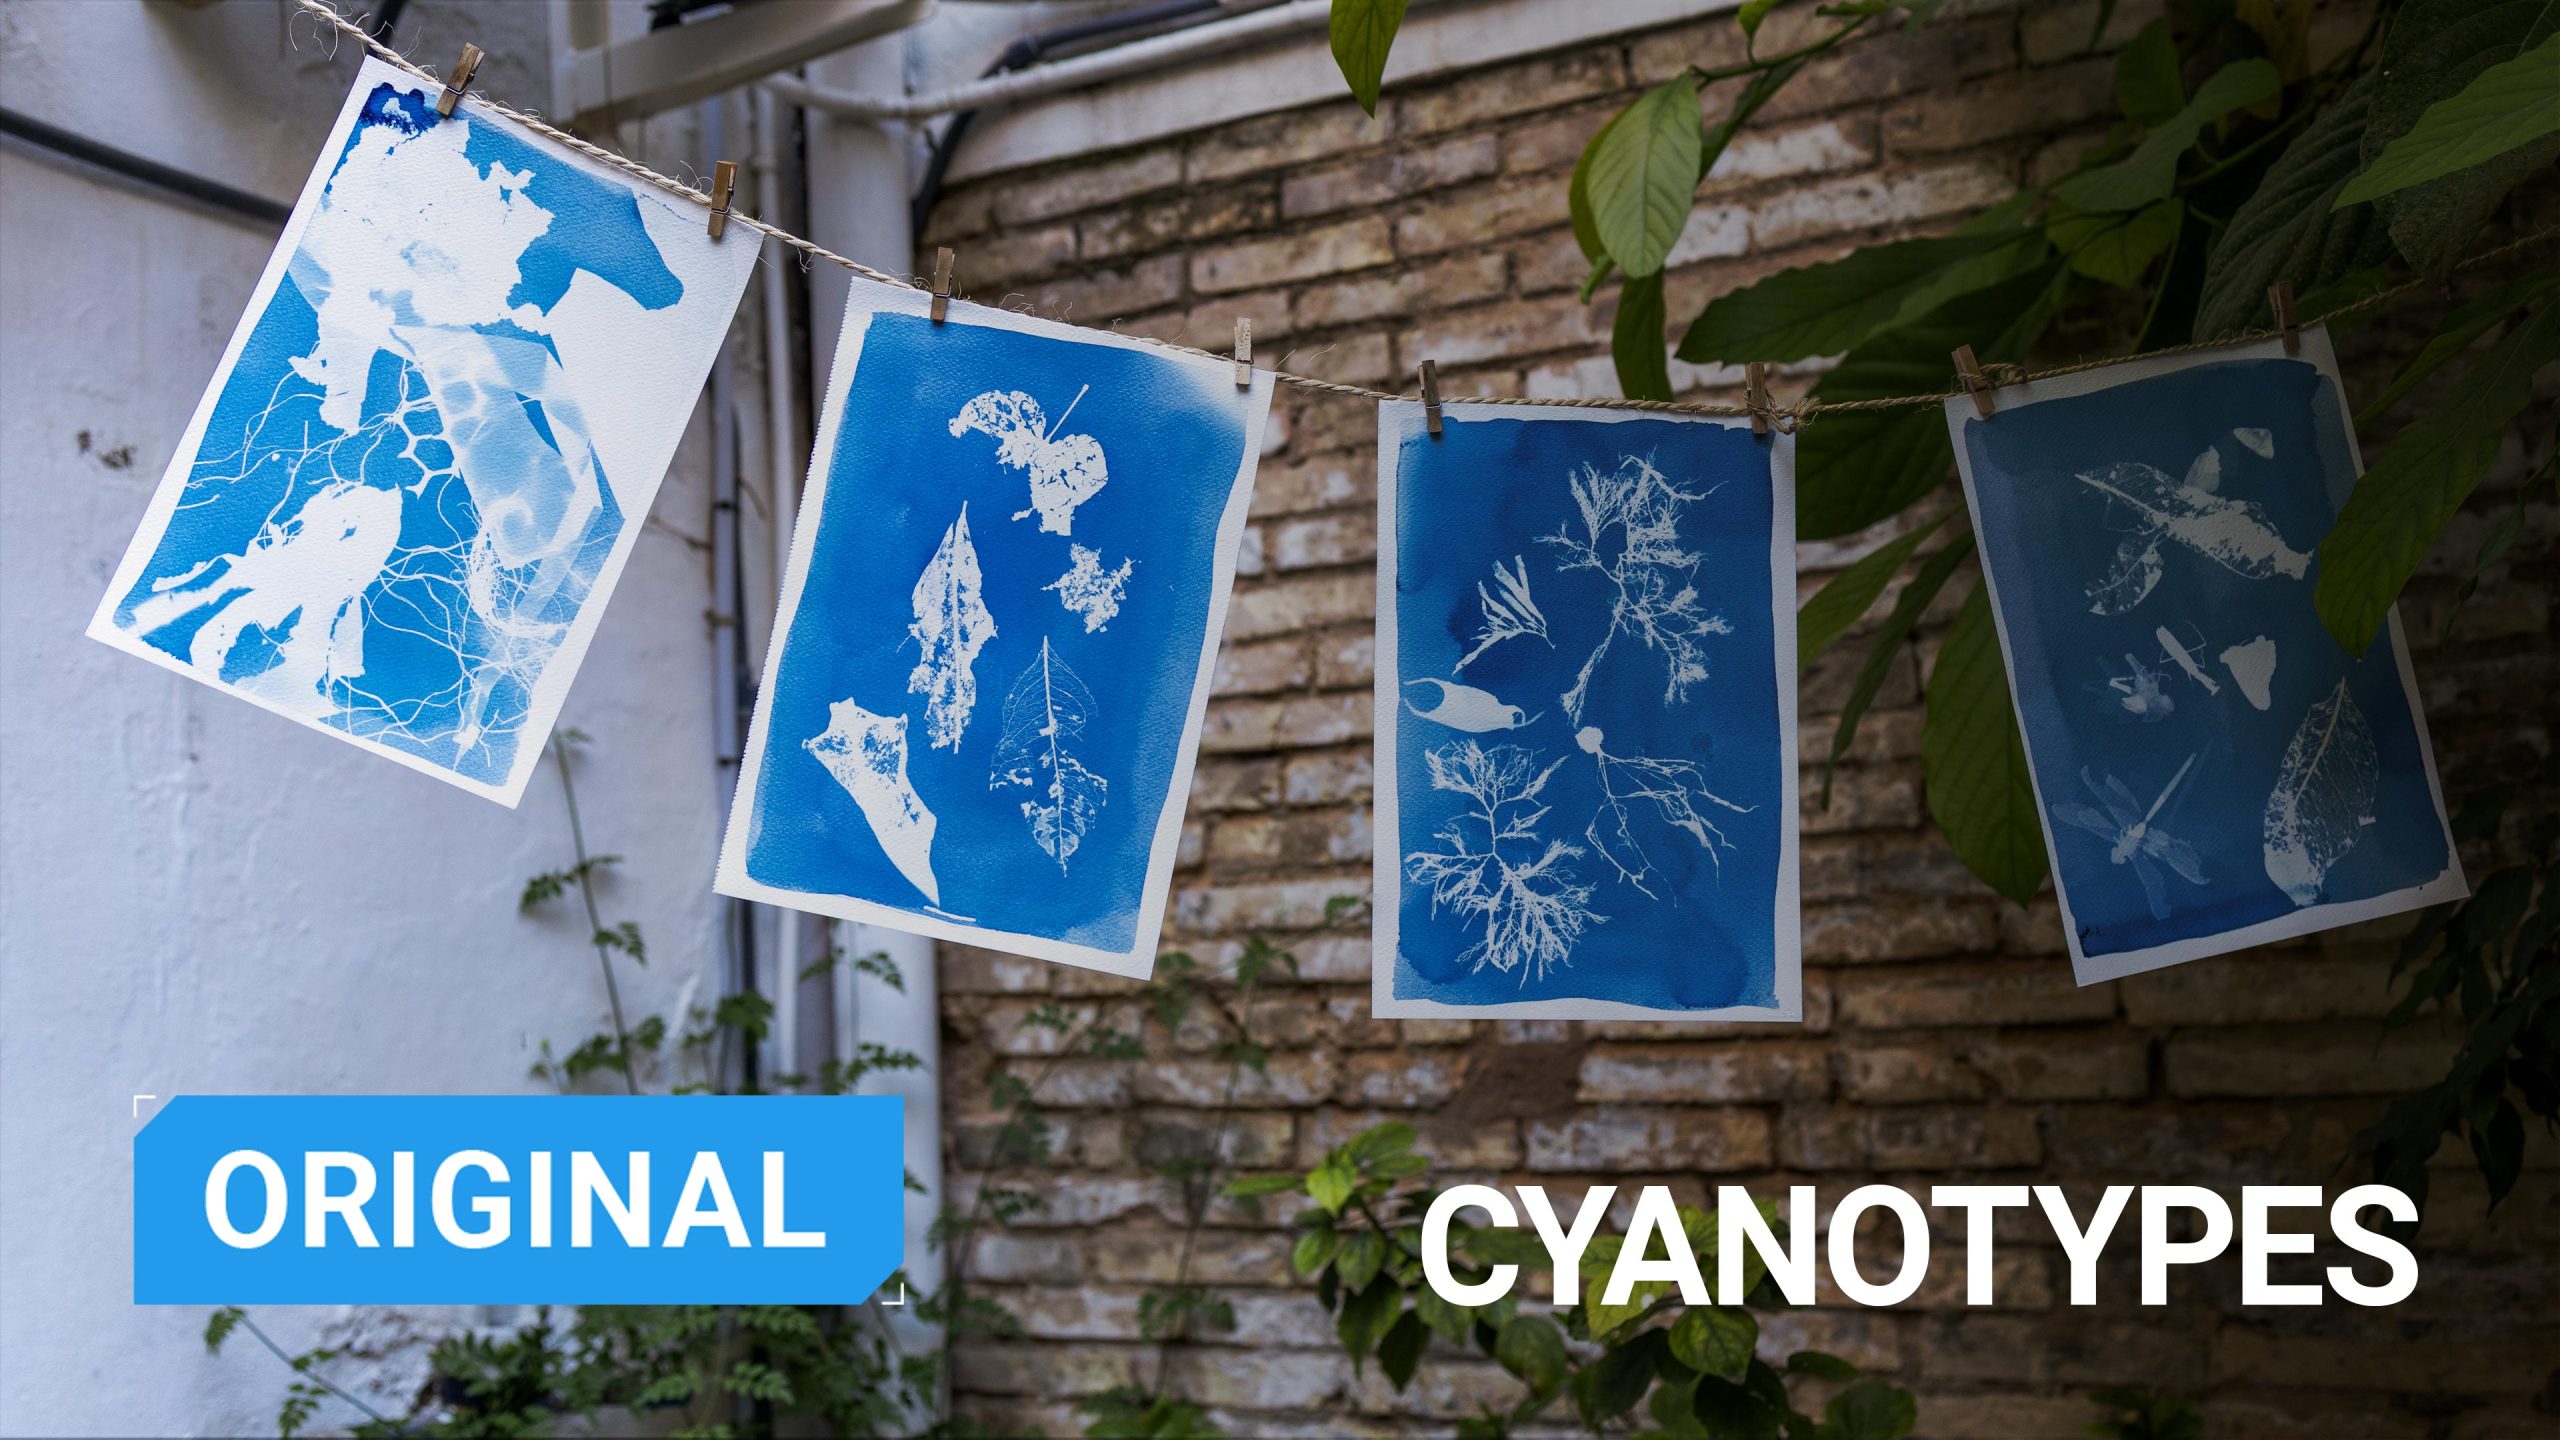
Cyanotypes are one of the oldest photographic printing processes, producing striking, blue images through a simple chemical reaction. The technique involves coating paper or fabric with a light-sensitive solution of ferric ammonium citrate and potassium ferricyanide. When exposed to UV light (like sunlight), the coated areas not blocked by objects turn blue, while covered areas remain white. Cyanotypes are sometimes called “sun prints” due to the process of exposing the paper to the sunshine.


Science Meets Art: A Brief History of Cyanotypes
In 1842, the astronomer and chemist Sir John Herschel invented the cyanotype process, not for art, but as a way to reproduce his complex mathematical notes. Little did he know, his discovery would become one of the earliest forms of photography.
Just a year later, his friend, botanist Anna Atkins, used cyanotypes to document algae specimens, publishing Photographs of British Algae: Cyanotype Impressions (1843). Her ghostly blue prints blurred the lines between science and art, setting the stage for cyanotypes’ enduring appeal. Atkins is often considered the first female photographer and the first person to publish a book containing photographs.

Cyanotypes were later used by architects well into the 20th century to create their blueprints, so-called due to the colour.
What You’ll Need
Before you start printing, you’ll need to gather a few key materials. Cyanotype is a low-tech process, but a little preparation goes a long way in getting great results.

Materials
- Chemicals: The two essential ingredients are ferric ammonium citrate and potassium ferricyanide. You can buy these separately or opt for a pre-mixed cyanotype kit, which is great for beginners and cuts down on guesswork.
- Paper or Fabric: Choose a high-quality watercolour paper, cotton fabric, or any other absorbent, natural surface. Smooth paper gives crisper details; textured paper adds character.
- Objects for Printing: Classic choices include leaves, feathers, lace, or stencils. For more control, you can print your own digital negatives on transparency film or acetate. First, convert the image to a negative in Photoshop.
- Other Supplies: You’ll also need a brush or sponge for coating, a glass pane or acrylic sheet to press objects flat, a tray or sink for rinsing, and clean water.
Safety Precautions
- Wear gloves and avoid inhaling powders.
- Work in a well-ventilated area.
- Keep chemicals away from children
- The mix does stain, so cover your surfaces during the painting and mixing parts!
Step-by-Step Guide to Making Cyanotypes
Step 1: Mix the Chemicals
Preparing the Two-Part Solution
Cyanotype chemistry works through a simple but precise alchemy. You’ll be mixing two separate solutions that combine to form your light-sensitive emulsion. Use a wooden implement to stir the chemicals as metal can cause an unwanted reaction.

Solution A: Ferric Ammonium Citrate
- Mix 25g ferric ammonium citrate (green powder) with 100 ml distilled water
- Stir until completely dissolved – this makes a lime green liquid
- Pro tip: Warm water (not hot) helps dissolve the powder faster


Solution B: Potassium Ferricyanide
- Mix 10g potassium ferricyanide (red crystals) with 100 ml distilled water
- Stir until fully dissolved – creates an amber-colored solution
- Safety note: This solution is mildly toxic – avoid skin contact


Mixing for Use:
- Combine equal parts Solution A and Solution B in a mixing bowl
- Example: 10ml A + 10ml B makes enough for about 2-3 sheets of 8×10″ paper
- The mixed solution will be yellow-green – this is your active sensitiser
- Important: Only mix what you’ll use immediately – the combined solution degrades quickly

Step 2: Coat Your Paper or Fabric
To prepare your light-sensitive canvas, work in dim, indirect light using either a soft brush for artistic effects (creating visible strokes) or a sponge for even coverage. Apply the sensitiser in smooth, controlled motions, aiming for a thin, uniform yellow-green coat that appears barely shiny – too little results in faint prints, while excess liquid causes blurry details. For fabrics, consider dip-coating for full saturation. Celia suggests painting very thin layers and building them up gradually if you want a perfect, even coating.


After coating, let surfaces dry horizontally for 1-2 minutes before transferring to complete darkness (a drawer or light-tight box works perfectly) for 20-30 minutes for paper or 1-2 hours for fabric. Make sure that the surfaces are bone-dry before exposure, as moisture affects image quality. Some artists lightly pre-wet paper to prevent warping or use a cool hairdryer in low light for crisper results. This meticulous preparation stage directly impacts your final print’s clarity and vibrancy, making it worth perfecting before moving to exposure.


Step 3: Prepare Your Negative or Object
This is where cyanotypes transform from a chemical process into an art form. With your light-sensitive surface prepared and fully dried, you’ll now compose your image by arranging objects or negatives on the coated material. The key is to work deliberately but quickly in subdued lighting to prevent premature exposure.


For organic materials like leaves or feathers, experiment with overlapping elements to create depth and texture. Their natural translucency will produce beautiful tonal variations in your final print. If using a digital negative (a printed transparency of your inverted image), ensure the emulsion side contacts the coated surface for maximum sharpness.


To achieve crisp, well-defined edges, place a clean sheet of glass or acrylic over your composition, which serves three vital purposes: it flattens dimensional objects, maintains consistent contact between elements and the sensitised surface, and prevents movement from wind or accidental bumps during exposure. The weight of the glass is particularly crucial when working with textured materials like lace or delicate botanicals that might otherwise curl away from the surface.

Consider using binder clips at the edges to create even pressure for larger compositions. Remember that your arrangement will appear in negative space; areas blocked from UV light will remain white, while exposed areas turn blue, so compose with this reversal in mind. Take a moment to examine your composition from different angles before proceeding to exposure, as this is your last opportunity to adjust element placement for optimal visual impact.


Step 4: Expose to UV Light
The exposure process is where your cyanotype truly comes to life. For best results, choose a day with bright, direct sunlight, cloudy days will require significantly longer exposure times. Place your prepared composition in full sun, ideally between 10am and 2pm when UV rays are strongest.

Exposure times typically range from 5-20 minutes, depending on the intensity of the sunlight, with the coated surface undergoing a visible transformation from greenish-yellow to a steely blue-grey. Watch carefully as the colour change indicates the chemical reaction is occurring, the print should appear slightly darker than your desired final result, as it will lighten slightly during washing. If using a UV lamp, position it 12-18 inches above your composition and expose for 3-7 minutes, rotating periodically for even coverage.

Pro Tip: Conduct test strips by covering portions of your print at intervals to determine ideal exposure time for your specific conditions. The shadow areas beneath your objects should appear distinctly brighter than the exposed background when ready. Overexposure leads to loss of detail in highlight areas, while underexposure results in weak, washed-out blues.
Step 5: Wash and Dry Your Print
Once properly exposed, the development process begins by rinsing your print in cool, running water for 1-2 minutes to wash away unexposed chemicals. Make sure that the water runs clear and your image’s contrast becomes fully visible, the blue will initially appear lighter but intensifies as it oxidises. For an instant vibrancy boost, briefly submerge your print in a weak hydrogen peroxide solution (1 part 3% peroxide to 10 parts water), which accelerates the oxidation process, resulting in deeper Prussian blues. After treatment, give a final rinse in clean water.


Lay your finished print on a clean, absorbent surface or hang to dry, avoiding direct sunlight which could cause fading during this vulnerable stage. As the print dries completely (typically 1-2 hours), the blue will darken slightly to its final rich tone. For exhibition-quality results, press between blotting papers under weight to prevent curling.

Pro Tips for Better Cyanotypes
- Faint Prints usually indicate underexposure. Try doubling the exposure time or testing fresh chemicals. Old sensitisers lose potency.
- Blurry Edges: Caused by movement during exposure – ensure glass is heavy enough or secure with clips.
- Staining/Yellowing Results from insufficient washing. Increase rinse time to 3-5 minutes, or try a 1% citric acid bath.
- Uneven Exposure: Rotate your piece halfway through sun exposure or adjust UV lamp positioning.
- Chemical Streaks: Caused by uneven coating – apply sensitiser more uniformly next time.
Advanced Tip: For archival permanence, soak finished prints in a 5% solution of hydrogen peroxide for 1 minute, then rinse thoroughly; this removes residual ferric compounds that could cause deterioration over time.
Remember that variables like humidity, paper type, time of year/day, and water quality all affect outcomes, so keep notes of your process for perfecting future prints.

Creative Variations
The true magic of cyanotypes lies in their versatility—once you’ve mastered the basics, these experimental techniques will elevate your work:
Toning: Alchemy of Colour
While classic Prussian blue is striking, toning introduces warm, earthy dimensions:
- Tea (Black or Green): Submerge developed prints in strong brewed tea for 5-15 minutes—the tannins shift blues to elegant sepia tones.
- Coffee: A concentrated espresso bath (cooled) creates rich chocolate-brown highlights.
- Red Wine/Tannin Solutions: Produces subtle mauve and lavender undertones where the blue remains in shadows.
Pro Tip: Pre-soak prints in water before toning for even absorption, and experiment with dilution ratios for custom hues.

Beyond Paper: Unconventional Surfaces
- Textiles: Coat natural fabrics like cotton, silk, or linen for wearable art or textile installations. The dye bonds permanently when heat-set with an iron.
- Ceramics/Tiles: Brush sensitizer onto bisque-fired clay, expose, then clear-fire to set the image permanently under glaze.
- 3D Objects: Experiment with wood, leather, or even eggs—any porous surface can yield surprising results. For dimensional items, try spraying sensitiser for even coverage.
- Hybrid Techniques: Combine cyanotype with gum bichromate or gold leaf for mixed-media pieces with metallic accents.
Experimental Approaches
- Wet Cyanotypes: Apply sensitiser to damp paper, then place fresh botanicals—their natural acids create ethereal, watercolour-like bleeds during exposure.
- Chemigram Effects: Brush vinegar or lemon juice onto exposed prints before washing to create intentional lightening and organic textures.
- Layered Exposures: Recoat dried prints and expose a second composition for multidimensional, shadow-play effects.
Keep a journal of your experiments, noting ratios, exposure times, and unexpected discoveries. The most breathtaking work often comes from “happy accidents” in the process.
Cyanotype Artists to Inspire You
Cyanotypes are more than just a printing process, they’re a gateway into the tactile, experimental side of photography. There’s something deeply satisfying about watching your image appear under sunlight, knowing you made it by hand. Whether you’re printing botanicals, custom negatives, or just playing with shadows, this process offers endless room for creativity.
Thanks again to artist Celia Kettle for introducing me to the magic of cyanotypes. You can see more of her work on Instagram. I hope this guide inspires you to try it for yourself. When you do, don’t forget to share your results with the DIYPhotography community!
