
Today is World Backup Day, the day where we’re compelled to remind you to back up your data! But we’re not just going to tell you to back it up—we’re going to show you how. Specifically, how to back up your memory cards on location.
Anything can happen on the way home from a shoot. Cards can get lost, stolen, or damaged. And if it’s a non-repeatable event, those photos and video footage can be lost forever. But it’s easy to back them up with your phone and an SSD. Whether you’re a photographer, filmmaker, or content creator, having a reliable backup solution in the field ensures your work is never at risk.
When it comes to backing up memory cards on location, a portable SSD is the best option. At least, it has since phones started ditching microSD card slots. Unlike traditional hard drives, SSDs are more durable, faster, and power-efficient—making them ideal for field backups.
Note: Don’t worry, those 1TB microSD cards still see use in my Insta360 cameras!
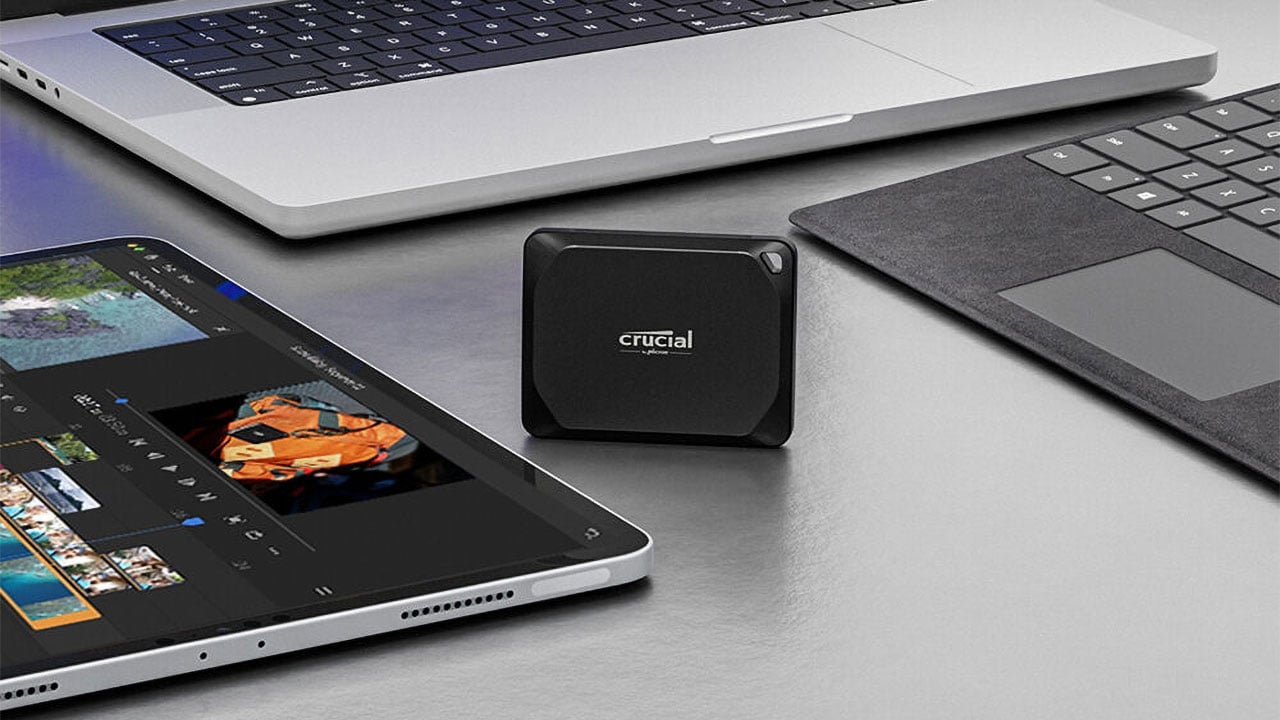
I’ve use a number of SSDs from different brands for backing up on location over the last few years. I mean, let’s face it, when it comes to buying an SSD for phones, there are lots of options today. My go-to until recently has been the Crucial X8 SSD, but now it’s become the Crucial X10 Pro portable SSD.
Why the Crucial X10 Pro?
The Crucial X10 Pro SSD is a top choice for photographers, filmmakers or other creators needing fast and reliable backups on the go. It offers:
- Blazing fast speeds (up to 2,100MB/s read and 2,000MB/s write)
- Durability (IP55 water and dust resistance)
- Compact and lightweight design
- USB-C compatibility for seamless phone, tablet and laptop connections
If you’re looking for a more budget-friendly option, the Crucial X9 Pro is also a solid choice (the X8 is discontinued). It doesn’t reach the same high speeds as the X10 Pro but still provides fast, reliable storage at a lower price point.
During the Olympics, everything’s about every minute. You don’t walk anywhere – you’re running everywhere, from nine in the morning to two or three in the morning every day. I used to use portable hard drives and when you’re bouncing around on press busses and going up and down curbs, I’d beat the heck out of them. Once I used the Crucial X10 Pro, I noticed a huge difference. The speed is great. The size is great. The weight is great. When I’m carrying all this other gear, every ounce matters and so does the speed of the product. It allows me to back up and store every photo I took at the Olympics – all 85,000 of them! And I take the X10 Pro everywhere I go – not just the Olympics.
It should be noted that to be able to reach those speeds, you’ll need a computer with either a USB 3.2 Gen 2×2 (20Gbps) or USB 4.0 (40Gbps) port. For slower ports, like USB 3.2 Gen 2 (10Gbps) and USB 3.2 Gen 1 (5Gbps), it will obviously be limited to the speed of those ports.
I know. USB protocols, especially USB 3.x protocols, can be quite confusing. They’ve been renamed several times as new generations have been released. But they’re fairly straightforward. USB 4 is still fairly new, and not available on all new computers. But that, too, is also going to get more confusing.
How to back up your phone’s camera roll
Your phone’s camera roll is often just as important as your memory cards—especially if you use your phone to shoot behind-the-scenes footage, social content, or even full projects. Thankfully, backing it up to an SSD is simple.
Android
If your Android phone supports USB OTG (most do), you can plug an SSD directly into your phone using a USB-C to USB-C cable or an adapter. Then:
- Open your file manager app.
- Navigate to your DCIM or camera folder.
- Select the photos and videos you want to back up.
- Copy them to the SSD.
Some Android phones also allow automated backups using third-party apps like FolderSync or Solid Explorer with scripting plugins.

iPhone and iPad
For iPhones and iPads running iOS 13 or later:
- Connect your SSD using a Lightning to USB adapter or directly via USB-C (on iPads and more recent iPhones with USB-C ports).
- Open the Files app.
- Browse to your photo library via the Photos app or copy from within Files if your phone stores them locally.
- Paste the files into a folder on the SSD.
Just like that, your photos and videos are safely stored on external media, away from potential phone failures or accidental deletions.
How to Back Up Memory Cards Using Just Your Phone
Even with memory cards, you still don’t need a laptop to back up your files. Here’s what you’ll need:
- A USB-C hub
- A memory card reader
- A portable SSD (like the Crucial X10 Pro or Crucial X8)
Step-by-Step Guide:
- Connect your card reader to your phone using a USB-C adapter or hub.
- Insert the memory card into the reader.
- Plug in your SSD to the hub attached to the phone.
- Use a file manager app to copy the files from the memory card to the SSD.
- Verify the backup before formatting or reusing the memory card.
This quick and easy method ensures that even if your memory card is lost or damaged later, your files are safe on an external SSD.
When I’m done with a show, I’m transferring from the card to the drive. I’ve been using Crucial products for years now and the fact that the Crucial drives are so fast, it makes it a lot easier to get the photos out in the timeframe that the bands kind of expect it now. The faster and the smaller the products can be that I need to make my job happen, the better it is for me. The Crucial drives are perfect for that. They are four terabytes and can fit in my hand. Super small. Super light. And I can fit ten of them in my bag. For my drives, I work off of my X10 Pro and I back up to my X9 Pro. If you compare film to a Crucial drive, that’s crazy. Weeks to minutes. That’s it.
Alternative Backup Methods for Different Workflows
While phone-to-SSD backups are the simplest solution, other workflows may suit different users:
- Backing up to a laptop – If you have a laptop on location, you can transfer files to both the laptop and an SSD for redundancy.
- Using a dedicated backup device – Devices like the GNARBOX (if you can find one – it’s no longer available to buy new) offer standalone backup solutions for photographers without needing a phone or laptop. There aren’t many options available for this today, but hopefully, we’ll see more in the future
Best Practices for a Foolproof Backup Strategy
Backing up in the field is great, but a single backup isn’t enough. To protect your work, follow these best practices:
- Follow the 3-2-1 Rule – Keep three copies of your files: two on different devices/media and one offsite. Usually, when we cover shows here at DIYP, we have the content on the memory cards as well as two SSDs. One SSD goes home with one person and another SSD goes home with someone else.
- Backup to a NAS – When you get home, after you’ve copied everything to your computer, back it up to a NAS on your network. Two drives inside the same computer is not a backup. You want that second drive to be in a separate device.
- Automate cloud backups – Also, upload files to cloud storage for an additional layer of protection. This is your third off-site copy, in case the worst happens at home. There are quite a few options today when it comes to cloud storage for photographers, and the landscape changes regularly, so be sure to do your research before picking one.

Conclusion: Make Backing Up a Habit
Backing up your mobile devices and memory cards on location is quick, easy, and could save you from disaster. With tools like the Crucial X10 Pro and Crucial X9, protecting your files has never been simpler. Make it a habit, and you’ll never have to worry about losing your precious footage again.
But whatever brand you prefer, on this World Backup Day, take a moment to review your backup strategy and ensure you’re protected—because it’s not a question of if data loss will happen, but when.
