Using a can-cam (i.e., a camera made from an aluminum can) is going to make you look a genius. In reality, however, this is the ideal project for the lazy photographer. How can this oddball juxtaposition of personal character traits arise from such a simple camera contraption? Ah, the details are in the eye of the beholder. Simply put, the results from the can-cam can be spectacular, whereas the building and use of the can-cam is deceptively simplistic. Get ready to become a lazy genius.
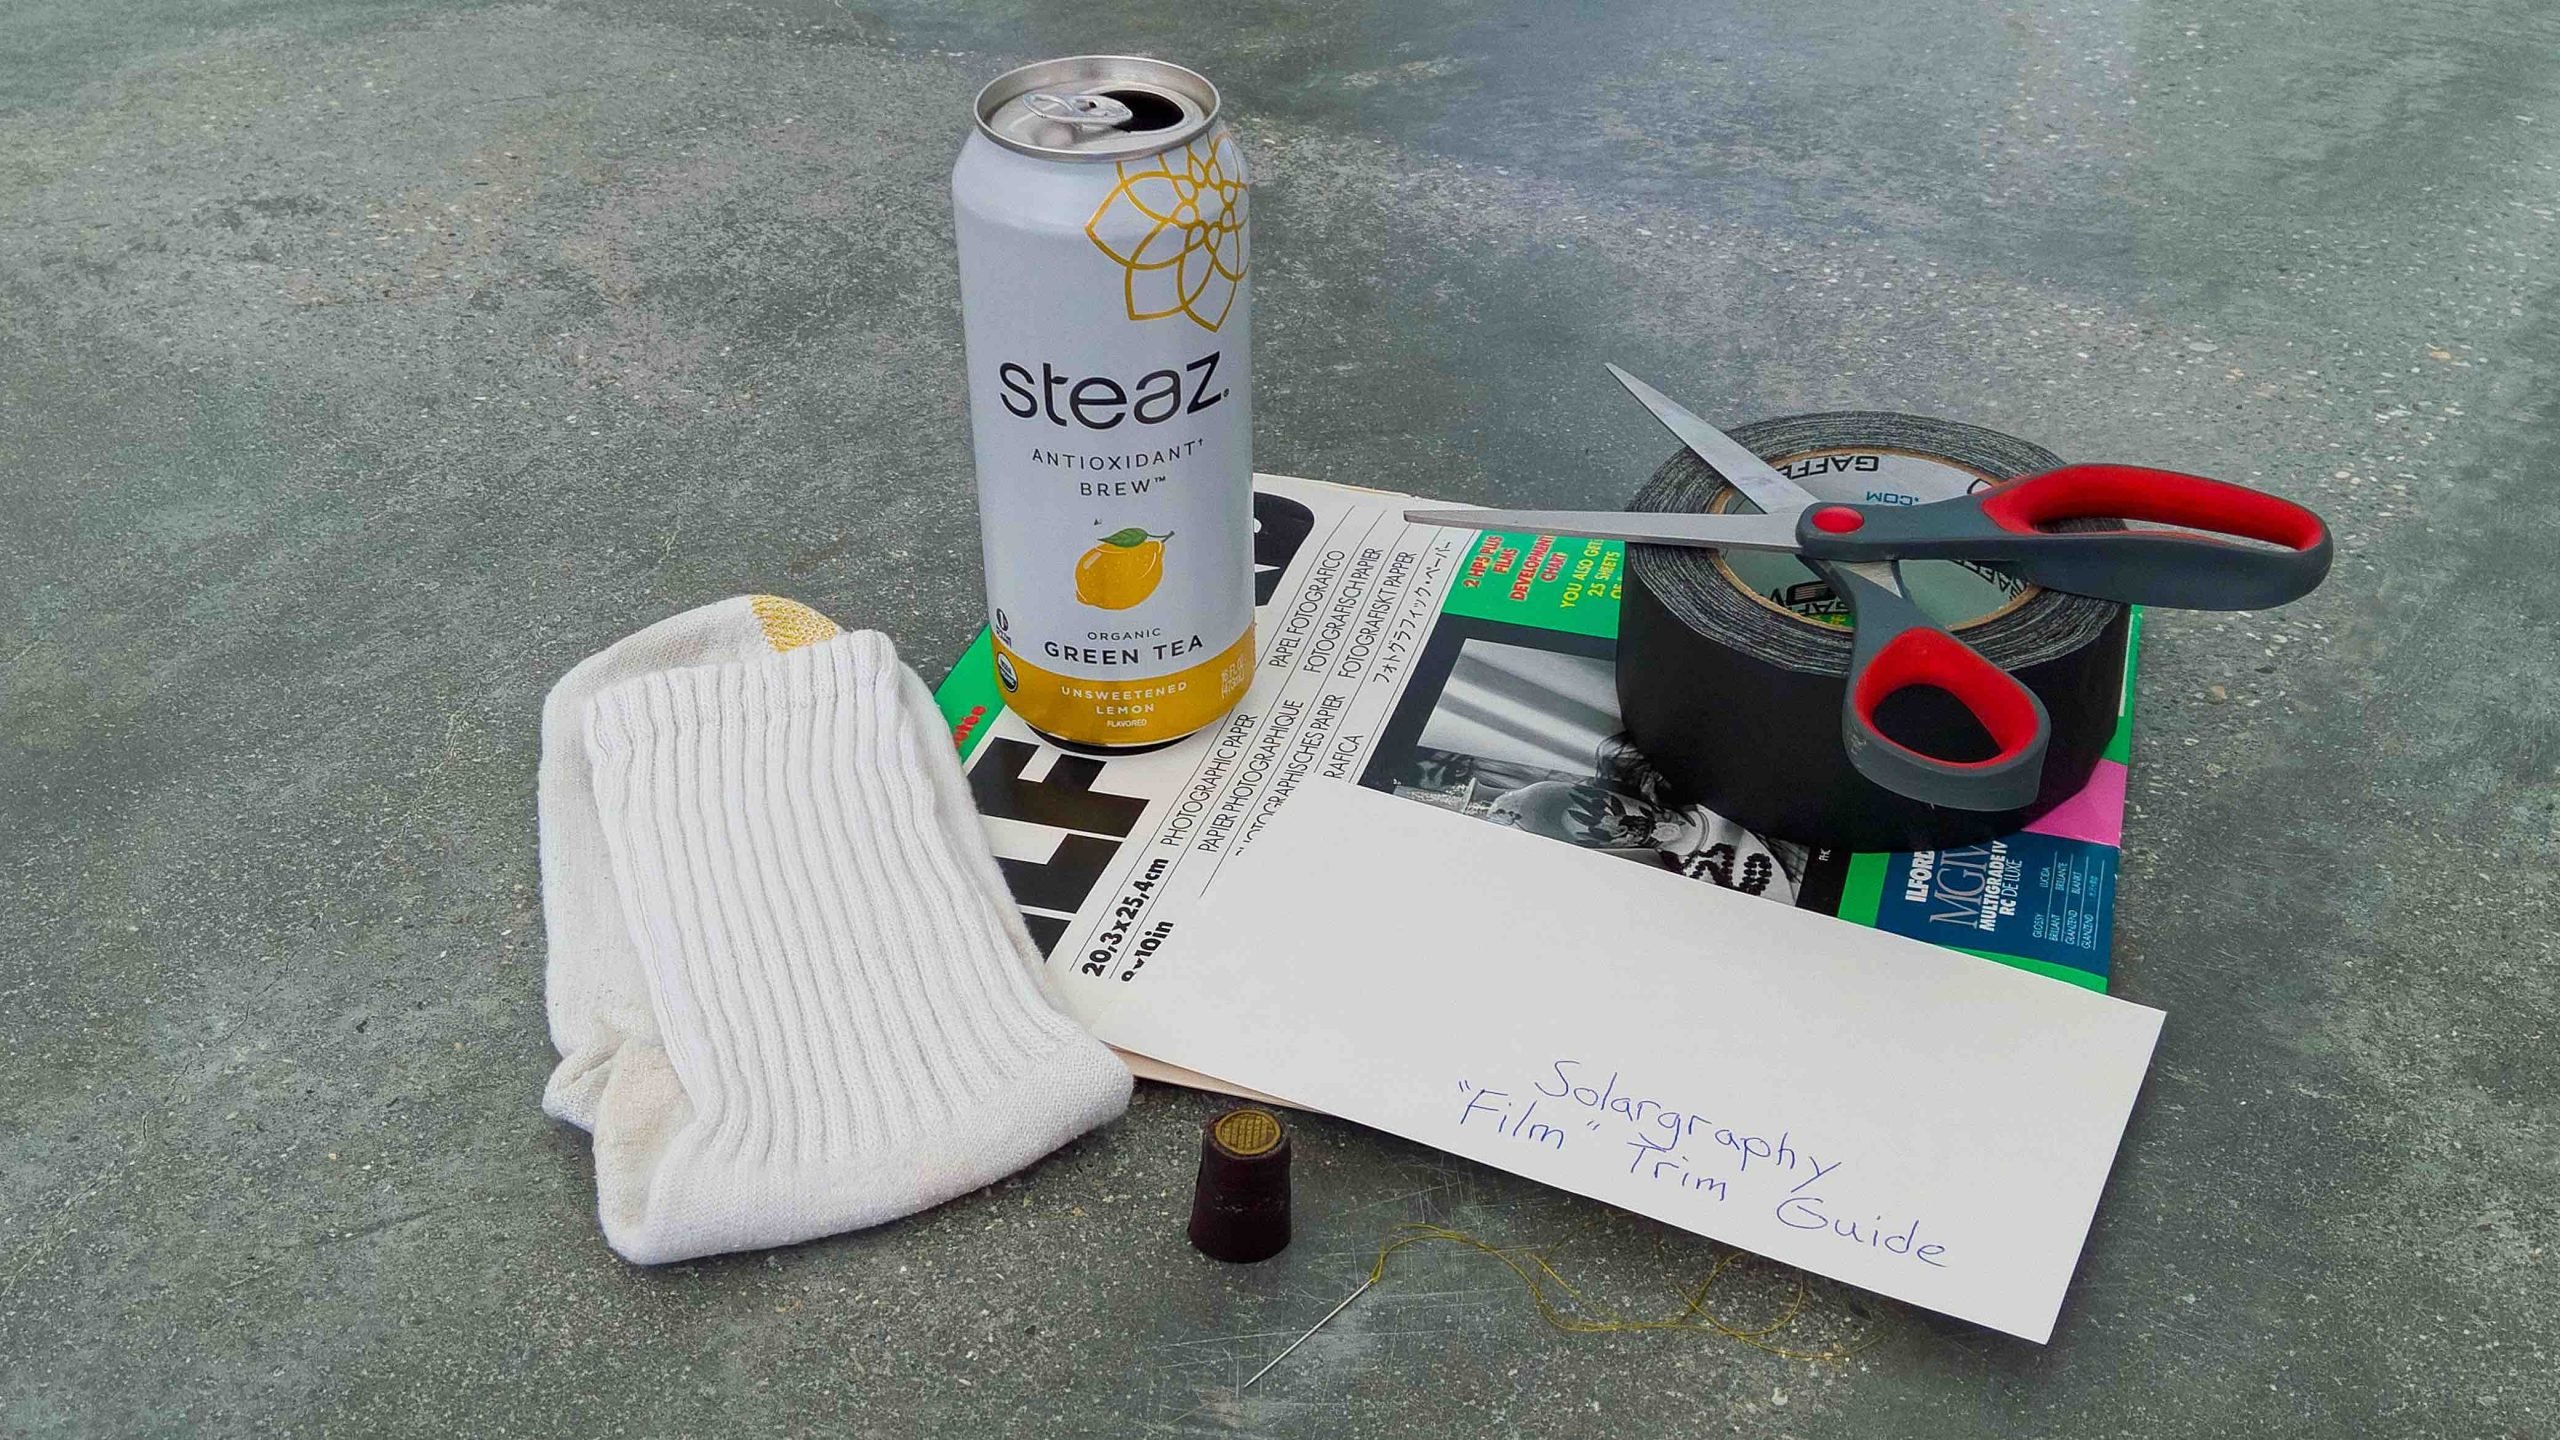
Your parts list for building a can-cam is equally unsophisticated. But the fact that it can produce outrageous photographs is, again, genius. You will need:
- An aluminum can
- One large sock
- A sewing needle
- A thimble
- Some black gaffer tape
- Scissors
- One sheet of photographic paper
- A pre-made template for cutting the photographic paper in the dark

And that’s it! Building this camera is straightforward, but you will need access to a darkened room. Thankfully, you can dimly illuminate this dark room with a safe light for enabling the easy handling and cutting of your photographic paper.
The Sun is Your Shutter
The actual steps used for assembling a can-cam are short and simple and ideally suited for involving younger photographers.
Step 1. Make a template. Take a sheet of paper and roll it around the outside of the aluminum can. Trim this sheet to the size and shape that you want for your photographic paper. Set this template aside for now.
Step 2. Open the can. Take the scissors and carefully cut the top off the can. This step can be kinda difficult and youngsters might need the steady hand of an adult for removing the top. Keep both pieces (i.e., the can’s body and top).
Step 3. Make your lens. The needle and thimble (Please note: the thimble is used to protect your fingertip) are used for piercing the can and forming the pinhole lens. Stuff the sock inside the can. This sock will lend some support to the flimsy metal as you poke the needle into the can’s side. Visually locate the approximate center of the can and slowly and carefully push the needle into the metal. Don’t shove the entire needle into the can; just a good ol’ fashioned pinprick is all that is needed. Put the sock back on your foot and stick a small piece of tape over the pinhole. This is your lens cap.
Step 4. Load the paper. Enter your dark room with the can & top, photographic paper, template, scissors, tape, and safe light. Douse the lights and look for light leaks. Use the tape to cover any bright light sources. Turn on the safe light, remove one sheet of photographic paper, lay your template on the paper, and trim the photographic paper to size. Slip the trimmed paper into the can, loosely place the top back on the can, and thoroughly seal the top of the can with tape. You don’t want any gaps or spaces in the can’s top that could accidentally leak light or water inside the can. Check, one more time, to ensure that the photographic paper has been properly sealed back in its storage box/envelope and then leave the dark room.
Step 5. Install the camera. Locate a spot for installing your can-cam. Ideally, this location should be an east-facing area that has a clear and open view of the horizon during sunrise. Bonus points can be gained by including strong landmarks within your eastern view. Buildings, trees, houses that have clear, understandable outlines are perfect. Strongly tape your can-cam in its selected location. Any movement from weather events could potentially ruin your final photograph. A good way to ensure that your can-cam stays safe and secure during its exposure is to install it in a building/house with an east-facing window. When you’re satisfied with your installation, remove the tape lens cap and let the exposure begin.

Step 6. Time the exposure. Leave the can-cam alone for four months. This is the exposure duration for ensuring a great final photograph. After four months, remove the can-cam and take the top off the can. In subdued light, gently remove the photographic paper. NO developing/processing is needed. Immediately, either scan the photographic paper or take a closeup photograph with your smart device or a digital camera. You now have a negative image of your can-cam exposure.
Secure the now scanned photographic paper negative inside a light-tight envelope. Label this envelope with location details, date, and exposure information. Even in a sealed envelope, after several years, you can expect the negative to slowly fade over time.
Once you have made a can-cam negative scan, you can use your fave photographic editing tool to make a positive of your exposure by using the “invert” option. Alternatively, you can upload your negative to the Lomo DigitaLIZA Lab for converting it into a positive image.
How’d it turn out? Did your photograph show a series of bright arcs from the 100+ sunrises that probably occurred during the duration of your exposure? If people don’t think you’re a genius (yet), try variations on the diameter of your pinhole. Also, build/install several can-cams at different locations with different sized pinholes and compare the results.

But whatever you do, keep drinking those aluminum can beverages. Why? How else are you going to use the rest of your photographic paper? Besides, that genius crown makes a nice fit on your head.
Enjoy.

