Food Photography Lighting Setup Guide: Master Pro Techniques
Learn professional food photography lighting setups with step-by-step tutorials. Discover natural light, studio lighting, and equipment tips for stunning food photos.
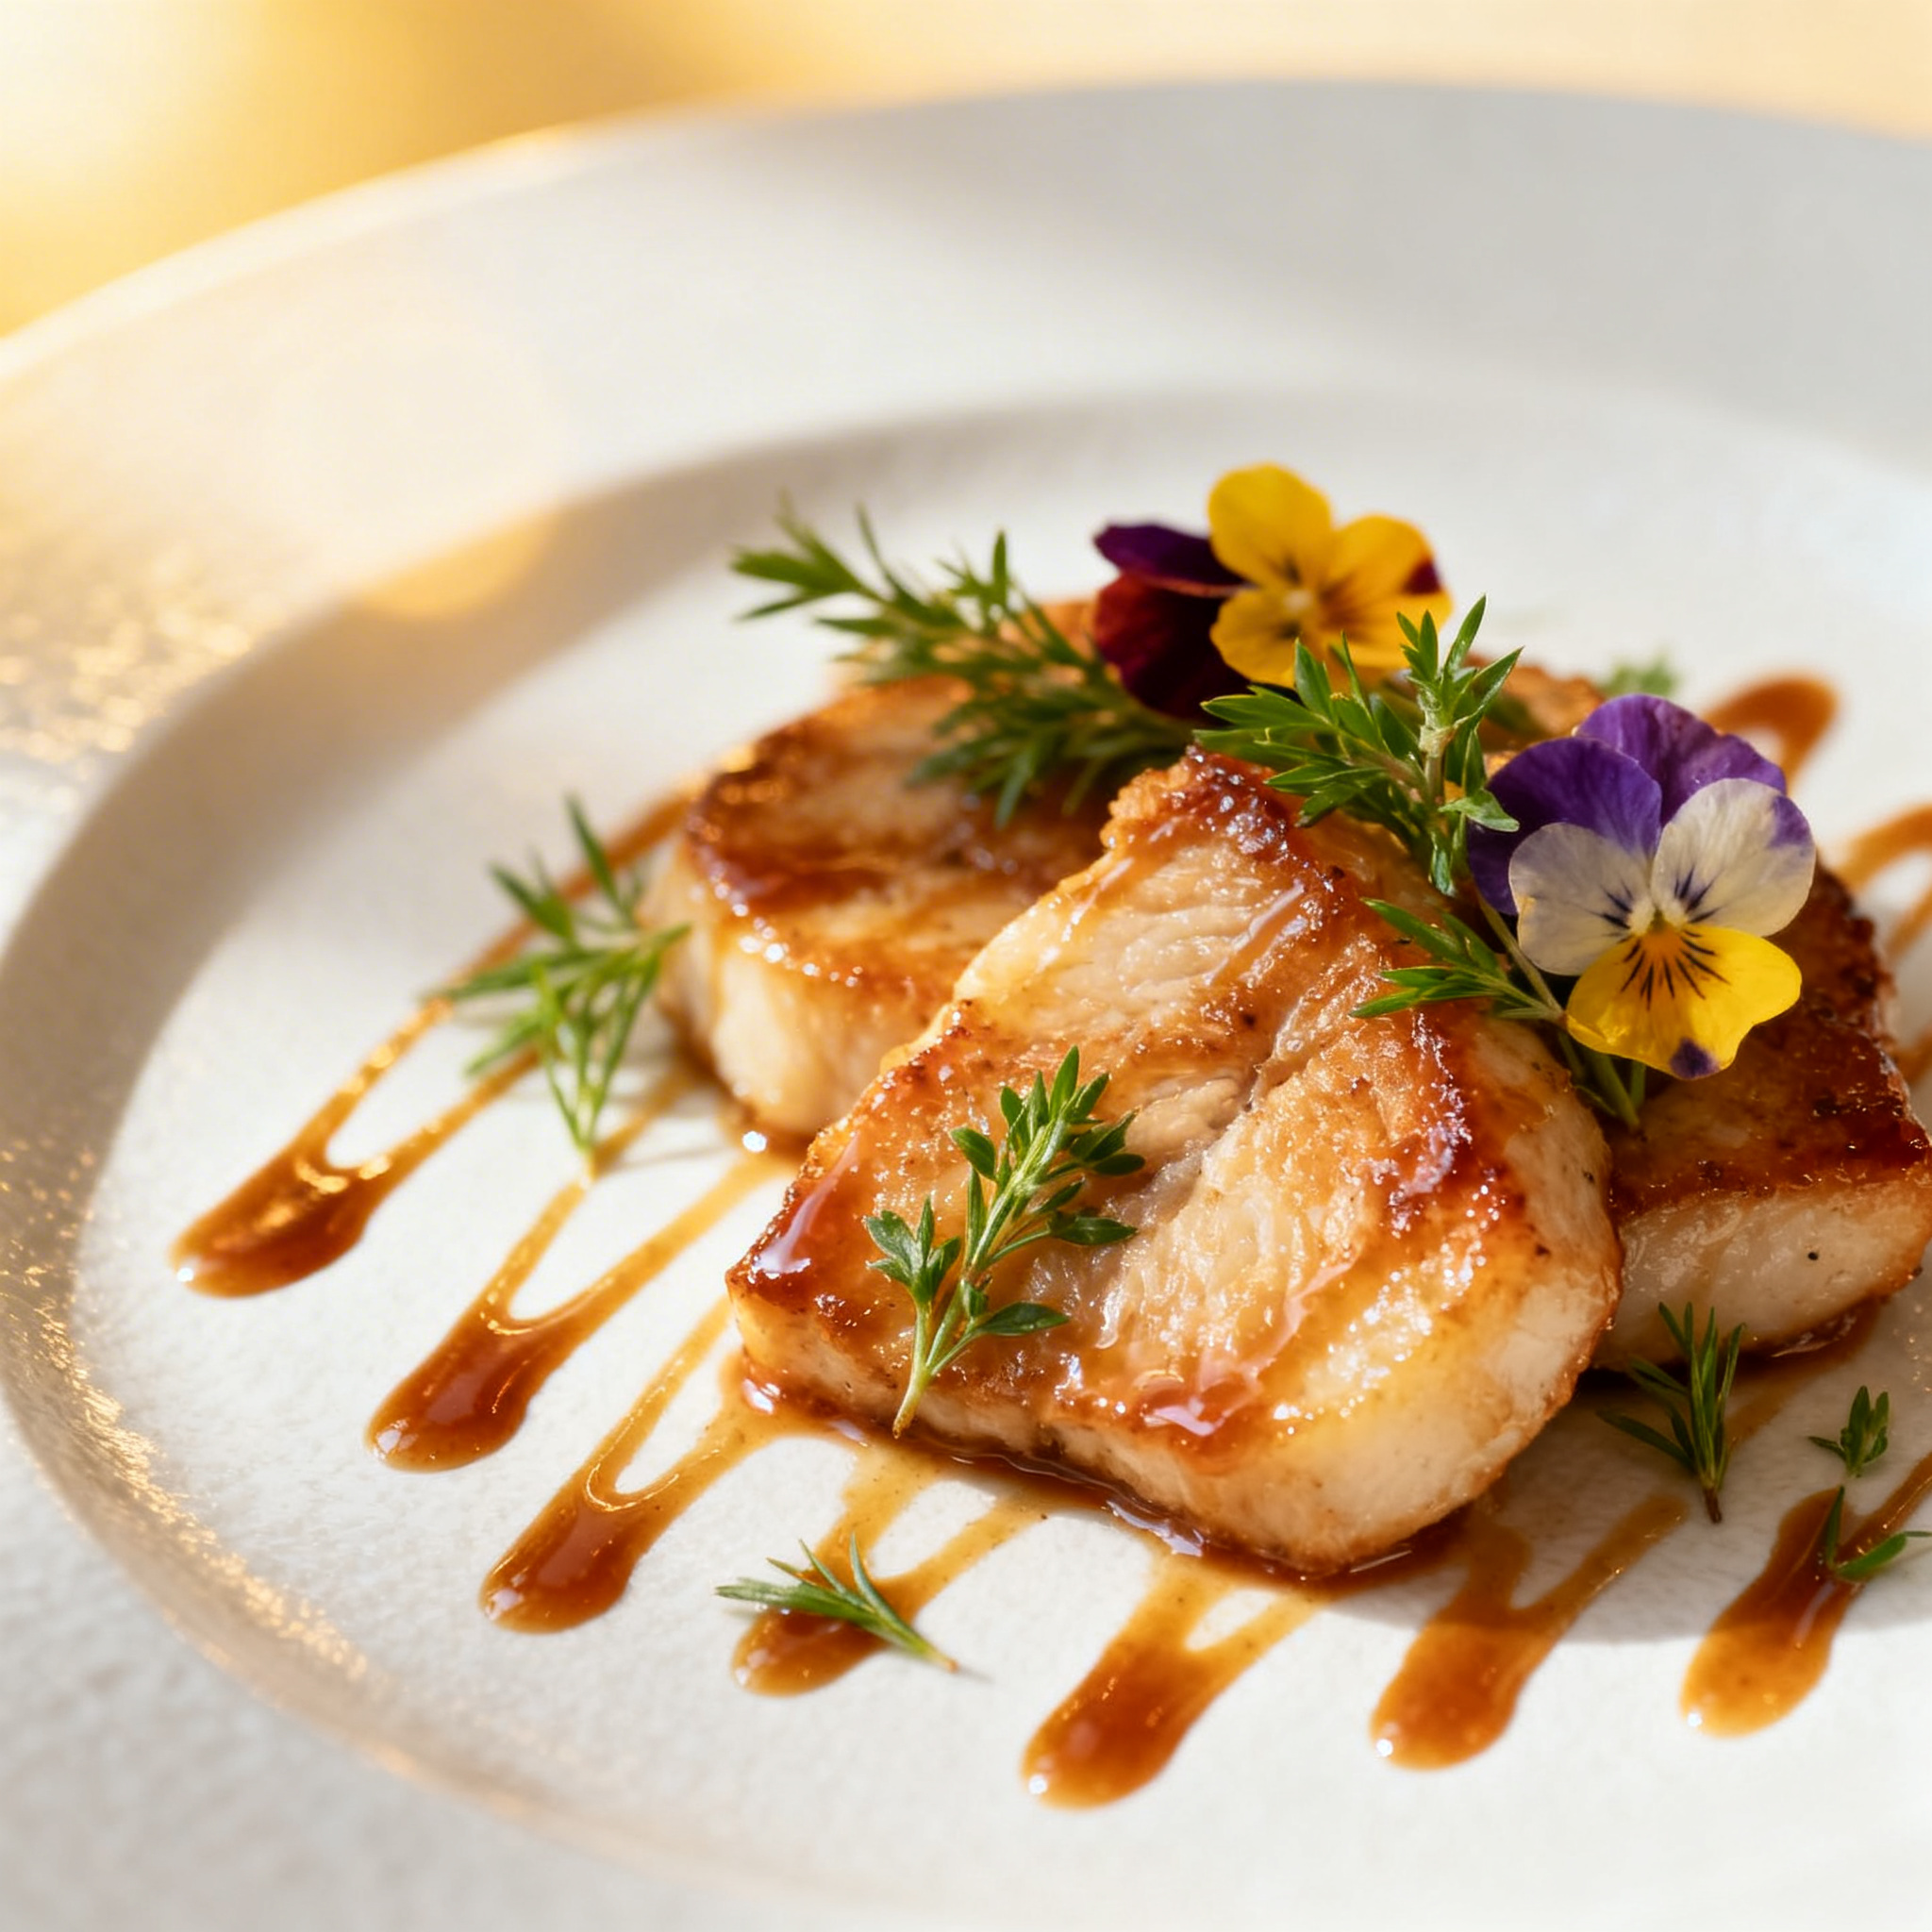
Food photography has exploded in popularity, from professional restaurant marketing to Instagram influencers showcasing culinary creations. The secret to mouthwatering food photos isn’t just the dish itself—it’s all about the lighting. Whether you’re a beginner looking to improve your food photography or a seasoned photographer wanting to refine your technique, this comprehensive guide will walk you through everything you need to know about creating the perfect lighting setup for food photography.
Understanding the Fundamentals of Food Photography Lighting
Before diving into specific setups, it’s crucial to understand why lighting makes or breaks a food photograph. Unlike portrait or landscape photography, food photography requires lighting that enhances texture, color, and appetite appeal while avoiding harsh shadows that can make even the most delicious dish look unappetizing.
The primary goal of food photography lighting is to create a natural, inviting atmosphere that makes viewers want to reach through the screen and take a bite. This means working with soft, diffused light that reveals details without overwhelming the subject.
Natural Light vs. Artificial Light
Natural light remains the gold standard for food photography, offering beautiful color rendition and a soft quality that’s difficult to replicate artificially. However, relying solely on natural light presents challenges—inconsistency throughout the day, weather dependence, and limited shooting windows.
Artificial lighting gives you complete control over your setup, allowing you to shoot at any time and maintain consistent results. The key is learning to make artificial light look as natural as possible.
Essential Equipment for Food Photography Lighting
Camera Equipment
While you can achieve great results with any camera, having the right equipment makes the process smoother. The Sony A7 IV is an excellent choice for food photography, offering exceptional image quality and versatility.
Sony A7 IV Specifications:
| Feature | Specification |
|---|---|
| Sensor | 33MP Full-Frame CMOS |
| ISO Range | 100-51,200 (expandable to 204,800) |
| Image Stabilization | 5-axis in-body |
| Video | 4K 60p |
| Autofocus Points | 759 phase-detection |
| Battery Life | 580 shots (LCD) |
| Weather Sealing | Yes |
Lighting Equipment Essentials
Softboxes and Diffusers Softboxes are your best friend in food photography. They create even, diffused light that mimics natural window light. Look for rectangular softboxes ranging from 24x36 inches for versatility.
LED Panels Continuous LED panels allow you to see exactly how your lighting affects the food in real-time. Choose panels with adjustable color temperature (3200K-5600K) for maximum flexibility.
Reflectors White foam core boards or professional reflectors help bounce light into shadows, creating more even illumination without additional light sources.
Light Stands Sturdy, adjustable light stands are essential for positioning your lights at various angles and heights.
Step-by-Step Lighting Setups
Setup #1: Single Window Light (Natural)
This is the simplest and most accessible setup for beginners.
Equipment Needed:
- Large window with indirect sunlight
- White foam core board (32x40 inches)
- Tripod
Step-by-Step Instructions:
- Position your setup 2-3 feet from a north-facing window or any window with soft, indirect light
- Place your food on a table perpendicular to the window
- Set up your reflector on the opposite side of the window to bounce light back onto the shadow side
- Adjust the reflector distance to control shadow intensity—closer for brighter fill light, farther for more dramatic shadows
- Camera settings: Start with ISO 400, f/5.6, and adjust shutter speed for proper exposure
Pro Tips:
- Shoot during overcast days for naturally diffused light
- Use sheer curtains to further diffuse harsh sunlight
- The golden hour provides warm, appealing light but can be challenging to work with due to rapid changes
Setup #2: Single Artificial Light with Softbox
This setup replicates natural window light using artificial lighting.
Equipment Needed:
- LED panel (minimum 50W)
- Rectangular softbox (24x36 inches)
- Light stand
- White reflector board
Step-by-Step Instructions:
- Mount the LED panel in the softbox and attach to the light stand
- Position the softbox at a 45-degree angle to your food, about 2-3 feet away
- Set the color temperature to 5200K-5600K for daylight balance
- Place your reflector opposite the main light to fill in shadows
- Adjust power to achieve your desired exposure
- Camera settings: ISO 200, f/8 for good depth of field, adjust shutter speed as needed
Fine-Tuning Tips:
- Move the light closer for softer shadows, farther for more defined shadows
- Angle the light more from the side for dramatic mood lighting
- Adjust reflector position to control the shadow-to-highlight ratio
Setup #3: Two-Light Setup for Even Coverage
For dishes that need more even lighting or when shooting multiple items.
Equipment Needed:
- Two LED panels
- Two softboxes
- Two light stands
- Optional: Hair light or background light
Step-by-Step Instructions:
- Set your main light at a 45-degree angle as in Setup #2
- Position the fill light on the opposite side at a lower power (about 50% of main light)
- Adjust the fill light height to be slightly lower than the main light
- Fine-tune the power ratio between lights—typically 2:1 or 3:1 main to fill
- Add a hair light from behind and above if desired to separate the food from the background
- Camera settings: ISO 200, f/8-f/11, adjust shutter speed for proper exposure
Setup #4: Overhead Lighting for Flat Lays
Perfect for pizza, salads, or arranged table scenes.
Equipment Needed:
- Large softbox or umbrella
- Boom arm or overhead mounting system
- Optional: Side fill lights
Step-by-Step Instructions:
- Mount the large softbox directly overhead using a boom arm
- Position 3-4 feet above your food surface
- Add fill cards around the edges if needed to reduce harsh shadows
- Use a wide-angle lens to capture the full scene
- Camera settings: ISO 200, f/11-f/16 for maximum sharpness across the frame
Camera Settings and Technical Considerations
Aperture Selection
Food photography typically benefits from moderate aperture settings:
- f/5.6-f/8: Good for isolating single dishes while maintaining sharp details
- f/11-f/16: Better for flat lays or when you need everything in focus
- f/2.8-f/4: Use sparingly for extreme selective focus effects
ISO Management
Keep ISO as low as possible for maximum image quality:
- ISO 100-200: Ideal when using artificial lighting
- ISO 400-800: Acceptable for natural light situations
- Avoid ISO 1600+ unless absolutely necessary, as noise can detract from food texture details
White Balance Precision
Accurate white balance is crucial for appetizing food colors:
- Set custom white balance using a gray card
- Shoot in RAW format for maximum post-processing flexibility
- Be consistent with your light sources—don’t mix tungsten and daylight without proper correction
Lighting Modifiers and Accessories
Diffusion Materials
Professional Diffusion:
- Softboxes with internal diffusion panels
- Shoot-through umbrellas for softer light
- Dedicated diffusion screens for window light
DIY Solutions:
- Parchment paper (fire-safe distance from hot lights)
- White shower curtains
- Translucent plastic storage containers
Reflectors and Fill Cards
Materials and Colors:
- White: Neutral fill light
- Silver: Brighter, cooler fill
- Gold: Warm, golden fill light
- Black: Subtractive lighting to deepen shadows
Background and Surface Considerations
Your lighting setup must work harmoniously with your backgrounds:
- Light backgrounds reflect more light, requiring less fill
- Dark backgrounds absorb light, may need additional background lighting
- Textured surfaces can create interesting shadow patterns but may need more even lighting
Common Lighting Mistakes and Solutions
Mistake #1: Harsh, Direct Flash
Problem: Built-in camera flash creates unflattering, harsh shadows and eliminates food texture.
Solution: Never use direct flash. If you must use flash, bounce it off the ceiling or use a flash modifier to diffuse the light.
Mistake #2: Mixed Color Temperatures
Problem: Combining different light sources (tungsten bulbs + daylight) creates color casts that make food look unnatural.
Solution: Use lights with matching color temperatures or correct in post-processing. When shooting RAW, you have more flexibility to fix minor color balance issues.
Mistake #3: Overly Complex Lighting
Problem: Using too many lights creates conflicting shadows and an unnatural appearance.
Solution: Start simple with one main light source and build complexity gradually. Remember that great food photography often uses just one or two lights effectively.
Mistake #4: Ignoring Shadow Quality
Problem: Either eliminating all shadows (flat, boring lighting) or creating overly harsh shadows.
Solution: Aim for soft, directional shadows that add depth without overwhelming the subject. Shadows should enhance, not distract from, your food.
Advanced Techniques and Creative Approaches
Backlighting for Drama
Position your main light behind the food, slightly to one side, to create rim lighting that makes ingredients glow. This technique works particularly well with translucent items like beverages or fresh produce.
Color Temperature Creative Effects
Experiment with slightly warmer color temperatures (3200K-4500K) for cozy, intimate moods, or cooler temperatures (5600K-6500K) for fresh, modern aesthetics.
Gradient Lighting
Create smooth light falloff across your scene by feathering your softbox—using the edge of the light beam rather than the center hotspot.
Post-Processing Considerations
Even with perfect lighting, post-processing can enhance your food photography:
Essential Adjustments
- Exposure fine-tuning: Minor adjustments to overall brightness
- Highlight/shadow recovery: Bring back detail in blown highlights or blocked shadows
- Vibrance over saturation: Increases color intensity without making skin tones unnatural
- Local adjustments: Use masks to adjust specific areas of the image
Color Grading
Develop a consistent color palette that complements your food subjects. Warm, appetizing tones generally work better than cool, clinical colors.
Building Your Food Photography Lighting Kit
Beginner Budget Setup ($200-400)
- Basic LED panel with softbox
- Reflector disc set
- Sturdy light stand
- White foam core boards
Intermediate Setup ($400-800)
- Two matching LED panels
- Quality softboxes
- Professional light stands
- Color temperature meter
Professional Setup ($800+)
- High-CRI LED panels or strobes
- Multiple modifier options
- Boom arms and grip equipment
- Professional color calibration tools
Conclusion and Final Recommendations
Mastering food photography lighting is a journey that combines technical knowledge with creative vision. Start with simple setups using natural light or a single artificial source, then gradually build complexity as you develop your skills and style.
The key principles to remember are:
- Soft, diffused light creates the most appetizing appearance
- Directional lighting adds depth and dimension
- Consistent color temperature ensures natural-looking food colors
- Practice and experimentation are essential for developing your unique style
Whether you’re using the Sony A7 IV or any other camera, remember that great food photography lighting is more about understanding light quality than having expensive equipment. Focus on creating soft, natural-looking illumination that makes your culinary subjects irresistible.
Start with the basic setups outlined in this guide, experiment with different angles and intensities, and don’t be afraid to break the rules once you’ve mastered the fundamentals. The most important thing is to keep shooting and refining your technique—your perfect food photography lighting style is waiting to be discovered.
Related Tags
Looking for the Best Camera Deals?
Check out our latest buying guides and comparison articles to find the perfect camera for your needs.
Browse Buying Guides