Golden Hour Photography: Essential Tips and Camera Settings
Master golden hour photography with expert tips on timing, camera settings, and composition techniques. Learn ISO, aperture, and shutter speed for stunning shots.
The golden hour - that magical time when warm, soft light transforms ordinary scenes into extraordinary photographs. Whether you’re a beginner picking up your first camera or an experienced photographer looking to refine your technique, mastering golden hour photography can elevate your images from good to breathtaking.
In this comprehensive guide, we’ll explore everything you need to know about capturing stunning golden hour photographs, from understanding the science behind this beautiful light to camera settings, composition techniques, and post-processing tips.
Understanding Golden Hour
Golden hour occurs twice daily - shortly after sunrise and before sunset. During these periods, the sun sits low on the horizon, creating soft, warm light that’s diffused through more of the Earth’s atmosphere. This natural diffusion eliminates harsh shadows and provides even illumination that’s incredibly flattering for both portraits and landscapes.
When Does Golden Hour Occur?
The timing of golden hour varies by location, season, and geographic coordinates. Generally:
- Morning golden hour: Begins 15-30 minutes before sunrise and lasts until about 30-60 minutes after
- Evening golden hour: Starts 60-90 minutes before sunset and continues until the sun disappears
Popular apps like PhotoPills, Sun Surveyor, or Golden Hour Calculator can help you determine exact timing for your location.
Why Golden Hour Light is Special
During golden hour, several factors combine to create ideal photographic conditions:
- Color temperature: Ranges from 2,500K to 3,500K, producing warm, golden tones
- Soft shadows: Low-angle light creates gentle, flattering shadows
- Even exposure: Reduced contrast between highlights and shadows
- Atmospheric effects: Haze and moisture add dreamy quality to images
Essential Equipment for Golden Hour Photography
While you can capture beautiful golden hour photos with any camera, certain equipment can help you maximize this special light.
Camera Bodies
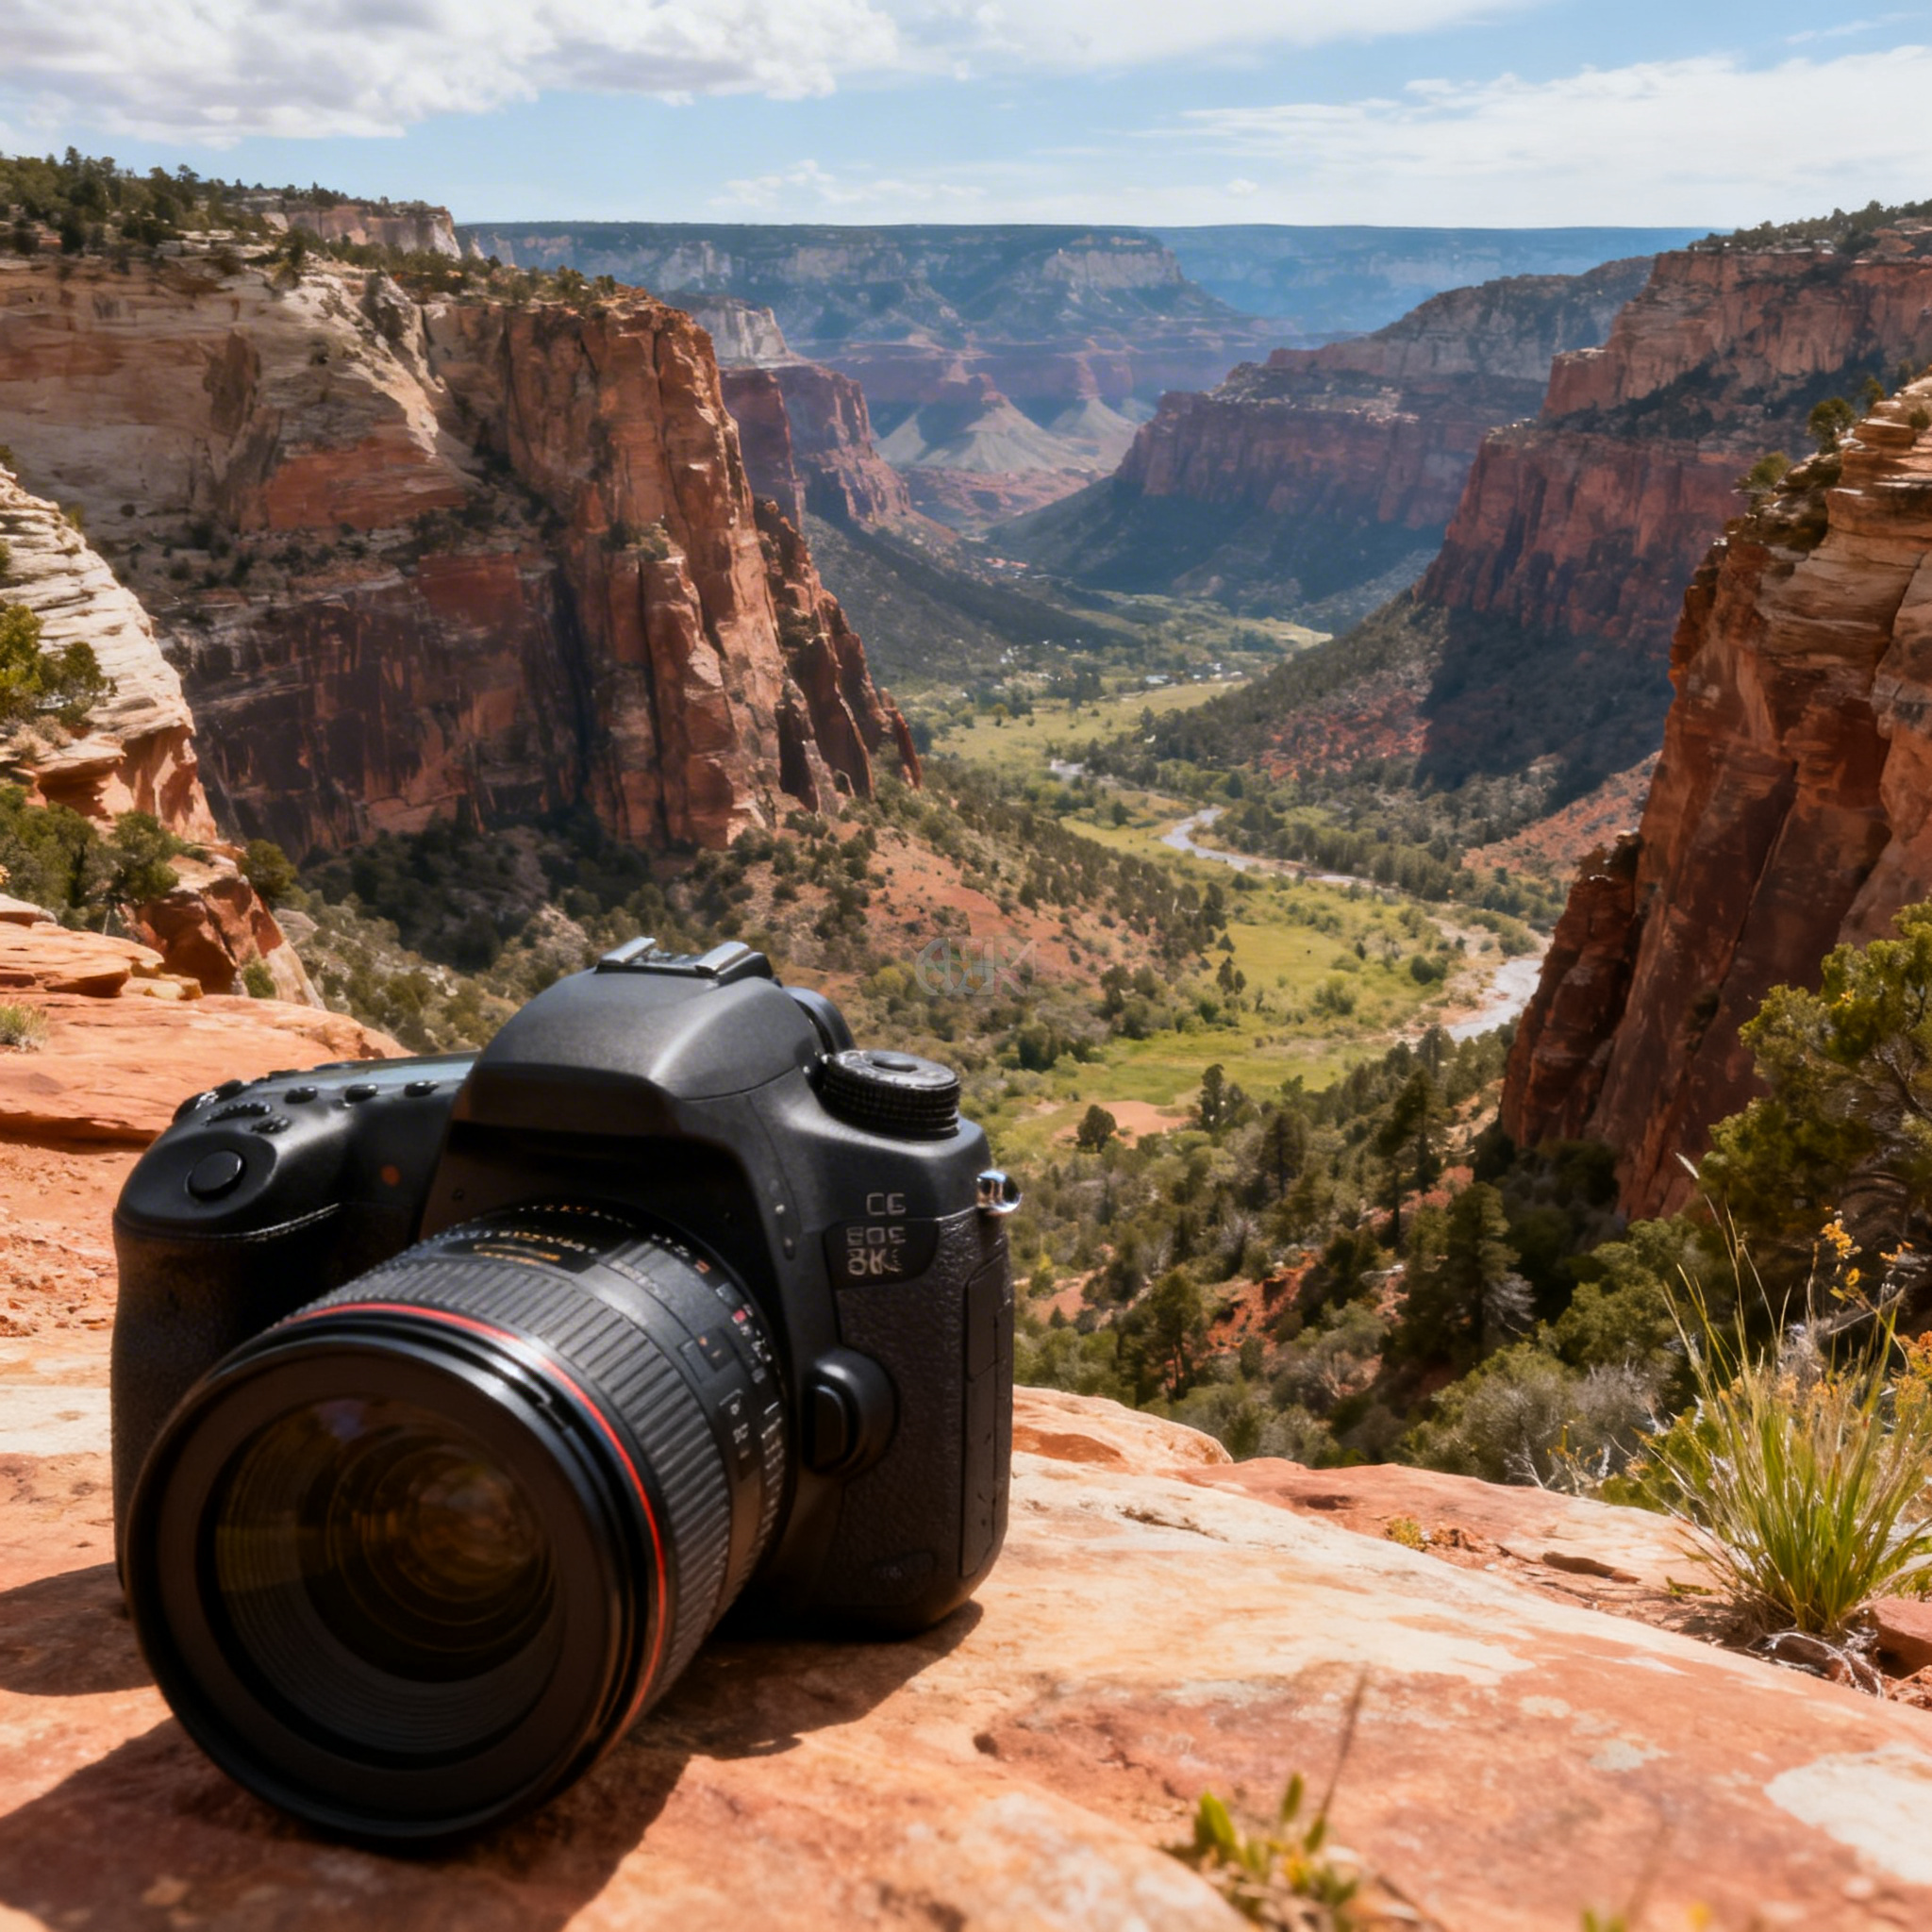
For golden hour photography, you’ll want a camera that performs well in varying light conditions. The Sony A7 IV is an excellent choice for golden hour photography, offering exceptional dynamic range and low-light performance.
| Feature | Sony A7 IV Specs |
|---|---|
| Sensor | 33MP Full-Frame CMOS |
| ISO Range | 100-51,200 (expandable to 204,800) |
| Dynamic Range | 15 stops |
| Image Stabilization | 5-axis in-body |
| Weather Sealing | Yes |
| Battery Life | 520 shots (LCD) / 580 shots (EVF) |
Recommended Lenses
- Wide-angle (14-35mm): Perfect for expansive landscape shots and dramatic sky compositions
- Standard zoom (24-70mm): Versatile for various compositions and subjects
- Portrait lens (85mm or 135mm): Ideal for isolating subjects against golden backgrounds
Essential Accessories
- Sturdy tripod: Essential for sharp images in lower light conditions
- Graduated neutral density filters: Help balance exposure between bright sky and darker foreground
- Circular polarizing filter: Reduces glare and enhances color saturation
- Extra batteries: Cold morning air can drain batteries faster
- Lens cleaning kit: Morning dew can fog lenses
Camera Settings for Golden Hour Photography
Mastering your camera settings is crucial for capturing the full beauty of golden hour light. Here’s a comprehensive breakdown of recommended settings and techniques.
Shooting Modes
Manual Mode (M) provides complete control over exposure settings, ideal when lighting conditions are consistent. Aperture Priority (A/Av) works well when light is changing rapidly, as you can control depth of field while the camera adjusts shutter speed.
Aperture Settings
Your aperture choice depends on your creative vision:
- f/1.4 - f/2.8: Creates shallow depth of field, perfect for isolating subjects with beautiful bokeh
- f/5.6 - f/8: Provides good sharpness across most of the frame while maintaining some background blur
- f/11 - f/16: Ensures maximum depth of field for landscape photography where everything should be in focus
ISO Guidelines
Golden hour light is softer but often dimmer than midday sun, so you’ll need to balance ISO with image quality:
- ISO 100-400: Ideal for tripod-mounted cameras when you have time to compose carefully
- ISO 800-1600: Good for handheld shooting or when capturing moving subjects
- ISO 3200+: Use sparingly, only when faster shutter speeds are essential
Modern cameras like the Sony A7 IV handle higher ISOs remarkably well, producing clean images even at ISO 3200-6400.
Shutter Speed Considerations
Your shutter speed will depend on your subject and shooting conditions:
- 1/60s or faster: Minimum for sharp handheld shots
- 1/125s or faster: For moving subjects like people walking or gentle waves
- 1/250s or faster: For children, pets, or other active subjects
- Several seconds: For intentional motion blur in water or clouds (requires tripod)
White Balance Settings
Golden hour’s warm color temperature is part of its appeal, but you have several white balance options:
- Daylight (5600K): Preserves the natural warmth of golden hour light
- Shade (7000K): Adds even more warmth for enhanced golden tones
- Auto WB: Can sometimes overcorrect, making images appear too cool
- Custom Kelvin: Set between 2500K-4000K for precise control
Consider shooting in RAW format to easily adjust white balance during post-processing.
Composition Techniques for Golden Hour
Great golden hour photography combines technical excellence with strong composition. Here are proven techniques to create compelling images.
Working with Backlighting
Backlighting during golden hour creates stunning rim lighting effects:
- Position your subject between you and the sun
- Expose for your subject’s face, not the bright background
- Use exposure compensation (+1 to +2 stops) to brighten shadows
- Consider using fill flash at low power to illuminate your subject
Silhouette Photography
Golden hour is perfect for dramatic silhouettes:
- Place your subject against the bright sky
- Meter for the sky, not your subject
- Use spot metering for precise control
- Choose subjects with distinctive, recognizable shapes
- Avoid cluttered backgrounds that confuse the silhouette
Landscape Composition
For golden hour landscapes:
- Include foreground elements to create depth and lead the viewer’s eye
- Use the rule of thirds to position the horizon line
- Look for reflections in water that double the golden light’s impact
- Capture cloud formations that catch and reflect the warm light
- Consider vertical compositions to emphasize tall subjects like trees or buildings
Portrait Positioning
When photographing people during golden hour:
- Side lighting: Position your subject at a 45-degree angle to the sun for dimensional lighting
- Backlighting: Create romantic rim lighting by shooting toward the sun
- Open shade: Use nearby trees or structures to soften direct sunlight
- Reflectors: Bounce golden light back onto your subject’s face to fill shadows
Step-by-Step Golden Hour Shooting Process
Pre-Shoot Planning
- Check weather conditions - Partly cloudy skies often produce the most dramatic golden hour light
- Scout locations during different times to understand how light will fall
- Arrive early - Set up 30-45 minutes before golden hour begins
- Check your gear - Ensure batteries are charged and memory cards are empty
During the Shoot
- Start with test shots to establish proper exposure settings
- Monitor your histogram to avoid blown highlights in the sky
- Bracket your exposures to capture the full dynamic range
- Work quickly - Golden hour light changes rapidly
- Take multiple shots of each composition as light evolves
- Don’t pack up too early - Blue hour immediately following can be equally beautiful
Technical Workflow
- Set up your tripod for stability in lower light
- Switch to manual focus if autofocus struggles in low contrast situations
- Use live view to precisely compose and focus
- Enable mirror lock-up (DSLR) or electronic first curtain (mirrorless) to reduce vibration
- Consider focus stacking for maximum sharpness in landscape images
Common Golden Hour Photography Challenges and Solutions
Challenge: Harsh Contrast
Solution: Use graduated neutral density filters or HDR techniques to balance exposure between bright sky and darker foreground.
Challenge: Camera Shake in Low Light
Solution: Use a sturdy tripod, remote shutter release, and proper camera stabilization techniques. Increase ISO rather than using dangerously slow shutter speeds handheld.
Challenge: Rapidly Changing Light
Solution: Work in aperture priority mode, use exposure compensation, and take multiple shots of each composition as conditions change.
Challenge: Autofocus Hunting
Solution: Switch to manual focus, use single-point AF mode, or focus on high-contrast edges within your scene.
Challenge: Lens Flare
Solution: Use a lens hood, position yourself to block direct sun, or embrace flare as a creative element when it enhances your composition.
Post-Processing Golden Hour Images
Golden hour photos often benefit from careful post-processing to enhance their natural beauty:
RAW Processing Basics
- Adjust highlights and shadows to recover detail in bright skies and dark foreground areas
- Fine-tune white balance to enhance or moderate the golden tones
- Increase vibrance rather than saturation for more natural color enhancement
- Add graduated filters to selectively adjust sky exposure
- Sharpen appropriately for your intended output
Color Grading Techniques
- Enhance warm tones in highlights while keeping shadows neutral
- Add subtle orange/yellow to highlights to amplify the golden hour effect
- Consider complementary blue tones in shadows for color contrast
- Use luminosity masks for precise control over specific tonal ranges
Advanced Techniques
- Focus stacking for maximum sharpness in landscape images
- HDR processing to capture extreme dynamic range
- Time blending to combine multiple exposures taken at different times
- Sky replacement when original conditions weren’t optimal
Creative Applications and Artistic Approaches
Golden Hour Portraits
Golden hour creates incredibly flattering portrait light. Try these approaches:
- Rim lighting: Position subjects between you and the sun for ethereal backlighting
- Soft fill: Use natural reflectors like sand or snow to bounce warm light
- Environmental portraits: Include golden-lit backgrounds to establish location and mood
- Lifestyle photography: Capture natural interactions in beautiful light
Landscape Photography
Golden hour transforms landscapes into magical scenes:
- Foreground emphasis: Use wide angles to include prominent foreground elements
- Layered compositions: Create depth with multiple planes of interest
- Water features: Capture reflections and the interplay of light on water surfaces
- Architectural elements: Include buildings, bridges, or structures that catch golden light
Planning Your Golden Hour Photography Sessions
Seasonal Considerations
- Spring: Longer golden hours with fresh, green foliage
- Summer: Shorter but intense golden periods, higher sun angles
- Fall: Extended golden hours with colorful foliage and atmospheric haze
- Winter: Longer periods of golden light, interesting snow and ice formations
Location Scouting
Research and visit potential locations beforehand:
- Study sun paths using apps to predict lighting angles
- Consider seasonal changes in landscape and vegetation
- Check accessibility and safety concerns for early morning or late evening shoots
- Have backup locations in case weather doesn’t cooperate
Conclusion and Recommendations
Golden hour photography offers some of the most rewarding opportunities for creating stunning images. The combination of warm, soft light and dramatic skies provides endless creative possibilities for both portrait and landscape photography.
Success in golden hour photography comes from understanding the technical aspects - proper camera settings, exposure techniques, and equipment choices - while developing an artistic eye for composition and timing. Remember that golden hour light changes quickly, so be prepared to work efficiently and adapt your settings as conditions evolve.
For photographers serious about capturing the best golden hour images, investing in quality equipment like the Sony A7 IV can make a significant difference in image quality and shooting flexibility. Its excellent dynamic range and low-light performance are particularly valuable during these challenging lighting conditions.
Most importantly, don’t just focus on the technical aspects - golden hour photography is about capturing emotion and atmosphere. The warm, magical quality of this light naturally evokes feelings of peace, romance, and wonder. Use these technical tools and techniques as a foundation, but always remember to pursue the emotional impact that makes golden hour photography so compelling.
Practice regularly, experiment with different subjects and compositions, and don’t be discouraged if your early attempts don’t match your vision. Golden hour photography is a skill that improves with experience, and each session teaches valuable lessons about light, composition, and timing. With patience and persistence, you’ll develop the ability to consistently create images that capture the true magic of golden hour light.
Related Tags
Looking for the Best Camera Deals?
Check out our latest buying guides and comparison articles to find the perfect camera for your needs.
Browse Buying Guides