Golden Hour Photography Tips: Camera Settings & Techniques
Master golden hour photography with expert tips on camera settings, composition techniques, and timing. Learn how to capture stunning warm light photos.
What is Golden Hour Photography?
Golden hour photography refers to capturing images during the period shortly after sunrise or before sunset when the sun is low on the horizon. During this magical time, the light takes on a warm, golden quality that transforms ordinary scenes into extraordinary photographs. The sun’s position creates soft, diffused lighting that eliminates harsh shadows and provides a natural glow that’s impossible to replicate artificially.
This phenomenon occurs twice daily and typically lasts between 30 minutes to an hour, depending on your location and season. The exact timing varies based on your geographical position, with locations closer to the equator experiencing shorter golden hours year-round.
Why Golden Hour Creates Stunning Photos
The Science Behind the Magic
During golden hour, sunlight travels through more of Earth’s atmosphere before reaching your camera. This extended journey filters out the harsh blue light that creates unflattering shadows during midday, leaving behind the warm spectrum of colors that make golden hour so special.
Key Benefits for Photography
Flattering Portrait Lighting: The soft, warm light naturally enhances skin tones and creates a beautiful rim lighting effect that separates subjects from backgrounds.
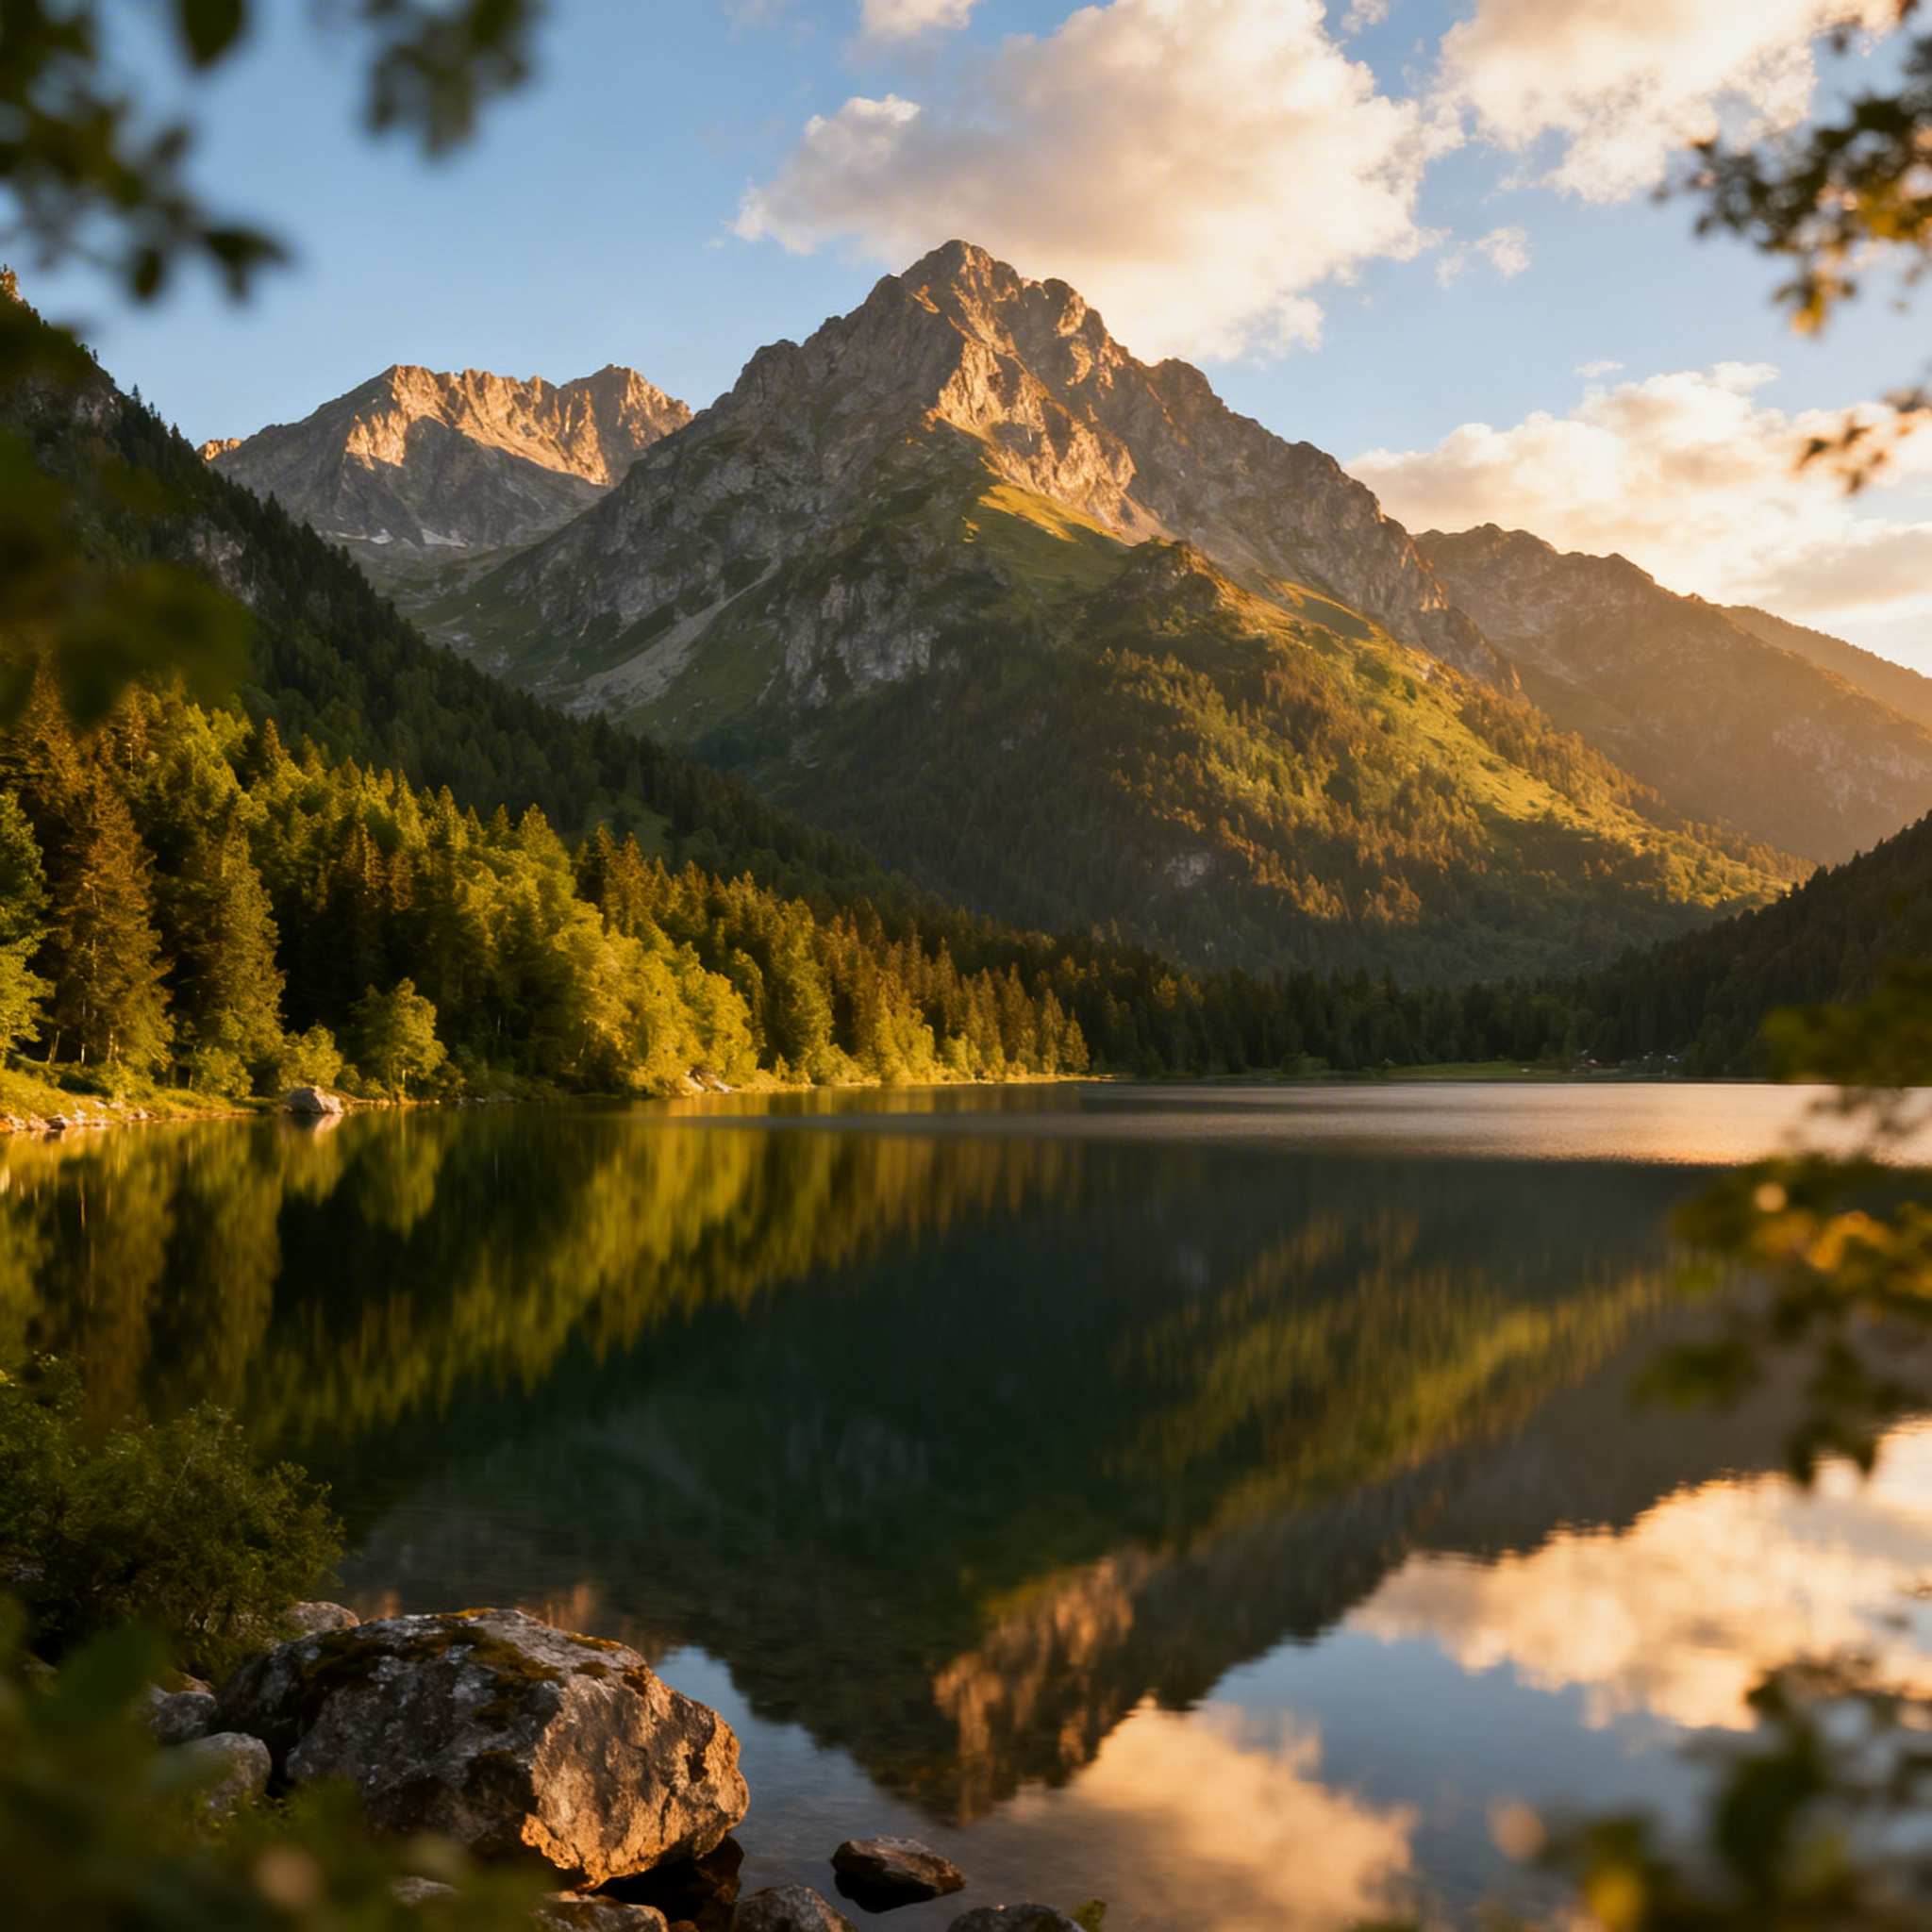
Enhanced Landscapes: Mountains, buildings, and natural features take on a golden glow that adds depth and dimension to your compositions.
Dramatic Skies: Cloud formations become more pronounced, often displaying spectacular colors ranging from deep oranges to soft pinks.
Reduced Contrast: The even lighting eliminates the extreme highlights and deep shadows that can ruin photos during harsh midday sun.
Essential Camera Settings for Golden Hour
Manual Mode Mastery
While automatic modes can work during golden hour, manual mode gives you complete control over your creative vision. Here are the fundamental settings to master:
Aperture Settings
For Portraits: Use apertures between f/1.4 to f/4 to create shallow depth of field and beautiful bokeh. This isolates your subject from the background while taking advantage of the warm backlighting.
For Landscapes: Choose apertures from f/8 to f/11 for optimal sharpness across your entire frame. This ensures both foreground and background elements remain crisp and detailed.
For Creative Effects: Experiment with very wide apertures (f/1.2-f/2.8) to create dreamy, ethereal looks with significant background blur.
Shutter Speed Considerations
Golden hour’s lower light levels require careful attention to shutter speed to avoid camera shake and motion blur.
Handheld Photography: Follow the reciprocal rule – use a shutter speed that’s at least 1/focal length of your lens. For a 50mm lens, use 1/60s or faster.
Moving Subjects: Increase shutter speed to 1/250s or higher to freeze action, such as people walking or leaves blowing in the wind.
Creative Motion: Use slower shutter speeds (1/30s-1/60s) to capture intentional motion blur for artistic effect.
ISO Management
Modern cameras handle higher ISOs remarkably well, but golden hour often provides enough light to keep ISO relatively low.
Optimal Range: Start with ISO 100-400 for the cleanest image quality.
Low Light Situations: Don’t hesitate to increase ISO to 800-1600 if needed to maintain proper exposure and sharp images.
Noise vs. Detail: It’s better to have a slightly noisy, properly exposed image than a too-dark photo that requires significant brightening in post-processing.
Step-by-Step Golden Hour Photography Process
Step 1: Planning Your Session
Calculate Golden Hour Times: Use apps like PhotoPills, Sun Surveyor, or Golden Hour Calculator to determine exact timing for your location.
Scout Locations: Visit potential shooting locations during different times to understand how light interacts with your chosen environment.
Check Weather Conditions: Partly cloudy skies often produce the most dramatic golden hour lighting, while completely clear or overcast skies may be less interesting.
Step 2: Arrive Early and Stay Late
Pre-Golden Hour Setup: Arrive 30-45 minutes before golden hour begins to set up equipment and compose shots.
Blue Hour Extension: Stay 20-30 minutes after sunset for blue hour photography, when the sky takes on deep blue tones.
Step 3: Camera Configuration
- Set your camera to Manual mode for complete exposure control
- Configure your white balance to “Daylight” or “Shade” to preserve warm tones
- Enable your camera’s histogram to monitor exposure levels
- Turn on highlight warnings to prevent blown-out highlights
- Set up back-button focus for more precise focusing control
Step 4: Composition and Execution
Rule of Thirds: Position the horizon along the upper or lower third line, depending on whether the sky or foreground is more interesting.
Leading Lines: Use natural elements like shorelines, paths, or architectural features to guide viewers’ eyes through your composition.
Foreground Interest: Include compelling foreground elements to add depth and create a sense of three-dimensionality.
Advanced Techniques and Creative Ideas
Backlighting Mastery
Position your subject between the camera and sun to create stunning silhouettes or rim lighting effects. For silhouettes, expose for the bright sky background. For rim lighting, use fill flash or increase exposure to retain detail in your subject.
Golden Hour Portraits
Positioning: Place subjects at angles to the light source rather than directly facing it for more flattering illumination.
Reflectors: Use natural reflectors like sand, snow, or light-colored walls to bounce soft light back onto your subject’s face.
Lens Flare: Embrace controlled lens flare by partially blocking the sun with your subject or nearby objects.
Landscape Photography Tips
Graduated Neutral Density Filters: Use these filters to balance exposure between bright skies and darker foregrounds.
Focus Stacking: Take multiple images at different focus points and blend them in post-processing for maximum sharpness throughout your scene.
Bracketed Exposures: Capture multiple exposures to create HDR images or have options for different artistic interpretations.
Essential Equipment for Golden Hour Photography
Camera Bodies
A camera with good high-ISO performance and dynamic range will serve you well during golden hour. Full-frame sensors generally perform better in lower light conditions, but modern crop-sensor cameras are also highly capable.
Lens Selection
Prime Lenses: 35mm, 50mm, and 85mm primes offer excellent optical quality and wide apertures perfect for golden hour work.
Zoom Lenses: 24-70mm f/2.8 lenses provide versatility while maintaining consistent maximum aperture throughout the zoom range.
Wide-Angle Options: 16-35mm lenses are ideal for landscape photography and environmental portraits during golden hour.
Support Equipment
Sturdy Tripod: Essential for sharp images in lower light conditions and long exposure techniques.
Remote Shutter Release: Minimizes camera shake during exposure, especially important for longer shutter speeds.
Lens Hood: Helps control flare and protects your lens from direct sunlight.
Common Golden Hour Photography Mistakes
Timing Errors
Missing the Peak: Golden hour passes quickly. Plan to be shooting during the optimal 20-30 minute window when light quality is at its best.
Ignoring Weather: Don’t automatically cancel shoots due to clouds – they often create more interesting and dramatic lighting conditions.
Technical Mistakes
Blown Highlights: The bright sun can easily overexpose parts of your image. Monitor your histogram carefully and consider using graduated neutral density filters.
Incorrect White Balance: Auto white balance may overcorrect and remove the warm tones that make golden hour special. Use daylight or shade settings instead.
Underexposure: The dramatic lighting can fool your camera’s meter. Don’t be afraid to overexpose slightly to maintain detail in shadows.
Compositional Issues
Centering Everything: Avoid placing subjects and horizons in the center of your frame. Use the rule of thirds for more dynamic compositions.
Ignoring Foreground: Empty foregrounds make images feel flat. Include interesting elements to add depth and lead the viewer’s eye through the scene.
Post-Processing Golden Hour Images
RAW File Advantages
Always shoot in RAW format during golden hour to maximize your post-processing flexibility. RAW files contain more color information and allow greater adjustment latitude without quality loss.
Essential Adjustments
Highlight Recovery: Gently pull back overexposed areas in the sky while maintaining the warm glow.
Shadow Detail: Lift shadows carefully to reveal detail without creating noise or unnatural-looking images.
Vibrance vs. Saturation: Use vibrance adjustments to enhance colors naturally, as saturation can quickly make golden hour images look overdone.
Graduated Filters: Apply digital graduated filters to balance exposure between sky and foreground elements.
Color Grading
Warm Highlights: Enhance the golden tones in bright areas while maintaining natural-looking skin tones.
Cool Shadows: Add subtle blue tones to shadow areas to create color contrast and depth.
Orange and Teal: This popular color scheme works naturally with golden hour lighting.
Location Ideas for Golden Hour Photography
Urban Environments
Rooftops and High Viewpoints: Capture cityscapes with dramatic lighting and long shadows.
Street Photography: Document daily life enhanced by beautiful natural lighting.
Architecture: Highlight building textures and details with warm, directional light.
Natural Settings
Beaches and Coastlines: Take advantage of reflective water surfaces and unobstructed horizons.
Mountains and Hills: Capture dramatic landscape lighting and atmospheric perspective.
Forests and Parks: Use dappled light filtering through trees for intimate, moody scenes.
Seasonal Considerations
Summer: Longer days provide extended golden hour periods but may require very early or late shooting times.
Winter: Shorter days mean golden hour occurs at more convenient times but may be briefer.
Spring and Fall: Often provide the most comfortable shooting conditions and interesting atmospheric effects.
Advanced Golden Hour Techniques
Focus Stacking for Landscapes
When shooting wide-open apertures during golden hour, consider focus stacking to maintain sharpness throughout your scene:
- Set your camera on a tripod
- Take multiple shots focusing at different distances
- Blend the images in post-processing software like Photoshop or specialized focus stacking programs
HDR Photography
Golden hour’s high contrast situations make it perfect for HDR techniques:
- Bracket 3-7 exposures covering the full dynamic range
- Use exposure intervals of 1-2 stops between shots
- Process using HDR software, maintaining natural-looking results
Long Exposure Effects
Combine golden hour lighting with long exposure techniques:
Moving Clouds: Use 30-second to 2-minute exposures to blur cloud movement Water Motion: Capture silky water effects in streams, rivers, or ocean waves Traffic Trails: Create light trails from vehicles during the transition to blue hour
Conclusion and Final Recommendations
Golden hour photography offers some of the most rewarding and visually stunning opportunities for photographers of all skill levels. The key to success lies in careful planning, understanding your camera settings, and practicing the techniques outlined in this guide.
Start by mastering the basic camera settings and timing, then gradually incorporate more advanced techniques as you become comfortable with the fundamentals. Remember that golden hour conditions change rapidly, so be prepared to work quickly and adapt to evolving lighting situations.
The most important recommendation is to get out and practice regularly. Golden hour occurs twice daily, providing frequent opportunities to refine your skills and develop your unique artistic vision. Don’t be discouraged if your first attempts don’t meet your expectations – golden hour photography requires patience and practice to master.
Whether you’re capturing portraits, landscapes, or street photography, the warm, flattering light of golden hour will elevate your images and help you create photographs that truly stand out. Invest in quality equipment when your budget allows, but remember that understanding light and composition will have a far greater impact on your results than expensive gear alone.
Most importantly, enjoy the process. Golden hour photography connects you with the natural rhythm of light and shadow, offering moments of beauty and tranquility that extend far beyond the photographs themselves.
Related Tags
Looking for the Best Camera Deals?
Check out our latest buying guides and comparison articles to find the perfect camera for your needs.
Browse Buying Guides