How to Use Flash Photography Effectively: Complete Guide
Master flash photography with expert tips on settings, techniques, and equipment. Learn to create stunning images in any lighting condition with our step-by-step guide.
Flash photography can transform ordinary images into extraordinary ones, but mastering this technique requires understanding both the technical aspects and creative applications. Whether you’re photographing portraits, events, or product shots, knowing how to use flash effectively will dramatically improve your photography results.
In this comprehensive guide, we’ll explore everything from basic flash fundamentals to advanced techniques that will help you create professional-quality images in any lighting situation.
Understanding Flash Photography Basics
What is Flash Photography?
Flash photography involves using artificial light sources to illuminate subjects, typically in low-light conditions or to fill shadows in bright environments. Unlike continuous lighting, flash produces a brief, intense burst of light that freezes motion and provides consistent exposure.
Types of Flash Systems
Built-in Flash Most cameras come with a built-in pop-up flash. While convenient, these have limited power and can create harsh, unflattering light when used directly.
External Speedlights These portable flash units mount on your camera’s hot shoe and offer significantly more power and control than built-in flash. They’re essential for serious flash photography.
Studio Strobes Larger, more powerful flash units typically used in studio settings. They offer maximum control and power for professional work.
Key Flash Photography Terms
- Guide Number (GN): Indicates flash power
- Flash Sync Speed: Maximum shutter speed your camera can use with flash
- TTL (Through The Lens): Automatic flash metering system
- Flash Compensation: Adjusting flash output up or down
Essential Equipment for Flash Photography
Camera Requirements
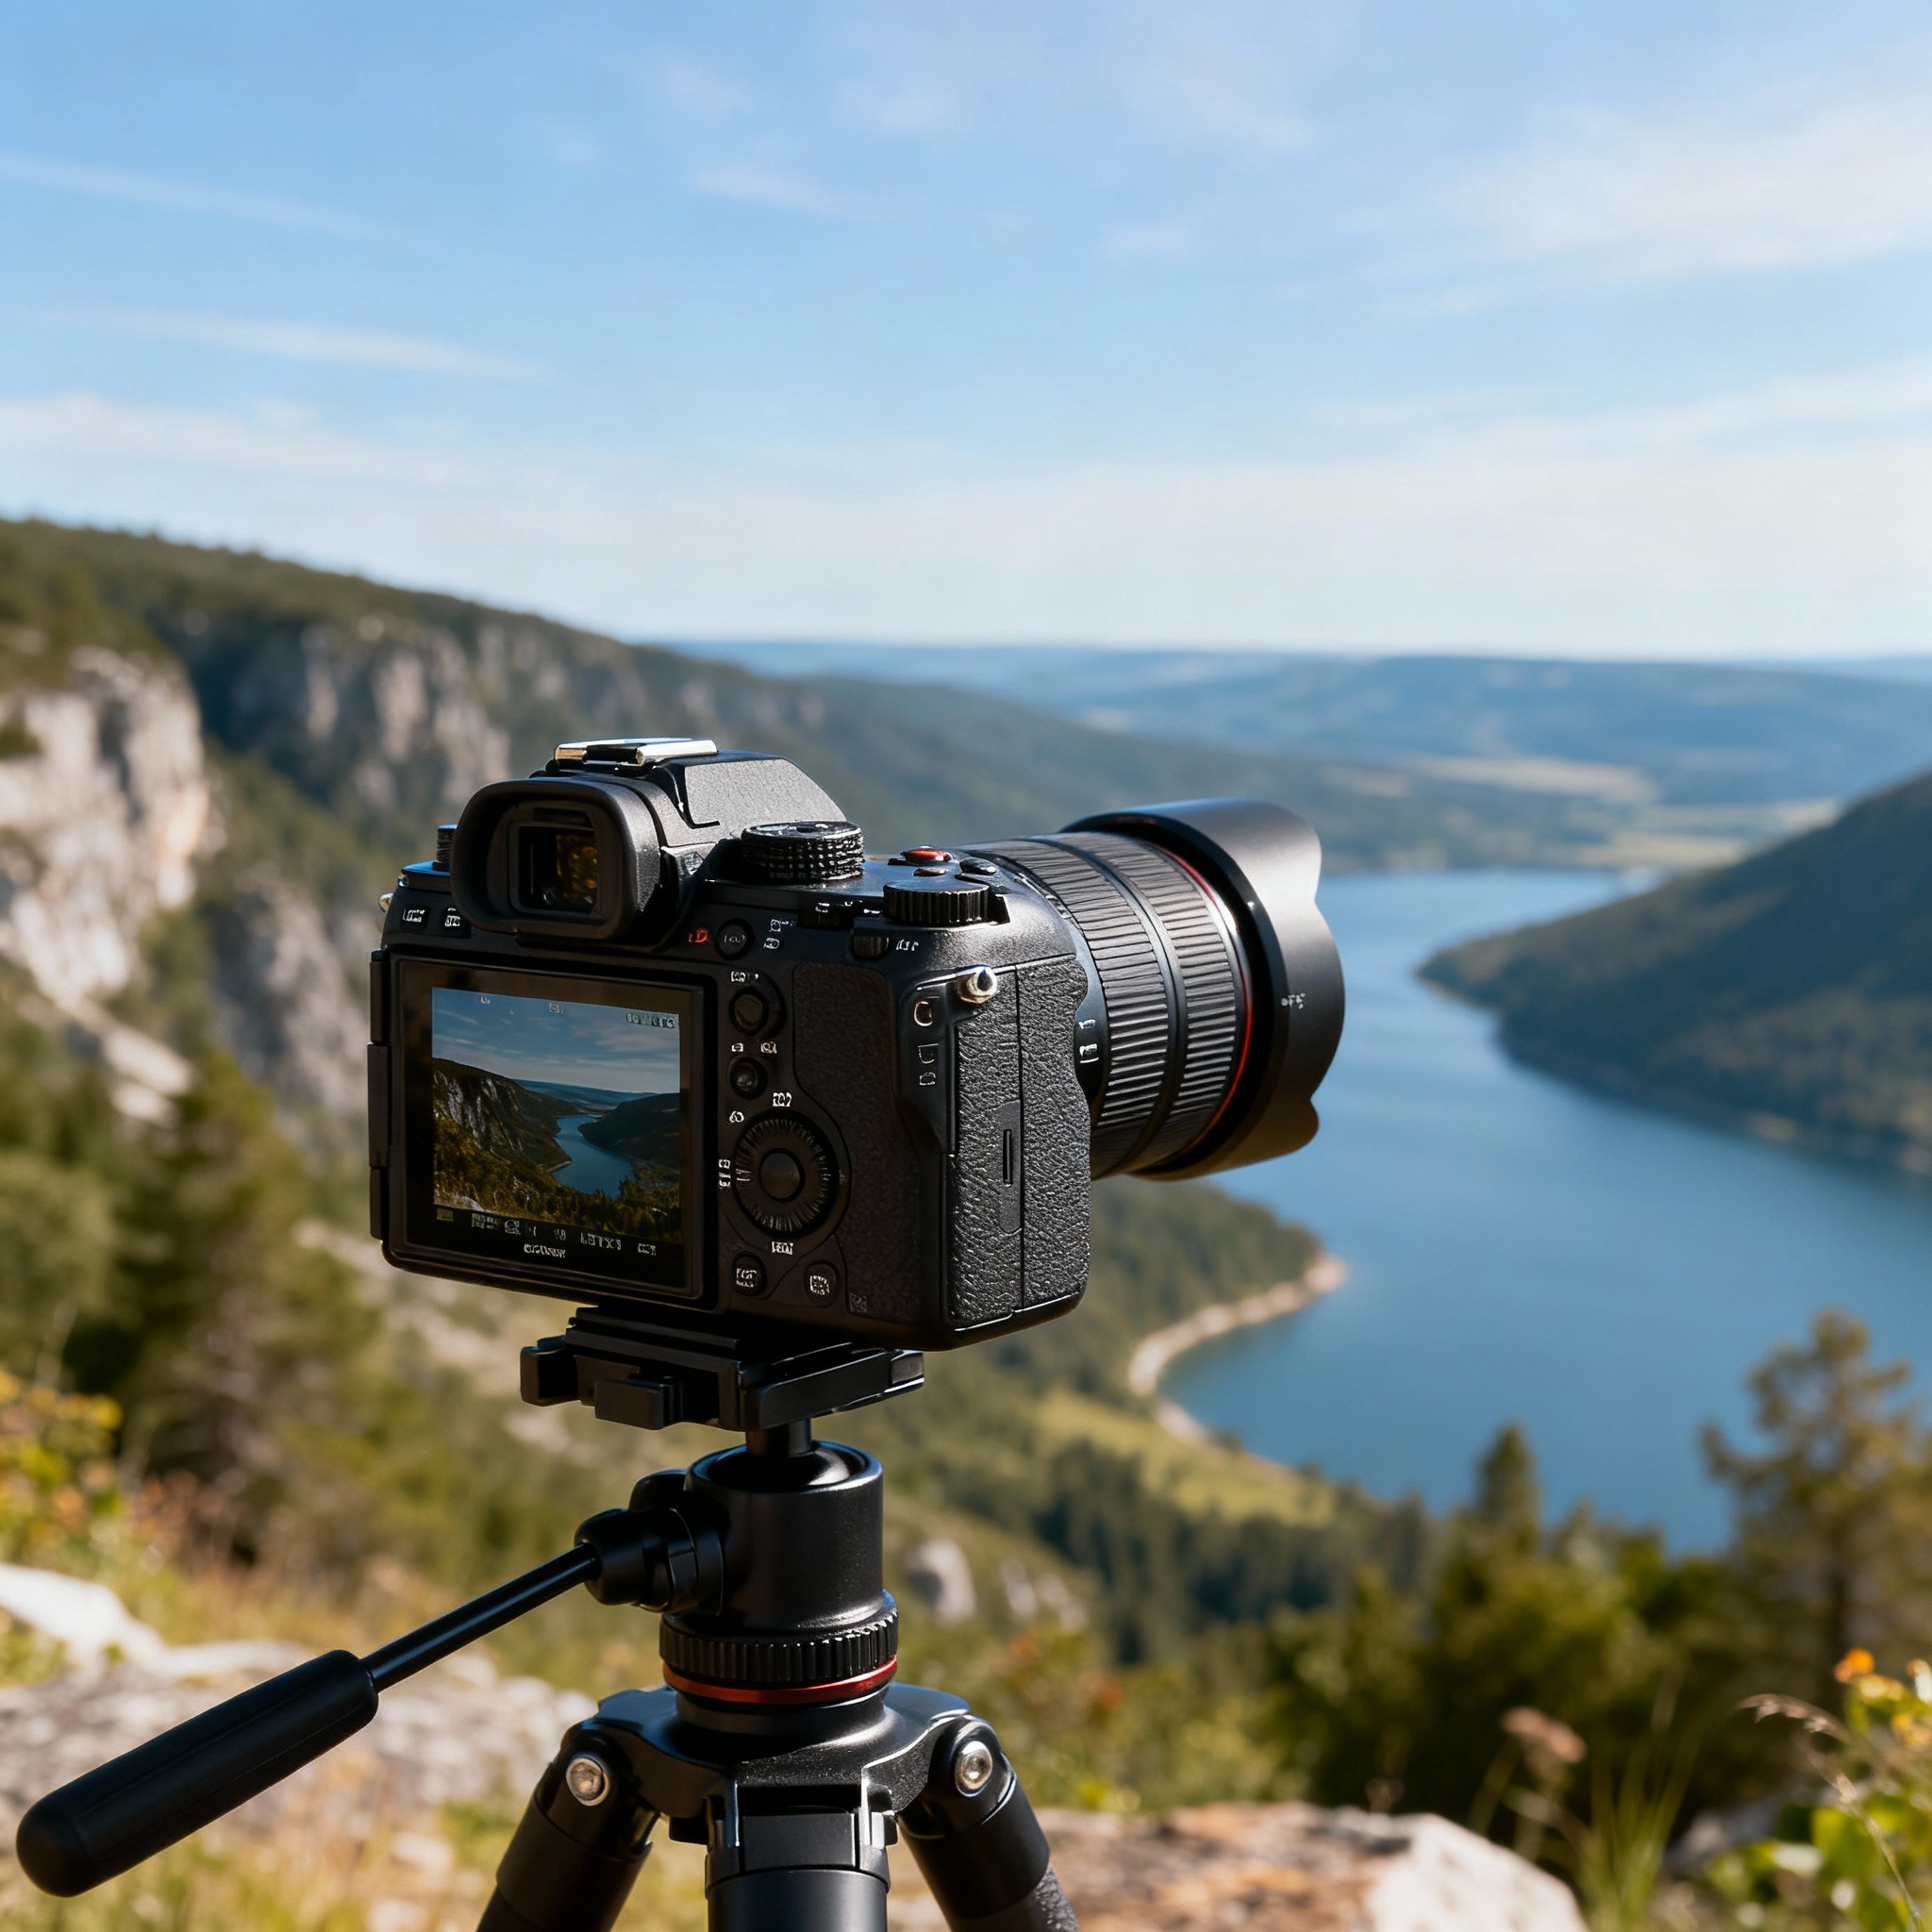
Modern cameras with hot shoe mounts work best for flash photography. The Sony A7 IV is an excellent choice for flash photography, offering advanced TTL metering, high sync speeds, and excellent low-light performance.
Flash Units and Accessories
External Speedlight Invest in a quality external flash unit compatible with your camera system. Look for features like:
- TTL metering compatibility
- Swivel and tilt head
- High guide number (GN 40+ for versatility)
- Fast recycle times
Light Modifiers
- Diffusers: Soften harsh flash light
- Bounce cards: Redirect light for more natural illumination
- Softboxes: Create large, soft light sources
- Umbrellas: Provide broad, even lighting
Triggers and Receivers For off-camera flash work, wireless triggers allow you to position lights anywhere while maintaining full control.
Camera Settings for Flash Photography
Manual Mode vs. TTL Mode
TTL Mode (Recommended for Beginners) Your camera automatically calculates flash power based on scene analysis. This mode works well for:
- Moving subjects
- Changing lighting conditions
- Quick shooting situations
Manual Flash Mode (Advanced Control) You set flash power manually, providing consistent results across multiple shots. Ideal for:
- Studio work
- Consistent lighting setups
- Creative control over light ratios
Critical Camera Settings
Aperture Settings
- f/2.8 to f/5.6: Good for portraits with shallow depth of field
- f/8 to f/11: Ideal for group shots and product photography
- f/16+: Maximum depth of field for architectural or detailed work
Shutter Speed Considerations
- Stay at or below your camera’s maximum sync speed (typically 1/200s to 1/250s)
- Use slower speeds (1/60s to 1/125s) to balance ambient light with flash
ISO Settings
- ISO 100-400: Cleanest image quality
- ISO 800-1600: When you need more ambient light contribution
- Avoid high ISOs unless creatively necessary
Flash Sync Speed Explained
Your camera’s flash sync speed is the fastest shutter speed at which the entire sensor is exposed simultaneously. Exceeding this speed results in dark bands across your image. Most cameras sync at 1/200s to 1/250s, though some newer models offer high-speed sync capabilities.
Step-by-Step Flash Photography Techniques
Direct Flash Technique
Step 1: Mount and Power On Attach your external flash to the camera’s hot shoe and turn both devices on.
Step 2: Set TTL Mode Select TTL mode on your flash unit for automatic exposure calculation.
Step 3: Basic Camera Settings
- Mode: Aperture Priority (A/Av) or Manual
- Aperture: f/5.6 (good starting point)
- ISO: 400
- Focus: Single point autofocus
Step 4: Test Shot Take a test image and evaluate exposure. Adjust flash compensation (+/- EV) as needed.
When to Use Direct Flash:
- Quick snapshots
- Fill flash in bright conditions
- When bounce surfaces aren’t available
Bounce Flash Technique
Bouncing flash off ceilings or walls creates softer, more natural lighting.
Step 1: Assess Bounce Surfaces Look for neutral-colored, reasonably close surfaces (white ceilings work best).
Step 2: Angle Your Flash Tilt the flash head 45-60 degrees upward for ceiling bounce, or sideways for wall bounce.
Step 3: Increase Flash Power Bounced light loses intensity, so increase flash power or open your aperture by 1-2 stops.
Step 4: Fine-tune Take test shots and adjust flash compensation to achieve desired exposure.
Pro Tips for Bounce Flash:
- Avoid colored surfaces that will create color casts
- Use a bounce card to add catchlights to eyes
- Consider ceiling height—high ceilings require more power
Off-Camera Flash Setup
Step 1: Set Up Triggers Mount a wireless trigger on your camera’s hot shoe and attach receivers to your flash units.
Step 2: Position Your Flash Place the flash at a 45-degree angle to your subject, about 6 feet away at eye level or slightly above.
Step 3: Add Light Modifiers Attach a softbox or umbrella to create softer light.
Step 4: Test and Adjust Start with manual flash power at 1/4 and adjust based on test shots.
Step 5: Fine-tune Positioning Move lights closer for more intensity, farther for softer shadows.
Advanced Flash Techniques
Fill Flash for Outdoor Portraits
Fill flash balances harsh sunlight and eliminates unflattering shadows.
Setup Process:
- Meter for background exposure in manual mode
- Set flash to TTL with -1 to -2 EV compensation
- Position subject with backlight or side light
- Take test shot and adjust flash power for natural look
High-Speed Sync Photography
High-speed sync allows flash use at shutter speeds faster than normal sync speed.
When to Use:
- Shallow depth of field in bright light
- Freezing fast action with flash
- Overpowering bright ambient light
Settings:
- Enable HSS on your flash
- Use apertures like f/1.4 to f/2.8
- Shutter speeds from 1/250s to 1/8000s
Multiple Flash Lighting
Using multiple flashes creates professional studio-quality lighting.
Basic Two-Light Setup:
- Key Light: Main light source at 45-degree angle
- Fill Light: Softer light opposite key light to reduce shadows
Three-Light Setup Adds: 3. Background/Hair Light: Separates subject from background
Power Ratios:
- Key light: Full power or 1/2 power
- Fill light: 1/4 to 1/8 power of key light
- Background light: 1/8 to 1/16 power
Common Flash Photography Mistakes and Solutions
Mistake 1: Harsh, Unflattering Light
Problem: Direct flash creates hard shadows and flat lighting.
Solution:
- Use bounce flash techniques
- Add diffusers or softboxes
- Move flash off-camera
Mistake 2: Red-Eye Effect
Problem: Flash reflects off retinas, creating red spots in eyes.
Solution:
- Use red-eye reduction mode
- Bounce flash instead of direct
- Position flash off-camera axis
Mistake 3: Overexposed Foreground, Dark Background
Problem: Flash illuminates nearby subjects but not distant backgrounds.
Solution:
- Balance flash with ambient light
- Use slower shutter speeds (1/30s to 1/60s)
- Adjust flash compensation down
Mistake 4: Motion Blur with Flash
Problem: Moving subjects appear blurred despite flash illumination.
Solution:
- Use faster shutter speeds
- Enable rear curtain sync for creative blur effects
- Increase flash power for faster flash duration
Creative Flash Photography Applications
Portrait Photography
Classic Portrait Setup:
- Key light at 45 degrees to subject
- Fill light to reduce shadows
- Background light for separation
- Use catchlights for lively eyes
Dramatic Portrait Lighting:
- Single off-camera flash
- Hard light for strong shadows
- Side lighting or backlighting
- Minimal fill light
Event Photography
Reception Photography:
- Bounce flash off ceilings
- Use flash compensation -1 EV for natural look
- Capture ambient venue lighting with slower shutters
Dance Floor Photography:
- Rear curtain sync for motion trails
- Color gels for creative effects
- Multiple flash setup for full coverage
Product Photography
Basic Product Setup:
- Two softboxes at 45-degree angles
- White background with separate light
- Reflectors to fill shadows
- Manual flash control for consistency
Jewelry Photography:
- Ring lights or light tents
- Multiple small flash units
- Reflectors and diffusers
- Focus stacking for sharp detail
Troubleshooting Flash Photography Issues
Flash Not Firing
Check:
- Battery levels in flash and triggers
- Hot shoe connections
- Camera sync speed settings
- Flash mode compatibility
Inconsistent Exposures
Solutions:
- Switch from TTL to manual mode
- Check for reflective surfaces affecting meter
- Ensure consistent flash-to-subject distance
- Verify trigger battery levels
Color Balance Issues
Fixes:
- Set custom white balance for mixed lighting
- Use color correction gels on flash
- Shoot RAW for post-processing flexibility
- Match flash color temperature to ambient light
Post-Processing Flash Photography
RAW File Advantages
Shooting in RAW format provides maximum flexibility for adjusting:
- White balance corrections
- Exposure adjustments
- Shadow and highlight recovery
- Noise reduction
Common Adjustments
Exposure Balancing:
- Reduce highlights if flash is too strong
- Lift shadows to reveal detail
- Adjust overall exposure for natural look
Color Correction:
- Fix white balance for mixed lighting
- Remove color casts from bounce surfaces
- Enhance skin tones in portraits
Noise Reduction:
- Apply luminance noise reduction for high ISO shots
- Use selective noise reduction on shadow areas
- Balance noise reduction with detail retention
Building Your Flash Photography Kit
Beginner Setup ($200-500)
- External speedlight compatible with your camera
- Flash diffuser or bounce card
- Basic wireless trigger set
- Reflector disc
Intermediate Setup ($500-1200)
- Two external speedlights
- Light stands and umbrellas
- Professional wireless trigger system
- Softbox modifier
- Color gel set
Advanced Setup ($1200+)
- Multiple speedlights or studio strobes
- Variety of light modifiers (softboxes, beauty dishes, snoots)
- Professional trigger system with remote control
- Light meters
- Backdrop system
Safety Considerations
Equipment Safety
- Never exceed flash manufacturer’s duty cycle
- Allow flash units to cool between intensive use
- Check for damaged sync cords or hot shoe connections
- Use proper power ratings for studio strobes
Subject Safety
- Avoid extremely close flash distances to prevent eye damage
- Use modeling lights carefully around children
- Be aware of flash-induced seizures in sensitive individuals
- Communicate with subjects about bright flash sequences
Conclusion
Mastering flash photography opens up endless creative possibilities and allows you to capture professional-quality images in any lighting condition. Start with basic bounce flash techniques and gradually work your way up to more complex multiple-light setups.
The key to success is practice and experimentation. Begin with simple setups using TTL mode, then progress to manual control as you become more comfortable with flash behavior and light modifiers. Remember that good flash photography should look natural—the goal is to enhance your subjects, not overpower them with artificial light.
Whether you’re shooting portraits, events, or commercial work, these techniques will help you create consistently excellent results. Invest in quality equipment like the Sony A7 IV and a good external flash system, but remember that technique and understanding are more important than expensive gear.
Start applying these concepts to your own photography, and you’ll quickly see dramatic improvements in your flash photography results. The combination of technical knowledge and creative vision will help you develop your own distinctive style and take your photography to the next level.
Related Tags
Looking for the Best Camera Deals?
Check out our latest buying guides and comparison articles to find the perfect camera for your needs.
Browse Buying Guides