How to Use Flash Photography Effectively: Complete Guide
Master flash photography with expert tips on settings, techniques, and equipment. Learn to create stunning photos with natural-looking flash lighting effects.
Flash photography can transform your images from ordinary to extraordinary, but mastering it requires understanding both technical fundamentals and creative applications. Whether you’re shooting portraits, events, or product photography, learning to use flash effectively will dramatically improve your photography skills and expand your creative possibilities.
Many photographers shy away from flash, intimidated by complex settings or past experiences with harsh, unflattering results. However, with proper technique and understanding, flash becomes one of your most powerful tools for creating professional-quality images in any lighting condition.
Understanding Flash Photography Basics
What Is Flash Photography?
Flash photography involves using artificial light sources to illuminate your subject, either as the primary light source or to supplement existing ambient light. Modern flash systems can produce natural-looking results that enhance rather than overpower your images.
The key to effective flash photography lies in controlling three main variables: flash power, direction, and quality of light. Unlike continuous lighting, flash provides a brief, intense burst of light that freezes motion and allows you to shoot at lower ISO settings for cleaner images.
Types of Flash Systems
Built-in Camera Flash Most cameras include a small pop-up flash that’s convenient but limited in power and flexibility. While useful for emergency situations, built-in flashes often produce harsh, direct lighting that can create unflattering shadows and red-eye effects.
External Speedlights Dedicated external flashes mount to your camera’s hot shoe and offer significantly more power and control than built-in options. They can be tilted, swiveled, and used off-camera for more creative lighting setups.
Studio Strobes Powerful flash units designed for studio work, offering maximum control over light output and typically featuring modeling lights to preview lighting effects before shooting.
Essential Flash Photography Equipment
Camera Bodies and Flash Compatibility
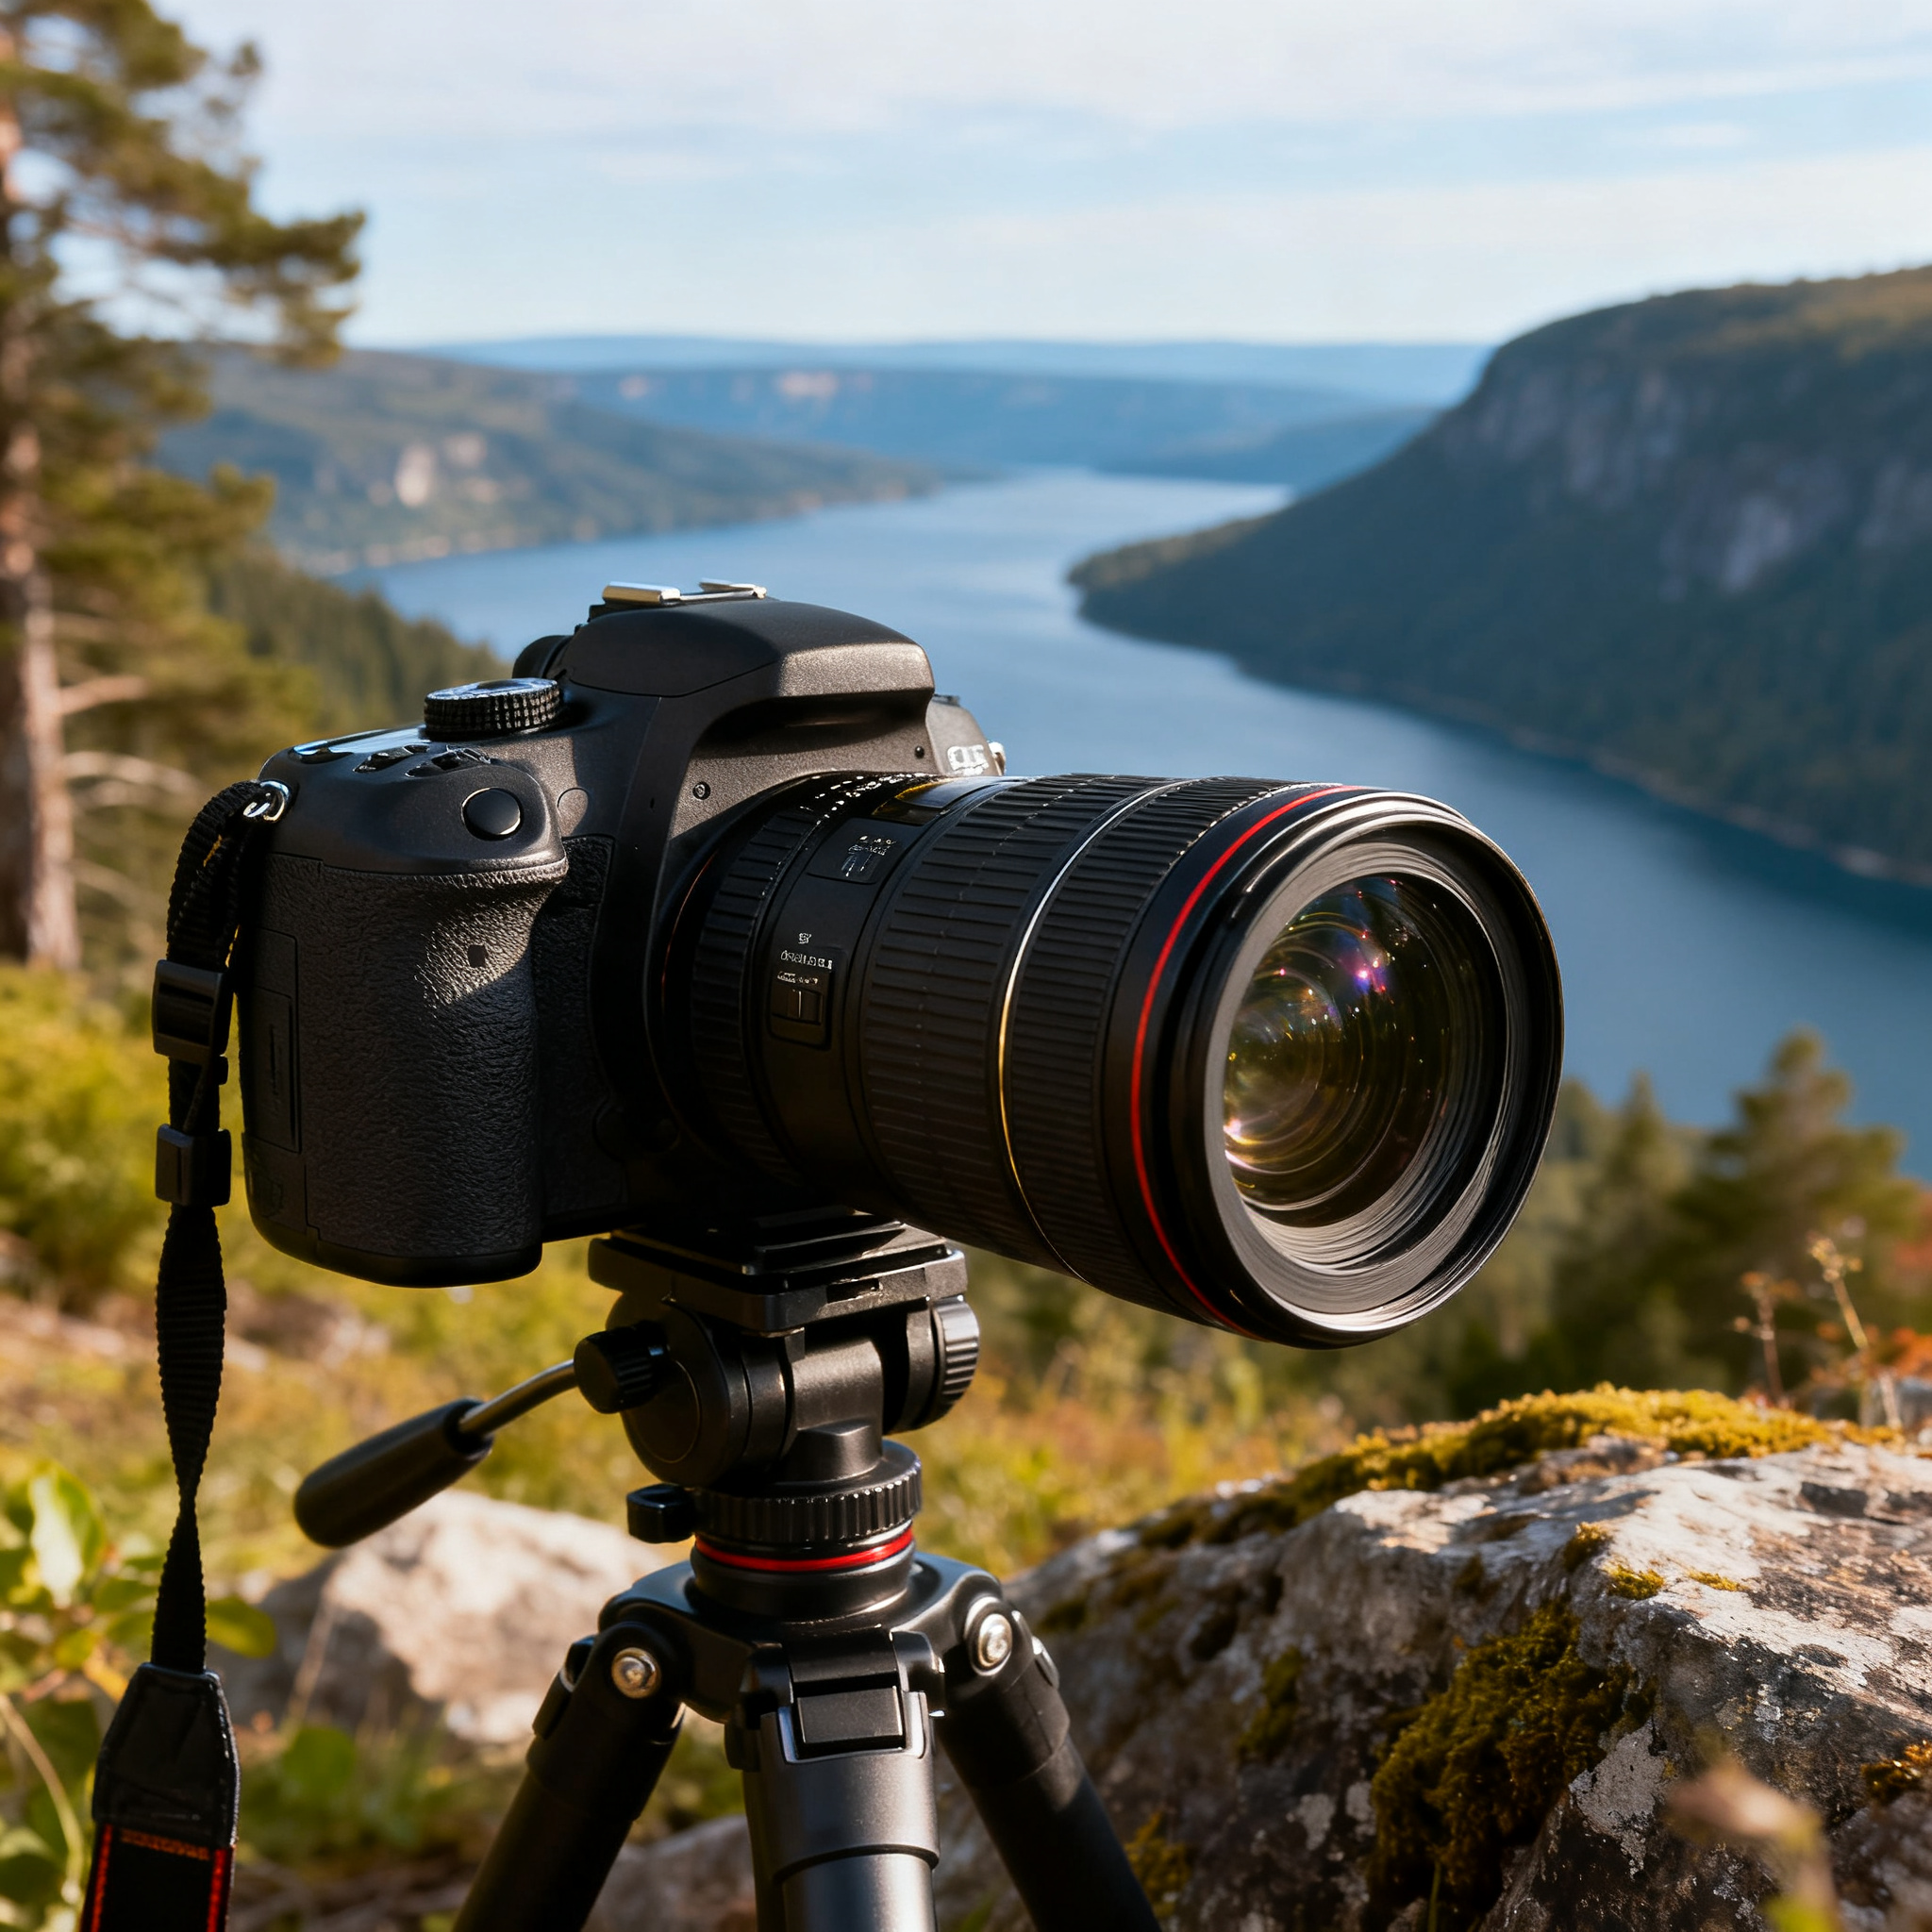
When selecting a camera for flash photography, ensure it has a hot shoe for external flash mounting and supports TTL (Through The Lens) metering for automatic exposure control. The Sony A7 IV exemplifies excellent flash compatibility with its advanced metering system and hot shoe design, making it an ideal choice for both amateur and professional flash photography.
Flash Modifiers
Light modifiers are crucial for creating professional-looking results:
- Diffusers: Soften harsh direct flash light
- Bounce cards: Redirect light for more natural illumination
- Softboxes: Create large, soft light sources
- Umbrellas: Provide broad, even lighting
- Snoots: Focus light into narrow beams for dramatic effects
Step-by-Step Flash Photography Setup
Step 1: Camera Settings Configuration
Start with these fundamental camera settings:
Shutter Speed: Set to your camera’s maximum sync speed (typically 1/200s to 1/250s) or slower. Never exceed sync speed as this will cause black bands in your images.
Aperture: Choose based on desired depth of field. Start with f/5.6 for balanced results, then adjust as needed.
ISO: Keep as low as possible (ISO 100-400) since flash provides the primary illumination.
Focus Mode: Use single-point autofocus for precise subject focusing.
Step 2: Flash Power and Mode Selection
TTL Mode: Let your camera automatically calculate flash power based on the scene. This works well for beginners and changing conditions.
Manual Mode: Set specific flash power levels for consistent results. Start with 1/4 power and adjust based on test shots.
High-Speed Sync: Enable when shooting at shutter speeds faster than sync speed, though this reduces flash power.
Step 3: Positioning Your Flash
On-Camera Flash: Mount directly to hot shoe for convenience, but use bounce techniques to avoid harsh direct lighting.
Off-Camera Flash: Use wireless triggers or sync cables to position flash away from camera for more dramatic lighting angles.
Flash Distance: Follow the inverse square law – doubling distance reduces light intensity by 75%.
Flash Photography Techniques and Settings
Bounce Flash Technique
Bouncing flash off ceilings or walls creates softer, more natural-looking light than direct flash.
Ceiling Bounce:
- Angle flash head toward white ceiling
- Use 45-60 degree angle for optimal results
- Add fill card to prevent shadows under eyes
- Increase flash power to compensate for light loss
Wall Bounce:
- Position yourself at 45-degree angle to wall
- Aim flash at wall surface behind and above subject
- Creates side lighting with gradual falloff
- Works excellently for portrait photography
Fill Flash for Outdoor Photography
Fill flash balances harsh sunlight and eliminates unflattering shadows:
- Set camera to aperture priority mode
- Meter for background exposure
- Enable flash at -1 to -2 stops compensation
- Adjust flash power to subtly fill shadows without overpowering ambient light
High-Speed Sync Applications
High-speed sync allows flash use with fast shutter speeds:
Portrait Applications:
- Shoot wide open (f/1.4-f/2.8) in bright conditions
- Maintain shallow depth of field
- Use flash as key or fill light
Sports Photography:
- Freeze fast action with high shutter speeds
- Add flash for subject separation
- Compensate for changing light conditions
Advanced Flash Photography Methods
Multiple Flash Setup
Using multiple flash units creates more sophisticated lighting:
Two-Light Setup:
- Position key light at 45-degree angle to subject
- Place fill light opposite key light at lower power
- Adjust power ratio for desired contrast
- Use 3:1 or 2:1 ratios for natural-looking results
Three-Light Setup:
- Add background light behind subject
- Separate subject from background
- Create depth and dimension
- Control each light independently
Flash Exposure Compensation
Fine-tune flash output without changing camera settings:
- Use +1 stop for subjects wearing dark clothing
- Apply -1 stop for light-colored subjects
- Adjust in 1/3 stop increments for precise control
- Monitor histogram to avoid clipping highlights
Color Temperature Management
Flash typically produces daylight-balanced light (5500K):
Mixed Lighting Situations:
- Use color gels to match ambient light temperature
- Apply tungsten gels for indoor incandescent lighting
- Use fluorescent correction for office environments
- Shoot in RAW format for post-processing flexibility
Practical Flash Photography Applications
Portrait Photography
Indoor Portraits:
- Use large softbox as key light
- Position 45 degrees off-axis for dimensional lighting
- Add background light for separation
- Include fill light to control shadow contrast
Outdoor Portraits:
- Use flash to fill harsh shadows
- Position subject with back to sun
- Use flash as key light for dramatic backlighting
- Balance flash power with ambient exposure
Event Photography
Wedding Photography:
- Use bounce flash for natural-looking results
- Enable TTL mode for changing conditions
- Carry backup flash units and batteries
- Practice silent shooting modes for ceremony
Party Photography:
- Use diffusion for flattering group photos
- Adjust flash compensation for different skin tones
- Enable red-eye reduction when available
- Consider second-curtain sync for motion blur effects
Product Photography
Small Product Setup:
- Use softbox for main lighting
- Add fill cards to eliminate shadows
- Position lights at 45-degree angles
- Use manual flash mode for consistency
Large Product Photography:
- Use multiple flash units for even coverage
- Position lights to minimize reflections
- Use light meters for precise exposure control
- Shoot tethered for immediate review
Common Flash Photography Mistakes to Avoid
Harsh Direct Flash
Never fire flash directly at subjects from camera position without modification. This creates unflattering shadows, red-eye, and unnatural-looking results.
Solutions:
- Always use bounce or diffusion
- Position flash off-camera when possible
- Use fill cards to soften shadows
- Reduce flash power and increase ISO if necessary
Incorrect White Balance
Mixing flash with ambient light of different color temperatures creates color casts.
Prevention:
- Set white balance to flash/daylight setting
- Use color gels to match ambient lighting
- Shoot in RAW format for correction flexibility
- Use custom white balance for critical applications
Ignoring Ambient Light
Flash doesn’t always need to be the primary light source. Often, the best results come from balancing flash with existing ambient light.
Balancing Techniques:
- Meter ambient light first
- Use flash to fill shadows or add highlights
- Adjust shutter speed to control ambient exposure
- Use flash compensation to fine-tune balance
Troubleshooting Flash Photography Issues
Underexposed Images
Causes and Solutions:
- Increase flash power or move closer to subject
- Open aperture or increase ISO
- Check for TTL metering errors
- Ensure flash is fully recycled between shots
Overexposed Images
Causes and Solutions:
- Reduce flash power or increase distance
- Close aperture or decrease ISO
- Apply negative flash compensation
- Use neutral density filters in bright conditions
Inconsistent Exposure
Causes and Solutions:
- Switch to manual flash mode
- Allow adequate recycling time between shots
- Check battery levels in flash unit
- Use external battery pack for consistent power
Red-Eye Effects
Prevention Methods:
- Use bounce flash instead of direct
- Enable red-eye reduction mode
- Position flash off-camera
- Increase ambient lighting when possible
Flash Photography Safety and Battery Management
Battery Considerations
Flash units consume significant power, especially at high output levels:
- Invest in high-quality rechargeable batteries
- Carry spare battery sets for extended shooting
- Consider external battery packs for professional work
- Monitor recycle times as indicator of battery health
Heat Management
Flash tubes generate substantial heat during extended use:
- Allow cooling periods during intensive shooting
- Avoid touching flash tube immediately after firing
- Use modeling lights sparingly to prevent overheating
- Consider LED-based continuous lighting for video work
Post-Processing Flash Photography
RAW File Advantages
Shooting in RAW format provides maximum flexibility for flash photography:
- Correct white balance mismatches
- Adjust exposure compensation
- Recover highlight and shadow detail
- Fine-tune color temperature
Common Adjustments
Exposure Corrections:
- Use graduated filters for uneven lighting
- Apply local adjustments to flash-lit areas
- Balance highlight and shadow regions
- Correct for flash falloff across frame
Color Corrections:
- Remove color casts from mixed lighting
- Adjust skin tone rendering
- Balance different light source temperatures
- Fine-tune overall color grading
Conclusion and Recommendations
Mastering flash photography requires practice, patience, and understanding of both technical and creative principles. Start with basic bounce techniques and TTL metering before advancing to manual flash control and multiple light setups.
For beginners, invest in a quality external speedlight and learn bounce flash techniques thoroughly before exploring more advanced applications. The Sony A7 IV offers excellent flash integration and TTL metering, making it an ideal platform for learning flash photography fundamentals.
Remember that effective flash photography isn’t about overpowering natural light but rather enhancing and complementing it. Focus on creating natural-looking results that improve your images without drawing attention to the flash itself. With consistent practice and attention to these principles, you’ll develop the skills necessary to use flash creatively and effectively in any photographic situation.
Practice regularly in controlled environments before attempting complex flash setups in professional situations. Keep detailed notes about successful lighting configurations for future reference, and don’t be afraid to experiment with different modifier combinations to develop your unique photographic style.
Related Tags
Looking for the Best Camera Deals?
Check out our latest buying guides and comparison articles to find the perfect camera for your needs.
Browse Buying Guides