Long Exposure Photography Tutorial: Master the Technique
Learn long exposure photography with our step-by-step tutorial. Master camera settings, equipment tips, and creative techniques for stunning photos.
Long exposure photography transforms ordinary scenes into extraordinary works of art by capturing the passage of time in a single frame. Whether you’re looking to create silky smooth waterfalls, dramatic cloud streaks, or ethereal light trails, mastering this technique will elevate your photography to new creative heights.
In this comprehensive tutorial, we’ll walk through everything you need to know to start creating stunning long exposure images, from essential equipment to advanced techniques that will help you capture truly mesmerizing photographs.
What is Long Exposure Photography?
Long exposure photography involves using longer shutter speeds (typically anywhere from 1 second to several minutes) to capture motion and the passage of time within a single photograph. This technique creates a unique visual effect where moving elements appear blurred or streaked, while stationary objects remain sharp and in focus.
The key to successful long exposure photography lies in understanding how different shutter speeds affect various types of motion in your scene. Water flowing over rocks might require just a few seconds to achieve that smooth, silk-like appearance, while capturing star trails could require exposures lasting 30 minutes or more.
Essential Equipment for Long Exposure Photography
Camera and Lenses
While you can experiment with long exposures using any camera that offers manual controls, having the right equipment makes a significant difference in your results. A camera with excellent low-light performance and minimal noise at higher ISOs will give you more flexibility in your shooting conditions.
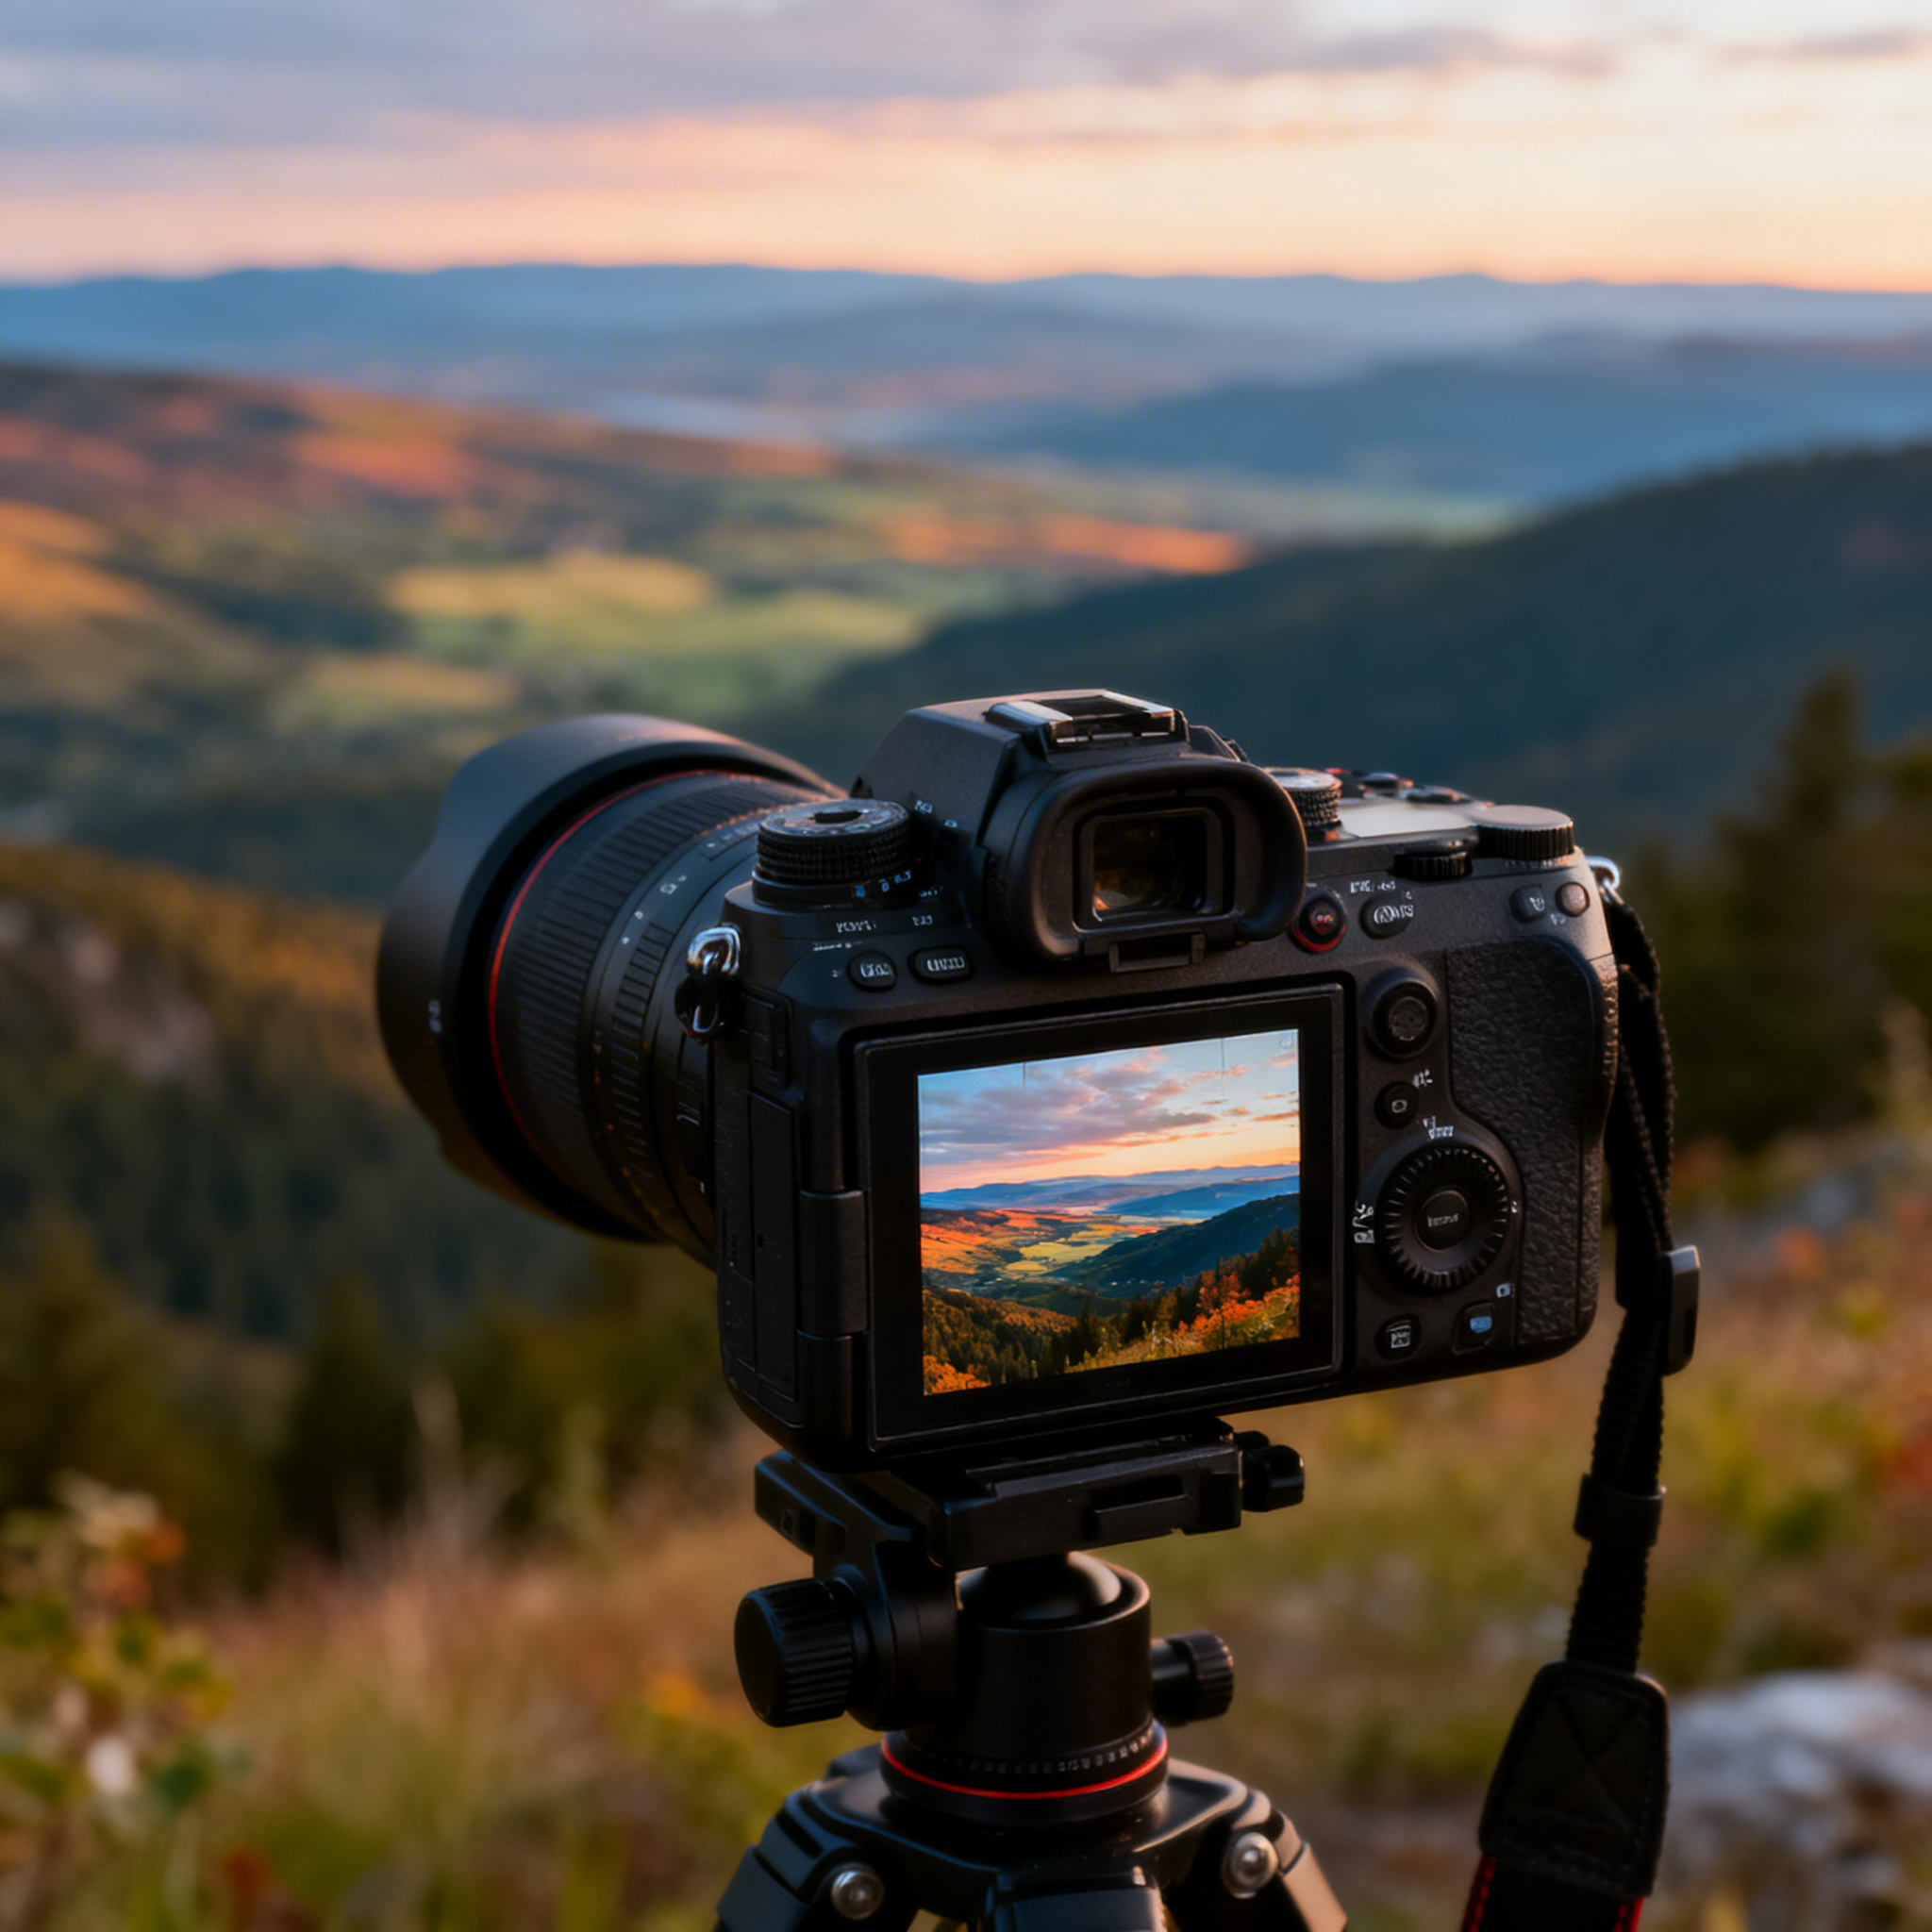
The Sony A7 IV is an exceptional choice for long exposure photography, offering outstanding image quality, excellent stabilization, and robust build quality that can withstand challenging outdoor conditions.
For lenses, wide-angle options work particularly well for landscape long exposures, while telephoto lenses can be excellent for isolating specific subjects and compressing the scene.
Tripod - Your Most Critical Tool
A sturdy tripod is absolutely essential for long exposure photography. Any camera movement during a long exposure will result in blurry, unusable images. Invest in a quality tripod that can support your camera and lens combination without any wobble or vibration.
Look for tripods with:
- Carbon fiber construction for lightweight durability
- Adjustable leg angles for uneven terrain
- A hook at the bottom of the center column for adding weight
- Quick-release plates for easy camera mounting
Neutral Density Filters
Neutral density (ND) filters are dark pieces of glass that reduce the amount of light entering your lens without affecting color balance. These filters are crucial for achieving long exposures during daylight hours.
Common ND filter strengths include:
- 3-stop ND: Reduces light by 1/8th, good for subtle motion blur
- 6-stop ND: Reduces light by 1/64th, ideal for moderate long exposures
- 10-stop ND: Reduces light by 1/1024th, perfect for dramatic daytime long exposures
Consider investing in a filter system that allows you to stack multiple filters for maximum flexibility.
Additional Accessories
Remote Shutter Release: Prevents camera shake when triggering long exposures. Both wired and wireless options are available.
Lens Cleaning Kit: Essential for keeping your filters and lenses spotless, especially in challenging outdoor conditions.
Headlamp with Red Light: Preserves your night vision while allowing you to adjust camera settings in darkness.
Camera Settings for Long Exposure Photography
Shooting in Manual Mode
Long exposure photography requires complete control over your camera settings, making manual mode essential. This allows you to precisely control aperture, shutter speed, and ISO independently.
ISO Settings
Keep your ISO as low as possible (typically ISO 100-400) to minimize noise in your images. Higher ISOs introduce digital noise that becomes more apparent in long exposure photographs, especially in shadow areas.
Aperture Selection
Your aperture choice depends on your creative vision and the amount of light available:
- f/8 to f/11: The sweet spot for most lenses, providing excellent sharpness across the frame
- f/16 to f/22: Use when you need maximum depth of field, but be aware of diffraction limiting sharpness
- f/2.8 to f/5.6: Useful in very low light conditions or when you want selective focus
Shutter Speed Guidelines
Different subjects require different exposure times to achieve the desired effect:
Water Photography:
- 1/2 to 2 seconds: Maintains some texture while smoothing motion
- 5 to 15 seconds: Creates silk-like water effects
- 30+ seconds: Complete smoothing of water surfaces
Cloud Movement:
- 30 seconds to 2 minutes: Subtle cloud streaking
- 2 to 5 minutes: Dramatic cloud movement
- 10+ minutes: Extreme cloud transformation
Light Trails:
- 15 to 30 seconds: Car light trails on busy roads
- 2 to 5 minutes: Star movement becomes visible
- 30+ minutes: Distinct star trail arcs
Step-by-Step Long Exposure Process
Step 1: Scout and Compose Your Scene
Arrive at your location with plenty of time to scout potential compositions. Long exposure photography often requires patience and multiple attempts to achieve the perfect shot.
Look for scenes with interesting foreground elements, compelling leading lines, and dynamic movement. Consider how the motion in your scene will appear when stretched across time.
Step 2: Set Up Your Equipment
- Mount your camera securely on the tripod
- Compose your shot using live view to minimize camera shake
- Switch to manual focus and focus on your main subject
- Turn off image stabilization when using a tripod
- Use your camera’s mirror lock-up feature if available
Step 3: Calculate Your Exposure
Before adding ND filters, determine your base exposure using your camera’s meter. Then calculate how your settings will change when you add neutral density filters.
Use the formula: New shutter speed = Original shutter speed × ND filter factor
For example, if your base exposure is 1/60th second and you add a 10-stop ND filter, your new exposure time would be approximately 17 seconds.
Step 4: Attach Filters and Fine-Tune
Carefully attach your ND filters, being mindful of light leaks around the edges. If using a very dark filter, you may need to cover your viewfinder to prevent light from entering through the eyepiece.
Step 5: Take Test Shots
Start with shorter exposures to test your composition and focus, then gradually increase your exposure time until you achieve the desired effect.
Advanced Long Exposure Techniques
Focus Stacking for Maximum Sharpness
When shooting wide-angle scenes with elements close to your camera, consider focus stacking. Take multiple exposures focused at different distances, then blend them in post-processing for front-to-back sharpness.
Graduated Filters for Balanced Exposures
Combine ND filters with graduated neutral density filters to balance exposure between bright skies and darker foregrounds. This technique is particularly useful during golden hour long exposures.
Multiple Exposure Blending
For extremely long exposures (beyond your camera’s maximum shutter speed), take multiple shorter exposures and blend them in post-processing. This technique also helps reduce noise and hot pixels that can appear in very long single exposures.
Time-Lapse Integration
Consider shooting time-lapse sequences alongside your long exposures. The individual frames can be processed as long exposures, and the sequence can create compelling motion graphics.
Post-Processing Long Exposure Images
RAW Processing Essentials
Always shoot in RAW format for maximum post-processing flexibility. Long exposure images often benefit from careful adjustment of:
- Highlights and Shadows: Recover detail in bright skies and dark foregrounds
- Vibrance and Saturation: Enhance the natural colors without oversaturation
- Luminosity Masking: Make selective adjustments to specific tonal ranges
- Noise Reduction: Address any noise issues, particularly in shadow areas
Specialized Long Exposure Adjustments
Motion Enhancement: Use radial filters to enhance the sense of movement in flowing water or clouds.
Hot Pixel Removal: Long exposures can create hot pixels (bright colored spots). Use your software’s hot pixel removal tools to clean these up.
Vignetting Correction: Stacked filters can create vignetting. Use lens corrections to address this issue.
Common Challenges and Solutions
Wind and Camera Shake
Even slight breezes can cause camera shake during long exposures. Use your tripod’s weight hook, shield your camera from wind, and consider shorter exposures when conditions are challenging.
Light Leaks
Light leaking around filters or through the viewfinder can ruin long exposures. Use a viewfinder cover, check filter seals, and consider using a dark cloth to cover your camera during very long exposures.
Focusing in Low Light
Autofocus struggles in low light conditions. Focus manually using live view magnification, or focus before attaching dark ND filters and switching to manual focus.
Battery Life
Long exposures drain batteries quickly. Always carry spare batteries and consider using an external battery pack for extended shooting sessions.
Creative Ideas for Long Exposure Photography
Seascape Photography
Coastal locations offer endless opportunities for long exposure photography. Experiment with different tide levels, wave patterns, and rock formations to create unique compositions.
Urban Light Trails
Cities come alive at night through long exposure photography. Capture traffic patterns, pedestrian movement, and the interplay between artificial and natural light.
Waterfall Photography
Moving water is one of the most popular subjects for long exposure work. Experiment with different shutter speeds to find the perfect balance between motion and detail.
Architectural Photography
Long exposures can transform architectural photography by removing crowds from popular locations and creating dramatic sky movement behind static structures.
Safety Considerations
Long exposure photography often involves shooting in challenging conditions and remote locations. Always prioritize safety by:
- Informing others of your location and expected return time
- Carrying emergency communication devices for remote locations
- Using proper lighting for night photography
- Being aware of tide schedules when shooting coastal scenes
- Dressing appropriately for extended outdoor sessions
Conclusion and Next Steps
Long exposure photography opens up a world of creative possibilities, allowing you to capture time and motion in ways that the human eye cannot see. The key to success lies in understanding the relationship between shutter speed, aperture, and ISO, combined with the creative use of neutral density filters.
Start with simple subjects like flowing water or moving clouds, gradually working your way up to more complex scenes as your skills develop. Remember that long exposure photography requires patience and practice – don’t be discouraged if your first attempts don’t meet your expectations.
Invest in quality equipment, particularly a sturdy tripod and good neutral density filters, as these tools are essential for consistent results. The Sony A7 IV offers excellent performance for both beginners and advanced photographers looking to explore long exposure techniques.
Most importantly, experiment with different subjects, compositions, and exposure times. Long exposure photography rewards creativity and persistence, and the most compelling images often come from unexpected combinations of technique and vision. Take your time, enjoy the process, and watch as ordinary scenes transform into extraordinary works of art through the magic of extended time.
Related Tags
Looking for the Best Camera Deals?
Check out our latest buying guides and comparison articles to find the perfect camera for your needs.
Browse Buying Guides