Macro Photography Techniques: Master Stunning Close-Up Shots
Learn essential macro photography techniques to capture breathtaking close-up images. Discover lighting, focus, and composition tips for stunning results.
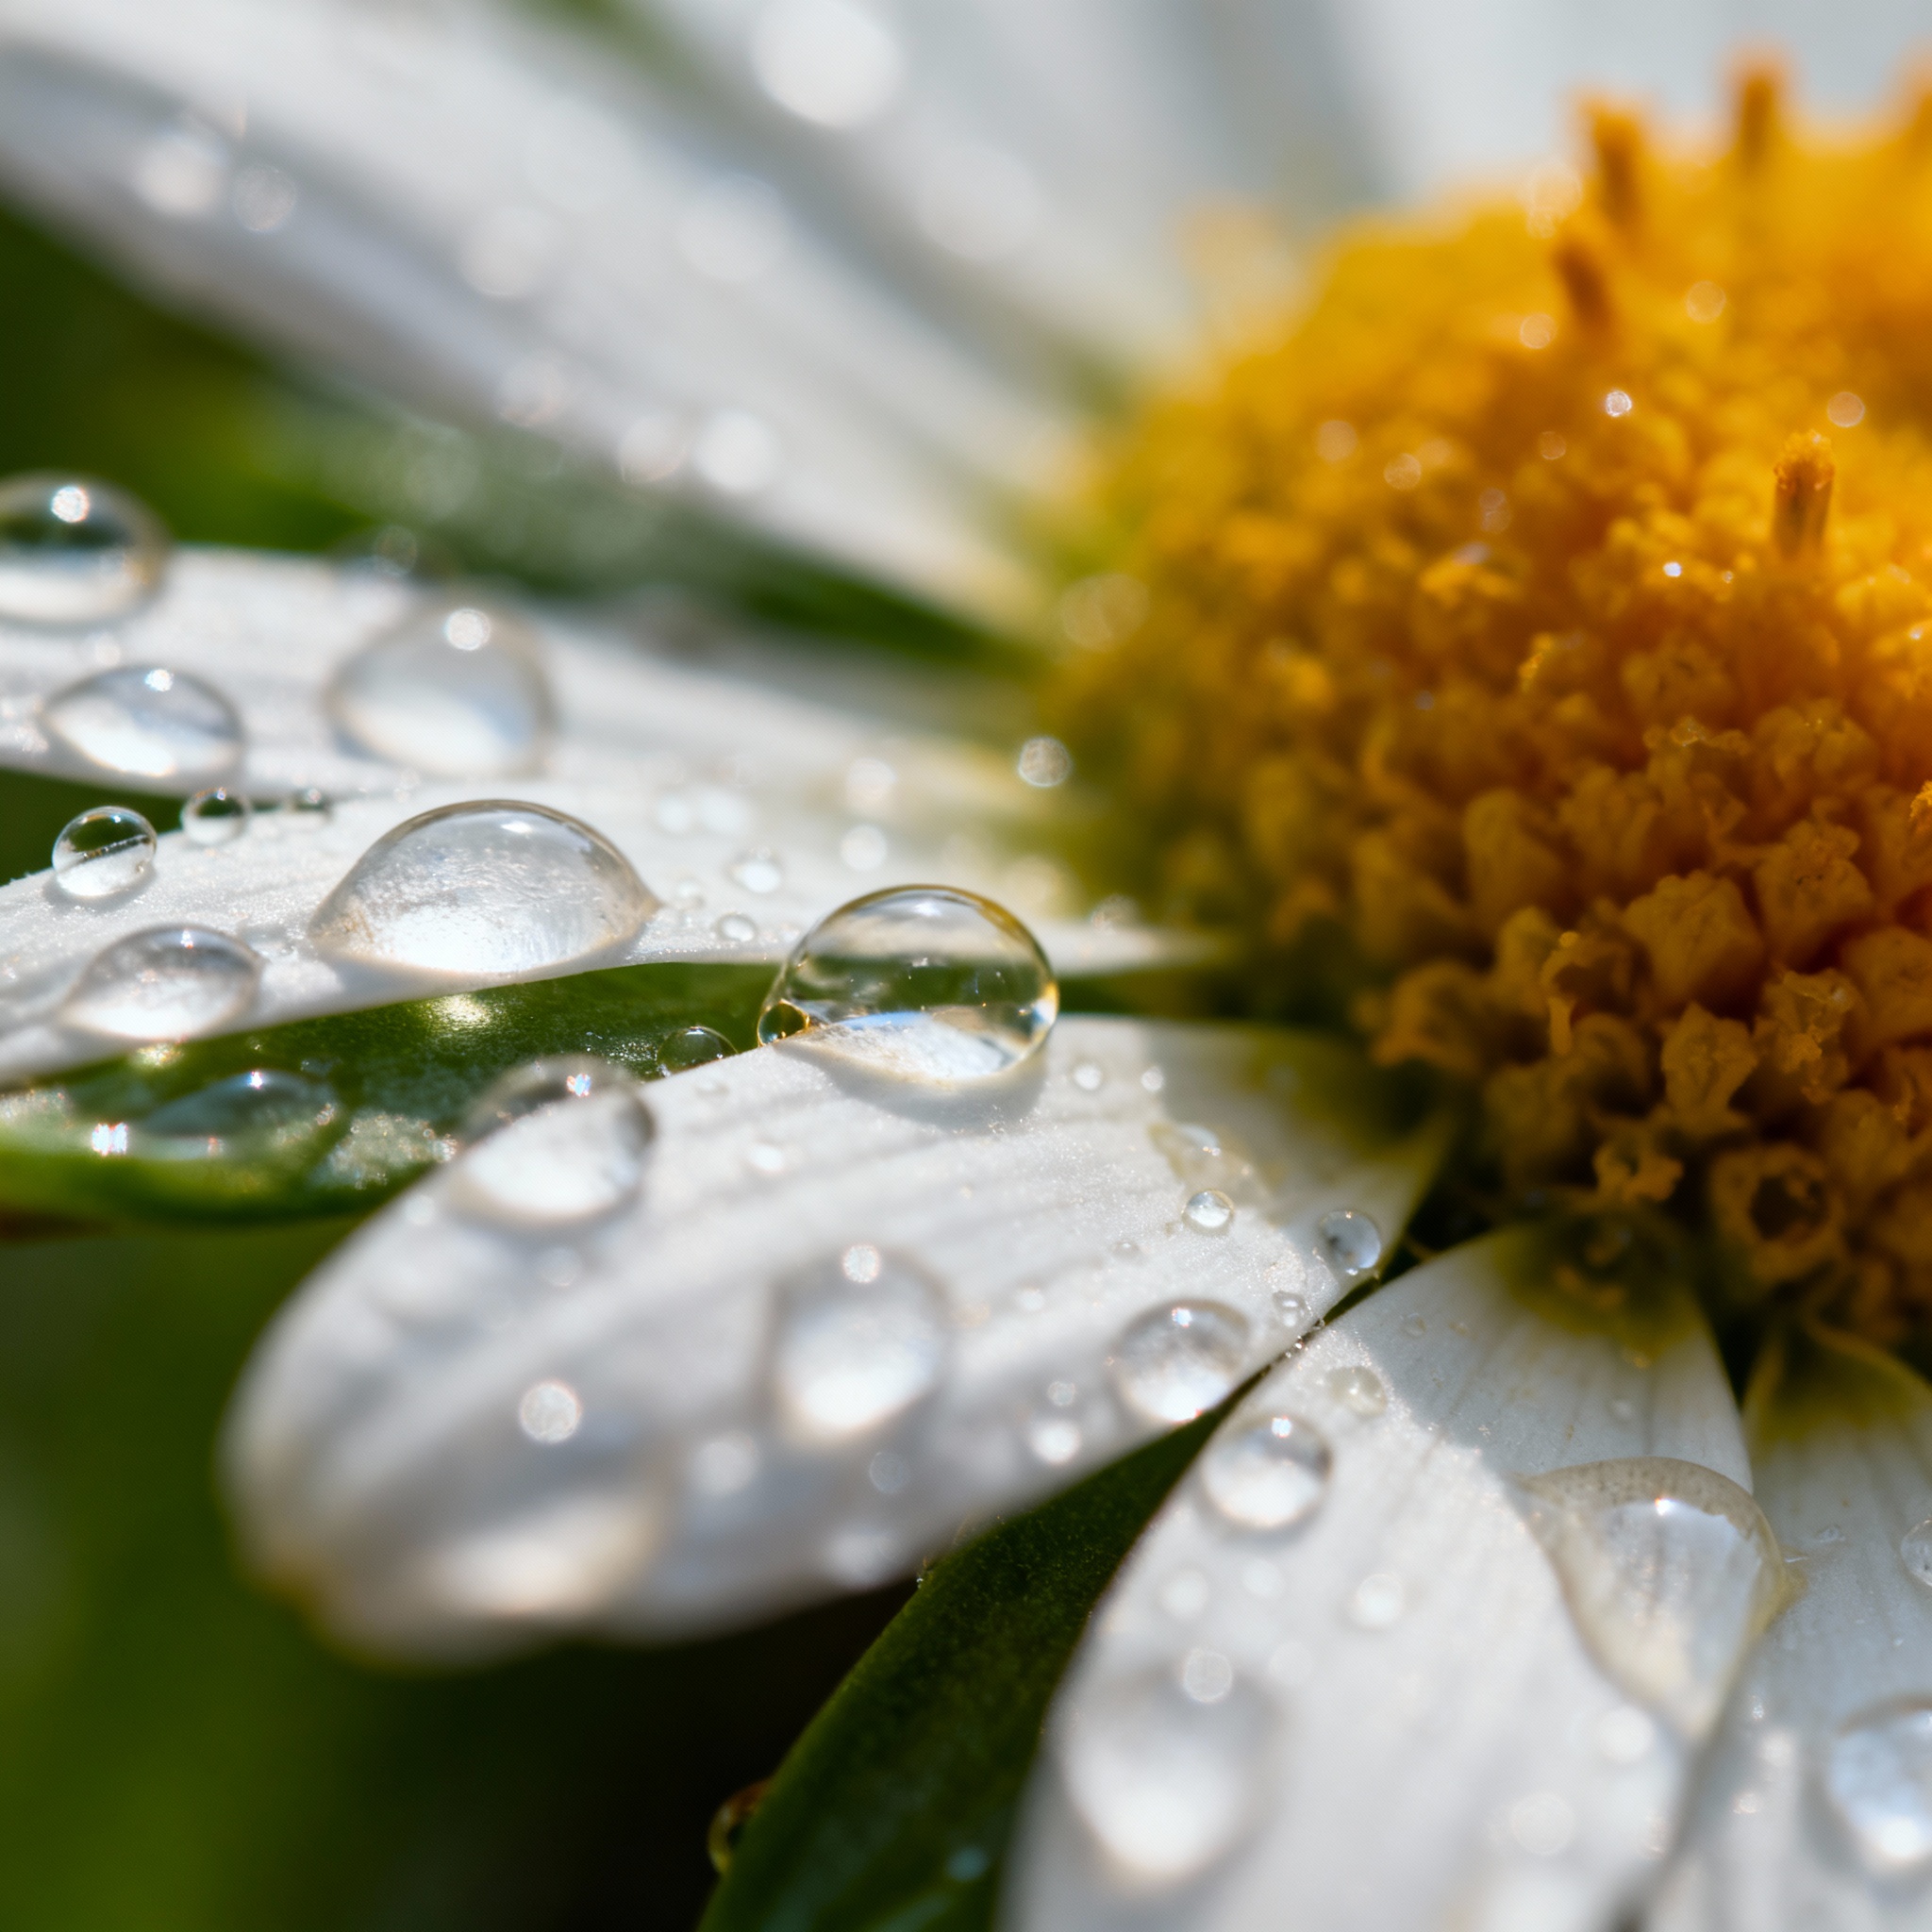
Macro photography opens up an entirely new world of photographic possibilities, allowing you to capture intricate details that are invisible to the naked eye. Whether you’re photographing dewdrops on petals, the compound eyes of an insect, or the texture of everyday objects, mastering macro techniques will transform your photography and help you create truly stunning close-up images.
In this comprehensive guide, we’ll explore the essential techniques, equipment, and settings needed to excel in macro photography. From understanding magnification ratios to mastering focus stacking, you’ll learn everything necessary to capture professional-quality macro images.
Understanding Macro Photography Fundamentals
What Is True Macro Photography?
True macro photography is defined as capturing images at a 1:1 magnification ratio or greater, meaning the subject appears life-sized or larger on your camera’s sensor. This technical definition distinguishes macro photography from simple close-up photography, which typically involves magnification ratios between 1:10 and 1:2.
Understanding magnification ratios is crucial for macro work:
- 1:10 ratio: Subject appears 10 times smaller on sensor than in real life
- 1:2 ratio: Subject appears half-size on sensor
- 1:1 ratio: Subject appears life-size on sensor (true macro)
- 2:1 ratio: Subject appears twice as large on sensor (super macro)
The Unique Challenges of Macro Photography
Macro photography presents several technical challenges that don’t exist in other forms of photography:
Extremely Shallow Depth of Field: At macro magnifications, depth of field becomes razor-thin, often measuring in millimeters rather than inches. This means precise focusing becomes critical.
Camera Shake Amplification: Any camera movement is magnified along with your subject, making camera stability essential for sharp images.
Lighting Difficulties: Getting adequate light onto tiny subjects while avoiding harsh shadows requires specialized techniques and equipment.
Subject Movement: Even the slightest breeze can move small subjects significantly within your frame, making timing and patience crucial.
Essential Macro Photography Equipment
Macro Lenses: Your Primary Tool
A dedicated macro lens is the foundation of serious macro photography. These lenses are designed to focus much closer than standard lenses while maintaining excellent optical quality at high magnifications.
Key Features to Look For:
- True 1:1 magnification capability
- Internal focusing to prevent length changes
- Weather sealing for outdoor work
- Image stabilization for handheld shooting
Popular focal lengths include:
- 60mm macro lenses: Compact and affordable, ideal for tabletop photography
- 100-105mm macro lenses: The sweet spot for most macro work, offering comfortable working distance
- 150-200mm macro lenses: Excellent for skittish subjects like insects and butterflies
Alternative Macro Solutions
If a dedicated macro lens isn’t in your budget, several alternatives can produce excellent results:
Extension Tubes: These hollow tubes mount between your camera body and lens, allowing closer focusing. They maintain full electronic communication with modern lenses and are much more affordable than dedicated macro lenses.
Close-up Filters: Screw-on filters that act like magnifying glasses for your lens. While convenient, they can reduce image quality, especially with cheaper versions.
Reversing Rings: Allow you to mount a lens backward for extreme magnification. This technique works particularly well with 50mm lenses but eliminates electronic communication.
Support Equipment
Sturdy Tripods: Macro work demands rock-solid camera support. Look for tripods with:
- Carbon fiber construction for reduced weight and vibration
- Reversible center columns for low-angle shooting
- Spiked feet for outdoor stability
Focusing Rails: These allow precise micro-adjustments to camera position, essential for fine-tuning composition and achieving perfect focus.
Remote Releases: Cable releases or wireless triggers eliminate camera shake from pressing the shutter button.
Camera Settings for Macro Photography
Aperture Selection Strategy
Aperture choice in macro photography requires balancing depth of field with image sharpness:
f/8 to f/11: Often the sweet spot for macro lenses, providing optimal sharpness while maintaining some depth of field.
f/5.6 and wider: Use for creative shallow depth of field effects or when you need faster shutter speeds.
f/16 and smaller: Increases depth of field but may introduce diffraction, reducing overall sharpness.
Focus Mode Configuration
Single-Point Autofocus: Use the smallest available focus point and position it precisely on your subject’s most important detail.
Manual Focus: Often preferable for macro work, especially when using focus stacking techniques or when autofocus struggles in low contrast situations.
Back-Button Focus: Separates focus activation from the shutter button, giving you complete control over when the camera focuses.
ISO and Noise Management
Modern cameras handle high ISOs remarkably well, but macro photography often benefits from lower ISOs when possible:
- ISO 100-400: Ideal for tripod-mounted static subjects
- ISO 800-1600: Acceptable for handheld work or when you need faster shutter speeds
- ISO 3200+: Use sparingly, as noise can become problematic in detailed macro images
Shutter Speed Considerations
Tripod Work: Use your camera’s base ISO and optimize for image quality. Mirror lock-up or electronic first curtain can reduce vibration.
Handheld Shooting: Follow the reciprocal rule but account for magnification. For a 100mm macro lens at 1:1 magnification, consider 1/200s as your minimum shutter speed.
Mastering Focus in Macro Photography
Single-Shot Focus Techniques
Focus Point Placement: In macro photography, choose your focus point carefully. For insects, focus on the eyes. For flowers, focus on the most prominent part of the bloom.
Focus Confirmation: Use your camera’s magnification feature in live view to confirm critical focus. Many cameras offer focus peaking, which highlights in-focus areas.
Hyperfocal Distance: While less relevant in macro work due to shallow depth of field, understanding how to maximize the depth of field you have is crucial.
Focus Stacking for Maximum Sharpness
Focus stacking involves taking multiple images at different focus points and blending them together for extended depth of field.
Step-by-Step Focus Stacking Process:
- Set up your camera on a tripod and compose your shot
- Switch to manual focus and find the nearest focus point
- Take your first shot at the closest focus point
- Adjust focus slightly deeper into the subject
- Continue taking shots with small focus adjustments until you’ve covered the entire subject
- Process in software like Photoshop, Helicon Focus, or Zerene Stacker
Focus Stacking Tips:
- Overlap your focus points by 30-50% for smooth blending
- Use consistent exposure settings throughout the sequence
- Work in windless conditions or indoors when possible
- Take more shots than you think you need – you can always discard extras
Lighting Techniques for Macro Photography
Natural Light Mastery
Golden Hour Magic: The warm, soft light during golden hour is exceptional for outdoor macro work. The low angle creates beautiful rim lighting on subjects like flowers and insects.
Overcast Conditions: Cloudy skies act as a giant softbox, providing even, diffused lighting that’s perfect for macro photography. This lighting reduces harsh shadows and allows for better detail visibility.
Shade Work: Open shade provides consistent, soft lighting without the harsh shadows of direct sunlight. Look for areas with good ambient light reflection.
Artificial Lighting Solutions
Ring Flash: Provides even, shadow-free lighting around your lens axis. Modern LED ring lights offer continuous lighting for easier composition and focusing.
Twin Flash Setup: Two small flashes positioned around your lens give more dimensional lighting than a ring flash while maintaining portability.
Off-Camera Flash: Using a single flash with modifiers like small softboxes or diffusers provides the most creative control over your lighting.
DIY Lighting Modifiers
Diffusion Materials: White fabric, parchment paper, or specialized photography diffusion materials can soften harsh light sources.
Reflectors: Small white cards, mirrors, or specialized macro reflectors can fill in shadows and add catchlights to subjects.
Background Cards: Colored or textured cards placed behind your subject can create clean, professional-looking backgrounds.
Composition Techniques for Macro Images
Rule of Thirds in Macro
The rule of thirds applies to macro photography but requires careful consideration due to the limited field of view:
- Place key elements like insect eyes or flower centers on intersection points
- Use leading lines from stems, leaves, or subject features to guide the viewer’s eye
- Consider the negative space around your subject for visual balance
Creating Depth and Dimension
Layering Elements: Include foreground, middle ground, and background elements when possible to create depth, even with shallow depth of field.
Angle Selection: Shooting parallel to flat subjects minimizes depth of field challenges, while angled shots can create more dynamic compositions.
Scale Reference: Including elements that show the tiny scale of your subject can create more impactful images.
Background Management
Bokeh Quality: The quality of out-of-focus areas becomes crucial in macro work. Look for smooth, creamy backgrounds without distracting elements.
Distance Matters: Increasing the distance between your subject and background creates smoother bokeh and better subject separation.
Artificial Backgrounds: Consider using colored cards, fabric, or natural materials to create clean, controlling backgrounds.
Field Techniques and Practical Tips
Planning Your Macro Shoots
Weather Considerations: Early morning dew creates magical opportunities for flower and spider web photography. Light rain can add interesting droplets to subjects.
Seasonal Timing: Different seasons offer unique macro opportunities – spring flowers, summer insects, autumn textures, and winter frost patterns.
Location Scouting: Visit potential macro locations at different times to understand lighting conditions and subject availability.
Working with Live Subjects
Patience and Persistence: Insects and other small creatures require patience. Move slowly and avoid sudden movements that might startle subjects.
Temperature Timing: Cold-blooded subjects like insects are less active in cooler temperatures, making them easier to photograph in early morning.
Ethical Considerations: Never harm subjects for photographs. Avoid disturbing nests, eggs, or fragile ecosystems.
Technical Field Tips
Battery Management: Cold weather and live view usage drain batteries quickly. Carry extras and keep them warm.
Lens Care: Macro work often involves getting close to dirty or wet environments. Bring lens cleaning supplies and protective filters.
Memory Cards: Shoot in RAW format for maximum post-processing flexibility, which requires ample storage space.
Post-Processing for Macro Images
Essential Adjustments
Sharpening: Macro images often benefit from careful sharpening using unsharp mask or more advanced techniques like high-pass filtering.
Noise Reduction: When shooting at higher ISOs, apply noise reduction carefully to maintain fine detail.
Color Correction: Fine-tune white balance and color saturation to accurately represent your subjects.
Advanced Techniques
Focus Stacking: Master software like Photoshop’s auto-blend layers or specialized programs for combining multiple focus points.
Detail Enhancement: Use clarity, texture, and structure adjustments to enhance fine details without creating artifacts.
Background Cleanup: Remove distracting elements or smooth backgrounds while maintaining natural-looking results.
Common Mistakes and How to Avoid Them
Technical Errors
Using Apertures Too Wide: While shallow depth of field can be creative, ensure enough of your subject is in focus to be recognizable.
Ignoring Camera Shake: At macro magnifications, even slight camera movement ruins images. Always use adequate support or fast enough shutter speeds.
Poor Focus Point Selection: Focus on the most important part of your subject – usually the eyes for living creatures or the most prominent feature for objects.
Composition Mistakes
Centering Everything: While centering can work in macro photography, don’t ignore compositional guidelines entirely.
Cluttered Backgrounds: Busy backgrounds distract from your main subject. Learn to control and simplify backgrounds.
Ignoring Edge of Frame: Pay attention to what’s happening at the edges of your composition, as distracting elements are more noticeable in the simplified macro world.
Building Your Macro Photography Skills
Practice Projects
Start Simple: Begin with static subjects like flowers, food, or household objects before moving to challenging subjects like insects.
Daily Practice: Commit to taking macro photos regularly, even if it’s just photographing objects around your home.
Technique Focus: Dedicate sessions to practicing specific techniques like focus stacking or lighting setups.
Learning Resources
Online Communities: Join macro photography forums and social media groups to share work and learn from others.
Workshop Participation: Attend macro photography workshops to learn hands-on techniques and get immediate feedback.
Book Study: Study the work of renowned macro photographers to understand advanced techniques and creative approaches.
Conclusion and Next Steps
Macro photography offers an incredible journey into the miniature world around us, revealing beauty and detail that’s invisible to casual observation. Success in macro photography comes from understanding the technical challenges and developing the patience and skills to overcome them.
Start with the basic equipment and techniques outlined in this guide, focusing on mastering manual focus, understanding depth of field, and learning to work with available light. As your skills develop, experiment with more advanced techniques like focus stacking and artificial lighting setups.
Remember that macro photography is as much about patience and observation as it is about technical skill. Spend time studying your subjects, understanding their behavior if they’re alive, and learning to see the extraordinary in the ordinary.
The most important advice for aspiring macro photographers is to practice consistently and experiment fearlessly. Every macro photographer develops their own style and preferred techniques through experience. Start with simple subjects, master the basics, and gradually challenge yourself with more complex compositions and techniques.
With dedication and practice, you’ll soon be creating stunning macro images that reveal the hidden beauty of the miniature world around us. The journey into macro photography is rewarding, challenging, and endlessly fascinating – embrace the learning process and enjoy discovering this unique photographic discipline.
Related Tags
Looking for the Best Camera Deals?
Check out our latest buying guides and comparison articles to find the perfect camera for your needs.
Browse Buying Guides