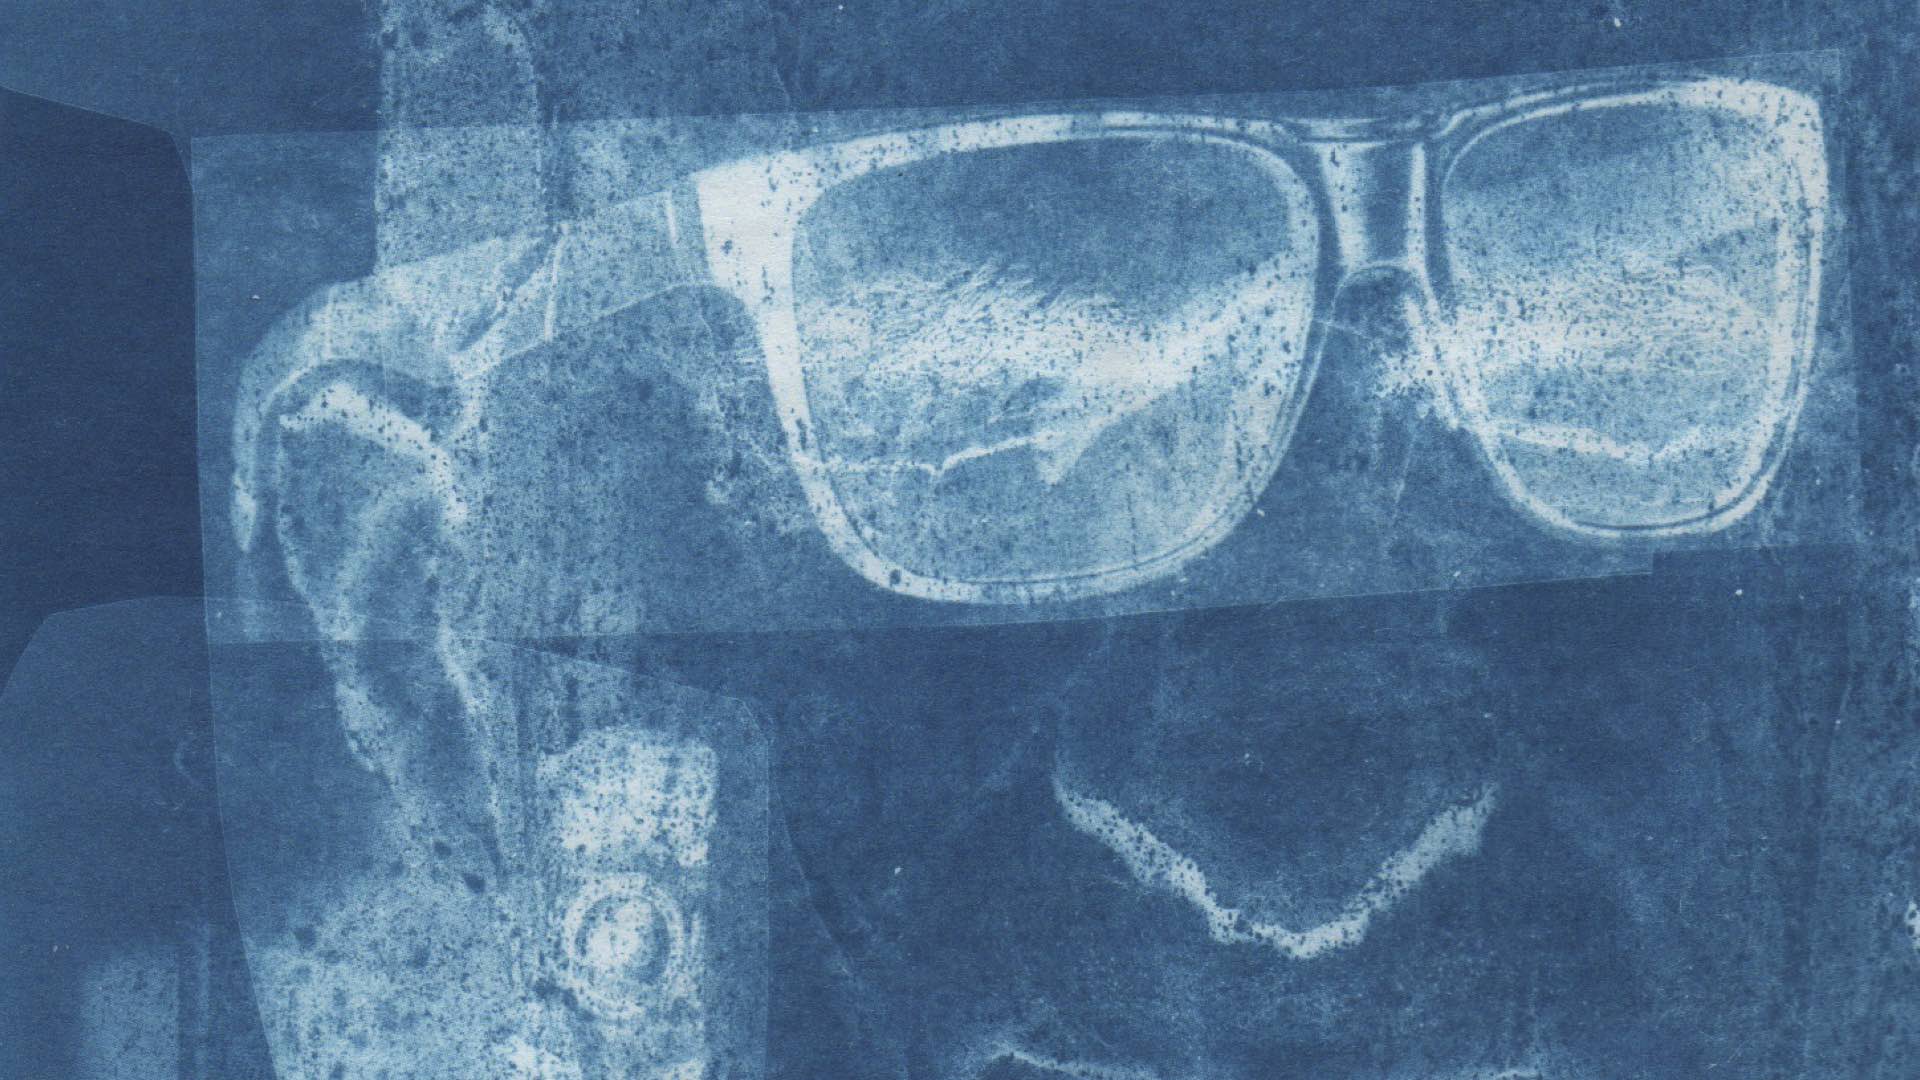
It’s a photographic match made in heaven. No negatives, no paper, no chemicals, and no darkroom, yet you can make huge enlargements that are picture perfect. If you want to try cyanotype, all you need is some photo-sensitive fabric and a fourth grader.
This involves a photographic process that’s as old as Sir John Herschel, who’s experimentation with potassium ferricyanide and ammonium ferric citrate in 1842 lead to the public disclosure and naming of this process as cyanotype. Based on a ridiculously easy workflow involving contact exposure in direct sunlight and subsequent development in running water, the cyanotype quickly became the photographer’s dream technique.
Thankfully, you don’t have to behave like a alchemist anymore and mix chemicals together for achieving a cyanotype print. Instead, you can purchase ready-to-use cyanotype paper that’s precut and ready for exposure. Better yet, you can go one step further and opt for cyanotype-coated fabric which enables you to stitch together clothing with that distinctive look of a real photograph.
Now Where’d I Put that Fourth Grader?
The basis for this “negative-free” technique is steeped in a decades-old grade school tradition. Generally speaking, this ritual begins with the instructor asking students to bring in glossy magazines for an upcoming art project. Magazines, either purchased through subscriptions and/or freely obtained at supermarket exits, are gleefully gathered by the students and delivered to school for performing “magazine lifts” or magazine “image transfers.”

When the magical day finally arrives, a classroom full of budding artists begins the simple process of making large format, colorful transparencies. Only four elementary (get it; fourth grade, elementary) products are needed for making a magazine lift:
1. Colorful magazines.
2. A pair of scissors for cutting images out of the magazines.
3. A large piece of clear contact paper for $7.49.
4. A bucket of water.
Each student is instructed to cut out photographs from the magazines. A large margin is kept around each selected photo. A sheet of contact paper is then prepped by removing its carrier sheet. Carefully, each magazine image is gently lowered onto the sticky side of the contact paper. Air bubbles should be avoided, but a poke with the tip of the scissors can help remove any offending problems. Finally, a good solid hard pressing of the image against the contact paper will ensure that the resulting lift will be picture perfect.
Each completed magazine photo and contact paper sandwich is dropped into the bucket of water. As the paper from the magazine begins to soften, it can be rubbed away from the contact paper using the artist’s fingers. Remove all of the magazine paper from the sticky side of the clear contact paper until all that remains is the color from the original magazine photograph. Set each magazine lift aside to dry.

When dry to the touch, take the scissors and trim each lift to its desired shape. Place the trimmed plastic upside down on a dry, flat surface and cut another sheet of contact paper, slightly larger than the trimmed original, remove the carrier sheet, and carefully lower this new piece of contact paper over the magazine lift. Smooth and flatten this sandwich being sure to remove all air bubbles. Make a final trim of the completed dual sided contact paper and magazine lift combination and your large-scale, full-color transparency is ready for acting as a “negative” for cyanotype printing.
Time to Sing the Blues
Armed with a stack full of big, beautiful transparencies, it’s time to put plastic to fabric. It’s hard to believe that a nineteenth century photographic process would still be popular today; but it is. In fact, you have several choices for making cyanotypes from your 4th-grade magazine lifts: you can use cotton fabric for $36.95, silk fabric for $26.95, or, try the more conventional, paper print for $19.95.

Regardless of your preferred media, a top-notch contact printing frame is essential for obtaining the best cyanotypes. In this context, the absolutely best printing frame is the Contact Print Frame from Photographers’ Formulary. This 8×10 professional, industrial strength frame for $70.95 will print perfect cyanotypes and is built to last your lifetime.
When you’re ready to print your cyanotypes from magazine lifts, remember these two points. First, due to the “rough” density that is inherent to magazine lifts, your exposure must be made in full sunlight. Typically, an 8 to 15 minute exposure should produce high quality deep, rich royal blues. Second, “development” of the print is performed in a 5 minute room temperature running water bath. Both the time and running water are essential for a properly cleared print. When you’ve completed this development cycle, your print should be oxidized in a hydrogen peroxide bath. This will hasten and fix the final image blue color. This bath is made and used immediately with a solution of 10 parts supermarket brand strength hydrogen peroxide to 100 parts of room temperature water. Once you’ve prepared this bath, immerse the print for 5 seconds, then immediately rinse the print in another 5 minute room temperature water bath.

Your cyanotype fabric is now ready for incorporation into your chosen garment or art piece. Remember to only hand wash cyanotype garments in clear water and let them air dry before wearing them. While anyone can print paper cyanotypes, fabric prints are a clearly superior medium for demonstrating your mastery of a photographic process from the 1800s.
Algal Cyanotypes
Oh and if you’re looking for some more cyanotype inspiration, then study the first published photographic book, Photographs of British Algae: Cyanotype Impressions. This 1843 (1853) 3-volume book set was written, illustrated, and published by Anna Atkins. Inside this set are featured over 400 handmade cyanotype photographs. During a ten-year period, these cyanotypes were individually produced by the author and hand-tipped into each book which she also gilded the edge of every page with gold leaf. Awesome!
Enjoy.

