Nature Photography Tutorial: Master Outdoor Shots Step-by-Step
Learn nature photography with our comprehensive step-by-step tutorial. Master camera settings, composition, and techniques for stunning outdoor shots.
Nature photography captures the raw beauty of our natural world, from sweeping landscapes to intimate wildlife moments. Whether you’re drawn to misty mountain peaks, vibrant wildflower meadows, or the delicate patterns of morning frost, mastering nature photography requires a combination of technical knowledge, artistic vision, and field craft skills.
This comprehensive tutorial will guide you through every aspect of nature photography, from essential gear selection to advanced field techniques. You’ll learn the fundamental camera settings, composition principles, and practical tips that will transform your outdoor photography adventures into stunning visual stories.
Essential Gear for Nature Photography
Camera Body Selection
Your camera is the heart of your nature photography setup. While you can create beautiful images with any camera, having the right tool makes a significant difference in challenging outdoor conditions.
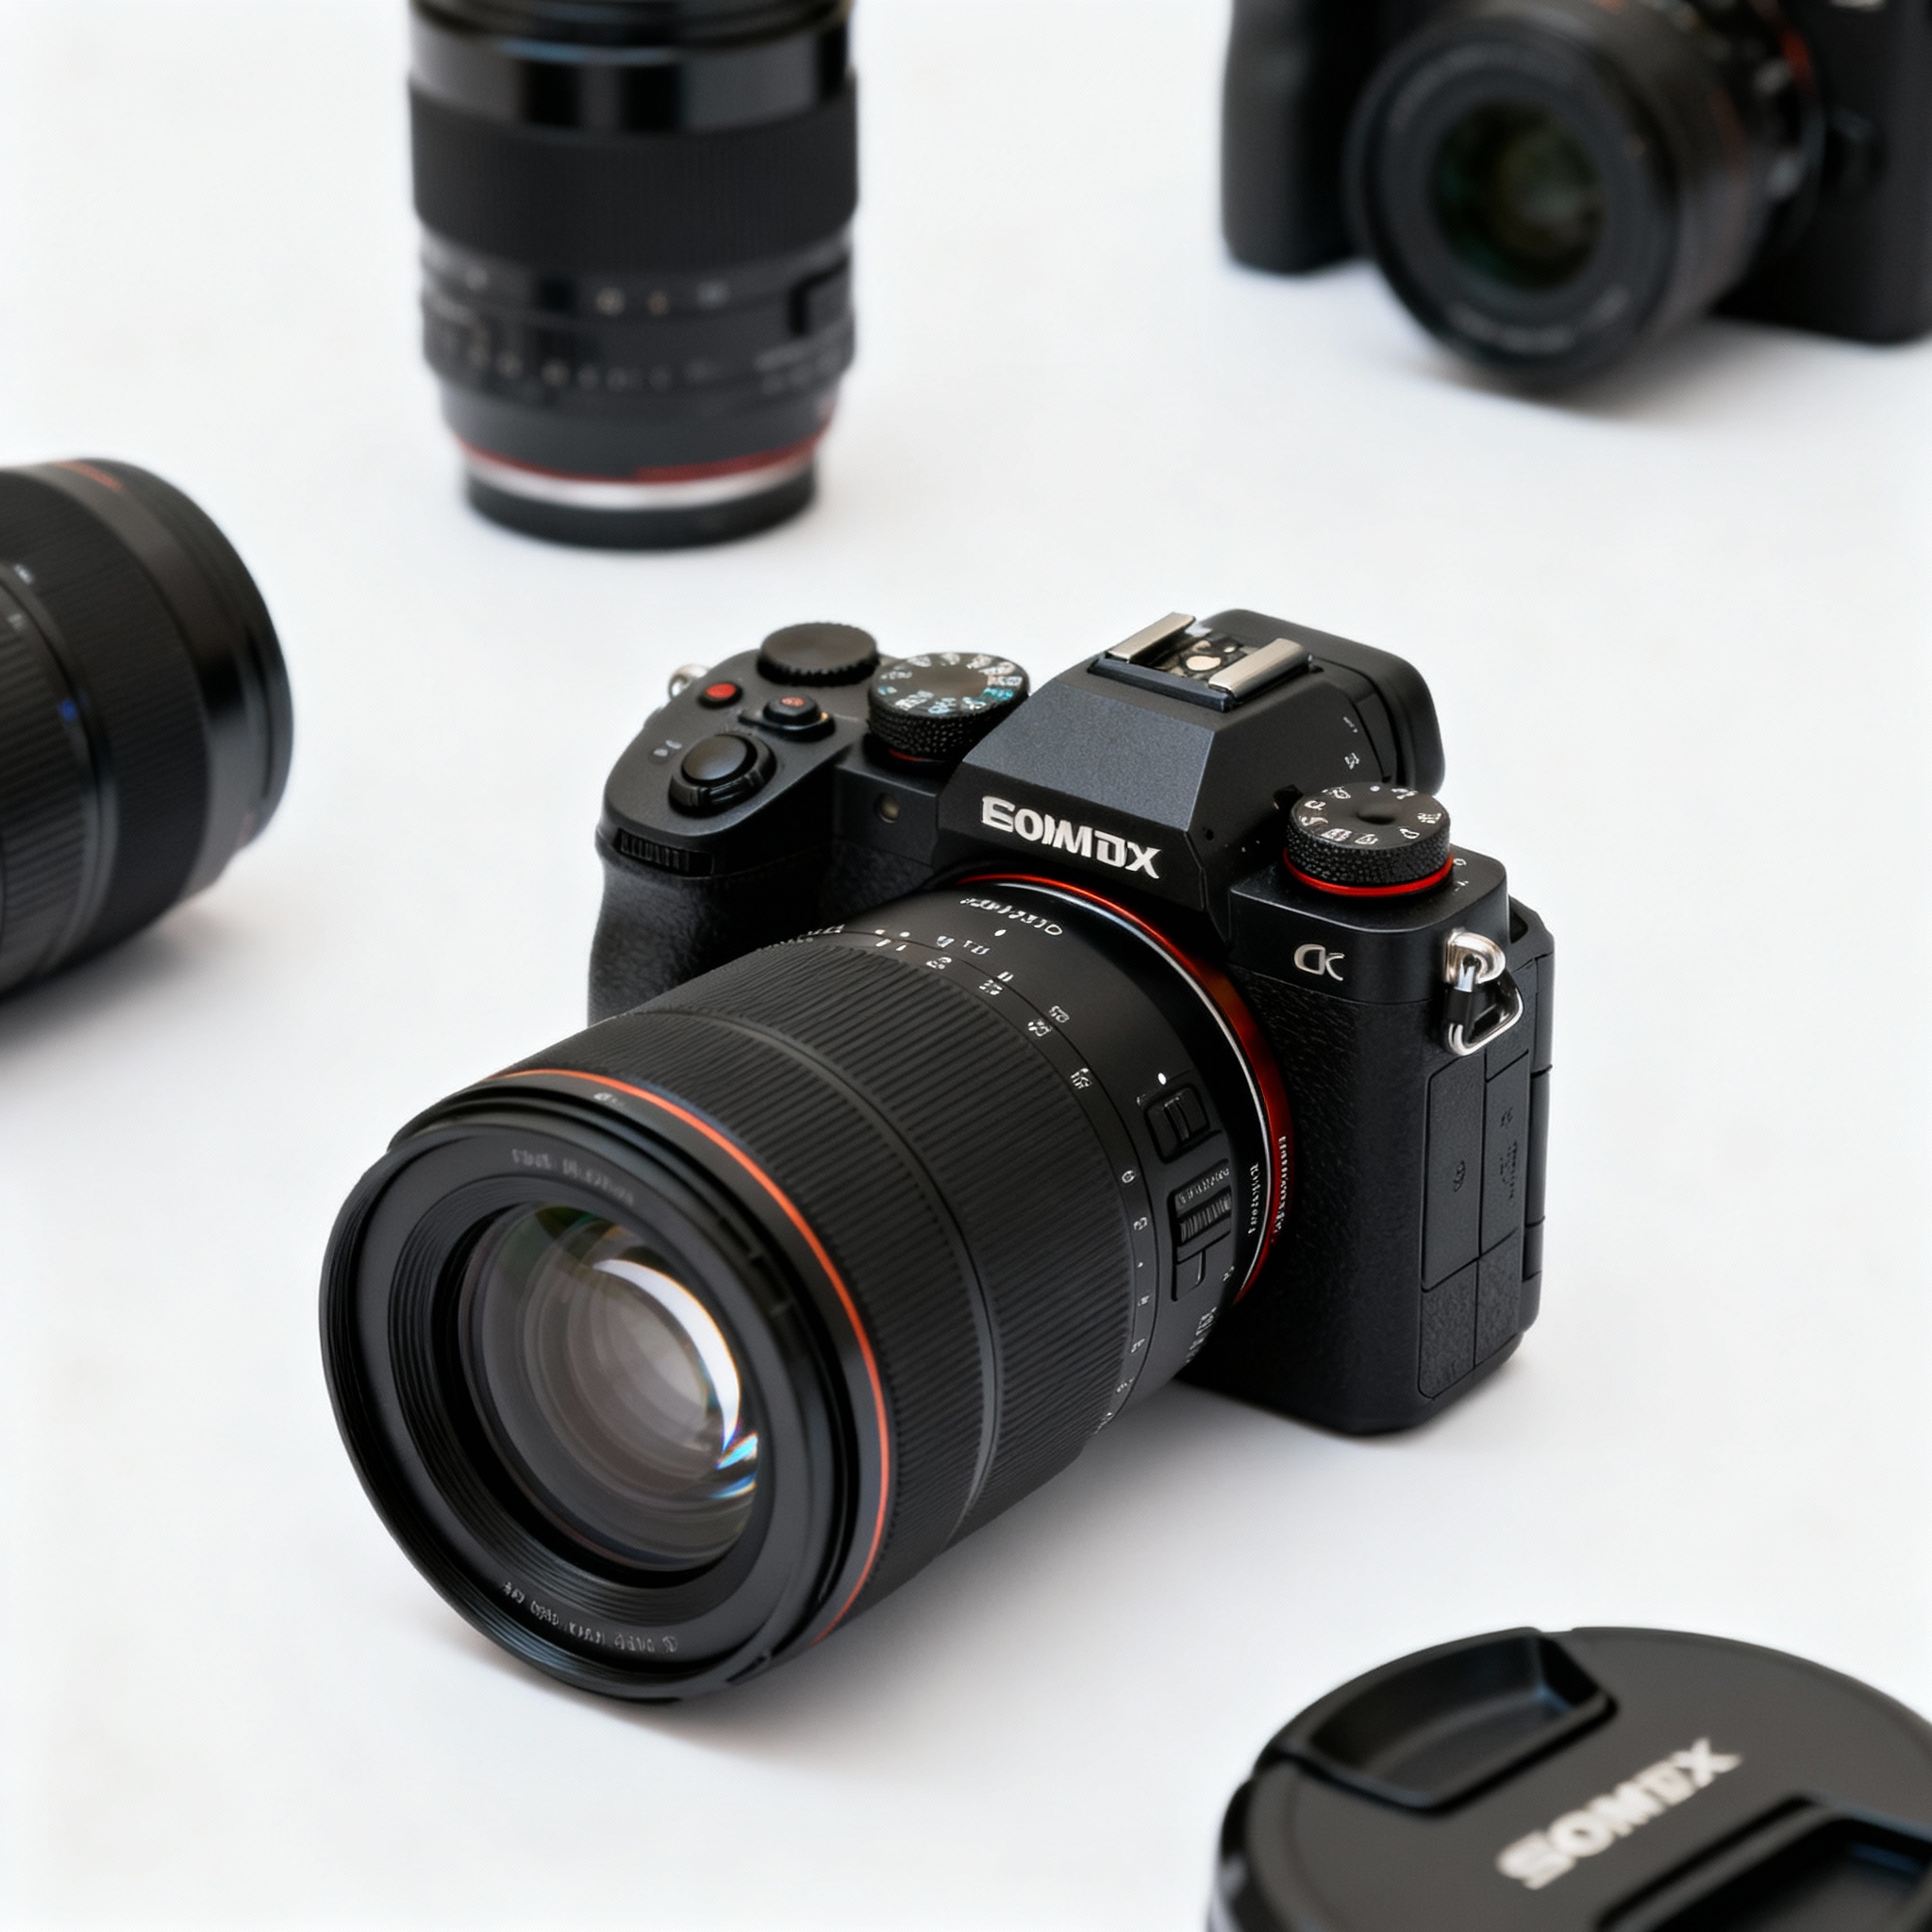
Full-frame mirrorless cameras offer excellent image quality, weather sealing, and versatility for nature photography. The Sony A7 IV stands out as an exceptional choice for nature photographers, combining high-resolution imaging with robust build quality.
Sony A7 IV Specifications:
| Feature | Specification |
|---|---|
| Sensor | 33MP Full-Frame CMOS |
| ISO Range | 100-51,200 (expandable to 204,800) |
| Autofocus Points | 759-point phase detection |
| Video | 4K 60fps internal recording |
| Weather Sealing | Yes |
| Battery Life | 530 shots (LCD), 610 shots (EVF) |
| Weight | 658g (body only) |
Lens Selection Strategy
Your lens choice dramatically impacts your nature photography results. Consider building your kit around these focal length ranges:
Wide-angle lenses (14-35mm): Perfect for expansive landscapes, dramatic skies, and environmental wildlife shots. They create a sense of scale and allow you to include foreground elements for depth.
Standard lenses (35-85mm): Versatile for general nature photography, offering natural perspective similar to human vision. Excellent for intimate landscapes and larger wildlife subjects.
Telephoto lenses (85-600mm): Essential for wildlife photography and isolating distant landscape elements. They compress perspective and create beautiful background blur.
Support and Accessories
A sturdy tripod is crucial for sharp images during golden hour, blue hour, and long exposure photography. Look for carbon fiber models that balance weight and stability for hiking.
Additional essential accessories include:
- Extra batteries (cold weather drains power quickly)
- Weather protection covers
- Lens cleaning kit
- Polarizing and neutral density filters
- Remote shutter release or intervalometer
Camera Settings Fundamentals
Exposure Triangle Mastery
Understanding the relationship between aperture, shutter speed, and ISO forms the foundation of nature photography. Each element affects your image’s creative and technical quality.
Aperture Priority Mode (A/Av) works excellently for most nature photography situations. This semi-automatic mode lets you control depth of field while the camera selects appropriate shutter speeds.
Aperture Settings for Different Scenarios
Landscape Photography: Use f/8 to f/11 for optimal sharpness across the frame. These apertures provide the sweet spot between depth of field and lens sharpness while avoiding diffraction.
Wildlife Photography: Choose wider apertures (f/4 to f/5.6) to isolate subjects from backgrounds and maintain faster shutter speeds for sharp action shots.
Macro Nature Photography: Start with f/8 to f/11 for sufficient depth of field on small subjects, adjusting based on desired background blur and magnification ratio.
ISO Performance Guidelines
Modern cameras handle high ISO remarkably well, but understanding optimal ranges improves your results:
- ISO 100-400: Ideal for bright conditions and tripod work
- ISO 800-1600: Excellent for overcast days and active wildlife
- ISO 3200-6400: Acceptable for low light situations with minimal noise
- ISO 12800+: Emergency settings for extremely low light
Shutter Speed Considerations
Static Subjects: Use the reciprocal rule (1/focal length) as a starting point for handheld shooting. With image stabilization, you can often shoot 2-3 stops slower.
Moving Wildlife: Maintain shutter speeds of 1/500s or faster for active subjects. Birds in flight typically require 1/1000s or higher.
Flowing Water: Experiment with different speeds for creative effects:
- 1/4 to 1 second for silky water movement
- 2-30 seconds for complete motion blur
- 1/125s or faster to freeze water droplets
Autofocus Settings and Techniques
AF Area Modes
Single Point AF: Provides precise control for stationary subjects and specific composition points. Essential for macro work and carefully composed landscapes.
Zone AF: Covers a broader area while maintaining some precision. Excellent for unpredictable wildlife behavior within a general area.
Wide Area AF: Uses the entire focusing area for fast-moving or erratically moving subjects. Perfect for birds in flight or running mammals.
Focus Tracking Settings
Modern cameras offer sophisticated subject tracking capabilities. Enable animal eye detection for wildlife photography, which dramatically improves focus accuracy on moving subjects.
For continuous autofocus (AI Servo/AF-C), adjust tracking sensitivity based on subject behavior:
- High sensitivity for erratic movement
- Lower sensitivity for predictable movement patterns
Field Techniques and Best Practices
Scouting and Planning
Successful nature photography begins long before you press the shutter. Research your locations using topographic maps, weather forecasts, and sunrise/sunset timing apps.
Golden Hour Magic: The hour after sunrise and before sunset provides warm, directional light that enhances texture and creates dramatic shadows. Plan to arrive at locations 30-45 minutes early for setup.
Blue Hour Opportunities: The period just before sunrise and after sunset offers ethereal lighting for landscapes. The soft, even illumination reduces harsh contrasts while maintaining color in the sky.
Weather Considerations
Don’t shy away from challenging weather conditions. Some of the most compelling nature photographs emerge from storms, fog, and dramatic atmospheric conditions.
Overcast Skies: Perfect for intimate woodland scenes, waterfalls, and close-up nature photography. The soft, diffused light eliminates harsh shadows and enhances color saturation.
Stormy Weather: Creates dramatic lighting conditions and dynamic skies. Ensure your gear is properly protected and prioritize safety over photography.
Wildlife Photography Ethics
Respect for wildlife and their habitats should always take priority over getting the shot. Follow these ethical guidelines:
- Maintain safe distances from all wildlife
- Never bait or disturb animals for photographs
- Stay on designated trails to protect fragile ecosystems
- Learn about animal behavior to anticipate natural moments
Composition Techniques for Nature Photography
Rule of Thirds Application
Divide your frame into nine equal sections and place important elements along these lines or at their intersections. This creates more dynamic and visually appealing compositions than centering subjects.
For landscapes, consider placing the horizon along the upper or lower third line, depending on whether the sky or foreground is more interesting.
Leading Lines and Depth
Use natural elements like rivers, fallen logs, rock formations, or animal trails to guide the viewer’s eye through your composition. These leading lines create depth and visual flow.
Foreground, Middle Ground, Background: Layer your compositions to create three-dimensional feel in two-dimensional images. Include interesting foreground elements while maintaining sharp focus throughout the scene when appropriate.
Scale and Perspective
Include recognizable objects to convey the massive scale of natural landscapes. A person, tent, or familiar animal can transform a good landscape into a compelling story about our place in nature.
Lighting Strategies
Natural Light Direction
Front Lighting: Provides even illumination but can appear flat. Useful for documentary-style wildlife photography where detail visibility is paramount.
Side Lighting: Creates dimension through shadows and highlights. Excellent for revealing texture in landscapes, tree bark, rock formations, and animal fur or feathers.
Back Lighting: Creates silhouettes and rim lighting effects. Particularly effective for translucent subjects like leaves, flowers, and insect wings.
Managing Harsh Light
When shooting in bright midday sun, look for natural diffusers like tree canopy or rock overhangs. Alternatively, use this lighting for high-contrast black and white photography.
Reflectors can fill in harsh shadows for close-up nature photography, while diffusers soften direct sunlight on smaller subjects.
Advanced Techniques
Focus Stacking for Maximum Sharpness
When shooting landscapes with very close foreground elements or macro subjects, single-shot depth of field may be insufficient. Focus stacking involves taking multiple images at different focus points and blending them in post-processing.
Focus Stacking Process:
- Mount your camera on a sturdy tripod
- Use manual focus to avoid focus hunting between shots
- Take 5-15 images, adjusting focus incrementally from near to far
- Blend the images using specialized software like Helicon Focus or Photoshop
Exposure Bracketing and HDR
High dynamic range situations exceed your camera’s single-exposure capability. Bracket your exposures to capture detail in both shadows and highlights.
HDR Shooting Steps:
- Set your camera to aperture priority mode
- Enable auto exposure bracketing (AEB) with 2-stop intervals
- Take 3-5 exposures from underexposed to overexposed
- Process using HDR software for natural-looking results
Long Exposure Techniques
Neutral density filters enable long exposures during daylight hours, creating smooth water surfaces and streaking cloud movement.
Long Exposure Settings:
- Use a sturdy tripod and remote shutter release
- Enable mirror lock-up or electronic first curtain
- Cover the viewfinder to prevent light leaks
- Start with 30-second exposures and adjust based on desired effect
Post-Processing Workflow
RAW File Advantages
Always shoot in RAW format for nature photography. RAW files contain significantly more color and tonal information than JPEG files, allowing greater flexibility in post-processing.
RAW processing enables:
- Highlight and shadow recovery
- White balance adjustment without quality loss
- Noise reduction while preserving detail
- Local adjustments for selective enhancement
Essential Adjustments
Global Adjustments: Start with overall exposure, highlights, shadows, and contrast adjustments to establish the basic look of your image.
Local Adjustments: Use masking tools to selectively enhance specific areas. Brighten eyes in wildlife portraits, enhance sky contrast, or add warmth to sunset colors.
Color Grading: Subtle color adjustments can enhance mood and atmosphere. Warm up shadows and cool highlights for a natural film-like aesthetic.
Common Challenges and Solutions
Sharp Images in Windy Conditions
Wind creates camera shake and subject movement challenges. Increase ISO to maintain faster shutter speeds, use continuous autofocus for moving vegetation, and weight your tripod for additional stability.
Cold Weather Photography
Battery performance decreases significantly in cold conditions. Keep spare batteries warm in interior pockets, use battery grips for extended power, and allow gear to acclimate gradually to prevent condensation.
Protecting Gear in Harsh Conditions
Invest in weather-sealed camera bodies and lenses for reliable performance in rain, snow, and dusty conditions. Carry microfiber cloths and lens cleaning solutions for maintenance in the field.
Building Your Nature Photography Skills
Practice Exercises
Daily Nature Observation: Spend time in natural settings without your camera, studying light quality, animal behavior, and seasonal changes. This observation skill directly translates to better photographic opportunities.
Single Location Study: Visit the same location repeatedly under different conditions. This deep familiarity allows you to anticipate optimal shooting conditions and discover unique perspectives.
Technical Skill Development: Practice manual focus techniques, exposure compensation adjustments, and various autofocus modes until they become second nature.
Learning from Masters
Study the work of renowned nature photographers like Ansel Adams, Marc Adamus, and Art Wolfe. Analyze their composition choices, lighting decisions, and technical approaches to understand what makes compelling nature imagery.
Conclusion and Recommendations
Nature photography combines technical camera skills with artistic vision and deep appreciation for the natural world. Success comes through consistent practice, patient observation, and respect for the subjects and environments you photograph.
Start with basic camera techniques and gradually incorporate advanced methods like focus stacking and long exposures. The Sony A7 IV provides an excellent foundation for serious nature photography, offering the image quality, weather sealing, and advanced features needed for challenging outdoor conditions.
Remember that great nature photography isn’t just about technical perfection—it’s about capturing the emotional connection between humans and the natural world. Focus on developing your unique perspective while building solid technical foundations, and your nature photography will continue to improve with each outdoor adventure.
The most important advice for aspiring nature photographers is simple: spend time in nature with your camera. Every sunrise offers new lighting conditions, every season brings different subjects, and every location presents unique challenges and opportunities. Embrace the journey, respect your subjects, and let your passion for the natural world guide your photographic exploration.
Related Tags
Looking for the Best Camera Deals?
Check out our latest buying guides and comparison articles to find the perfect camera for your needs.
Browse Buying Guides