Portrait Lighting Techniques for Beginners: Easy Guide
Learn essential portrait lighting techniques with our beginner-friendly tutorial. Master natural and artificial lighting setups to create stunning portraits.
Why Portrait Lighting Matters for Beginners
Portrait photography can seem intimidating when you’re just starting out, but mastering lighting is the key to transforming your images from snapshots to professional-looking portraits. Good lighting doesn’t just illuminate your subject—it creates mood, emphasizes features, and tells a story through shadows and highlights.
The beauty of portrait lighting is that you don’t need expensive equipment to get started. With a basic understanding of how light behaves and a few simple techniques, you can create stunning portraits using natural light or affordable artificial lighting setups.
In this comprehensive guide, we’ll explore the fundamental lighting patterns every beginner should master, walk through essential equipment, and provide step-by-step instructions for creating professional-looking portraits.
Understanding the Basics of Portrait Lighting
The Key Components of Portrait Lighting
Before diving into specific techniques, it’s important to understand the basic components that make up any lighting setup:
Key Light: This is your main light source and the most important element in your setup. It provides the primary illumination for your subject and establishes the overall lighting pattern.
Fill Light: Used to soften shadows created by the key light. Fill light is typically softer and less intense than the key light.
Background Light: Separates your subject from the background and adds depth to your image.
Hair/Rim Light: Creates separation between your subject and background by highlighting the edges of your subject.
Light Quality and Direction
Understanding how light quality and direction affect your portraits is crucial:
Hard vs. Soft Light: Hard light creates sharp, defined shadows and comes from small light sources (like direct sunlight or bare flash). Soft light creates gentle, gradual shadows and comes from large light sources (like overcast sky or softbox).
Light Direction: The angle of your light source dramatically affects the mood and appearance of your portrait. Light can come from front, side, back, above, or below your subject, each creating different effects.
Essential Equipment for Beginner Portrait Lighting
Camera Equipment
While you can practice portrait lighting with any camera, having a camera that gives you manual control over exposure settings will help you achieve better results. The Sony A7 IV is an excellent choice for portrait photography, offering exceptional image quality and excellent low-light performance.
| Specification | Sony A7 IV |
|---|---|
| Sensor | 33MP Full-Frame CMOS |
| ISO Range | 100-51200 (expandable to 204800) |
| Autofocus Points | 759 phase-detection points |
| Video Recording | 4K 60p |
| Image Stabilization | 5-axis in-body |
| Weather Sealing | Yes |
Lighting Equipment for Beginners
Natural Light: The most accessible and cost-effective option. Windows provide excellent soft light for portraits.
Reflectors: Essential for bouncing light back onto your subject to fill shadows. A 5-in-1 reflector kit typically costs under $30 and includes white, silver, gold, and black surfaces.
Speedlight/Flash: A basic external flash unit opens up many creative possibilities and allows you to shoot in any lighting condition.
Continuous LED Lights: More affordable than strobes and easier for beginners since you can see the lighting effect in real-time.
Light Modifiers: Softboxes, umbrellas, and beauty dishes help you control and shape your light.
The Five Essential Portrait Lighting Patterns
1. Flat Lighting
Flat lighting is the most forgiving lighting pattern and excellent for beginners. It minimizes shadows and is particularly flattering for subjects with blemishes or strong facial features.
Setup Instructions:
- Position your key light directly in front of your subject, slightly above eye level
- If using natural light, have your subject face a large window
- Use a reflector below your subject’s face to bounce light up and eliminate any shadows under the chin
Camera Settings:
- Aperture: f/2.8 - f/5.6
- ISO: 100-400 (adjust based on available light)
- Shutter Speed: 1/125s or faster
When to Use: Headshots, beauty portraits, subjects with pronounced facial features, or when you want even, shadowless lighting.
2. Rembrandt Lighting
Named after the famous painter, Rembrandt lighting creates a distinctive triangle of light on the shadow side of the face, just below the eye.
Setup Instructions:
- Position your key light 45 degrees to one side of your subject
- Raise the light above your subject’s eye level
- Adjust the angle until you see a small triangle of light on the cheek opposite your light source
- Add fill light from the opposite side to control shadow intensity
Camera Settings:
- Aperture: f/2.8 - f/4
- ISO: 100-800
- Shutter Speed: 1/125s or faster
Pro Tip: The triangle should be no wider than the eye and no longer than the nose. If it’s too large, move your light closer to the front; if you can’t see it, move your light more to the side.
3. Loop Lighting
Loop lighting creates a small shadow from the nose that “loops” down toward the corner of the mouth, but doesn’t connect with the shadow from the cheek.
Setup Instructions:
- Place your key light slightly off to one side, about 15-30 degrees from center
- Position the light slightly above eye level
- Watch for the nose shadow—it should point toward the corner of the mouth but not touch it
- Add fill light to taste from the opposite side
Camera Settings:
- Aperture: f/2.8 - f/5.6
- ISO: 100-640
- Shutter Speed: 1/100s or faster
When to Use: This is probably the most versatile and commonly used lighting pattern. It’s flattering on most face shapes and creates gentle dimensionality.
4. Split Lighting
Split lighting dramatically divides the face in half, with one side fully lit and the other in shadow.
Setup Instructions:
- Position your key light 90 degrees to the side of your subject
- Keep the light at eye level or slightly above
- Ensure one half of the face is completely in shadow
- Use minimal or no fill light to maintain the dramatic effect
Camera Settings:
- Aperture: f/2.8 - f/4
- ISO: 100-800
- Shutter Speed: 1/125s or faster
When to Use: Creative portraits, masculine subjects, or when you want to create drama and mood. This lighting pattern can be harsh, so use it thoughtfully.
5. Butterfly Lighting
Also called “paramount lighting,” this pattern creates a butterfly-shaped shadow directly under the nose.
Setup Instructions:
- Position your key light directly in front of your subject
- Raise the light above eye level, pointing down at about a 45-degree angle
- Look for the characteristic butterfly shadow under the nose
- Place a reflector under your subject’s chin to fill in shadows
Camera Settings:
- Aperture: f/2.8 - f/5.6
- ISO: 100-400
- Shutter Speed: 1/125s or faster
When to Use: Glamour portraits, subjects with prominent cheekbones, or when you want to emphasize facial structure.
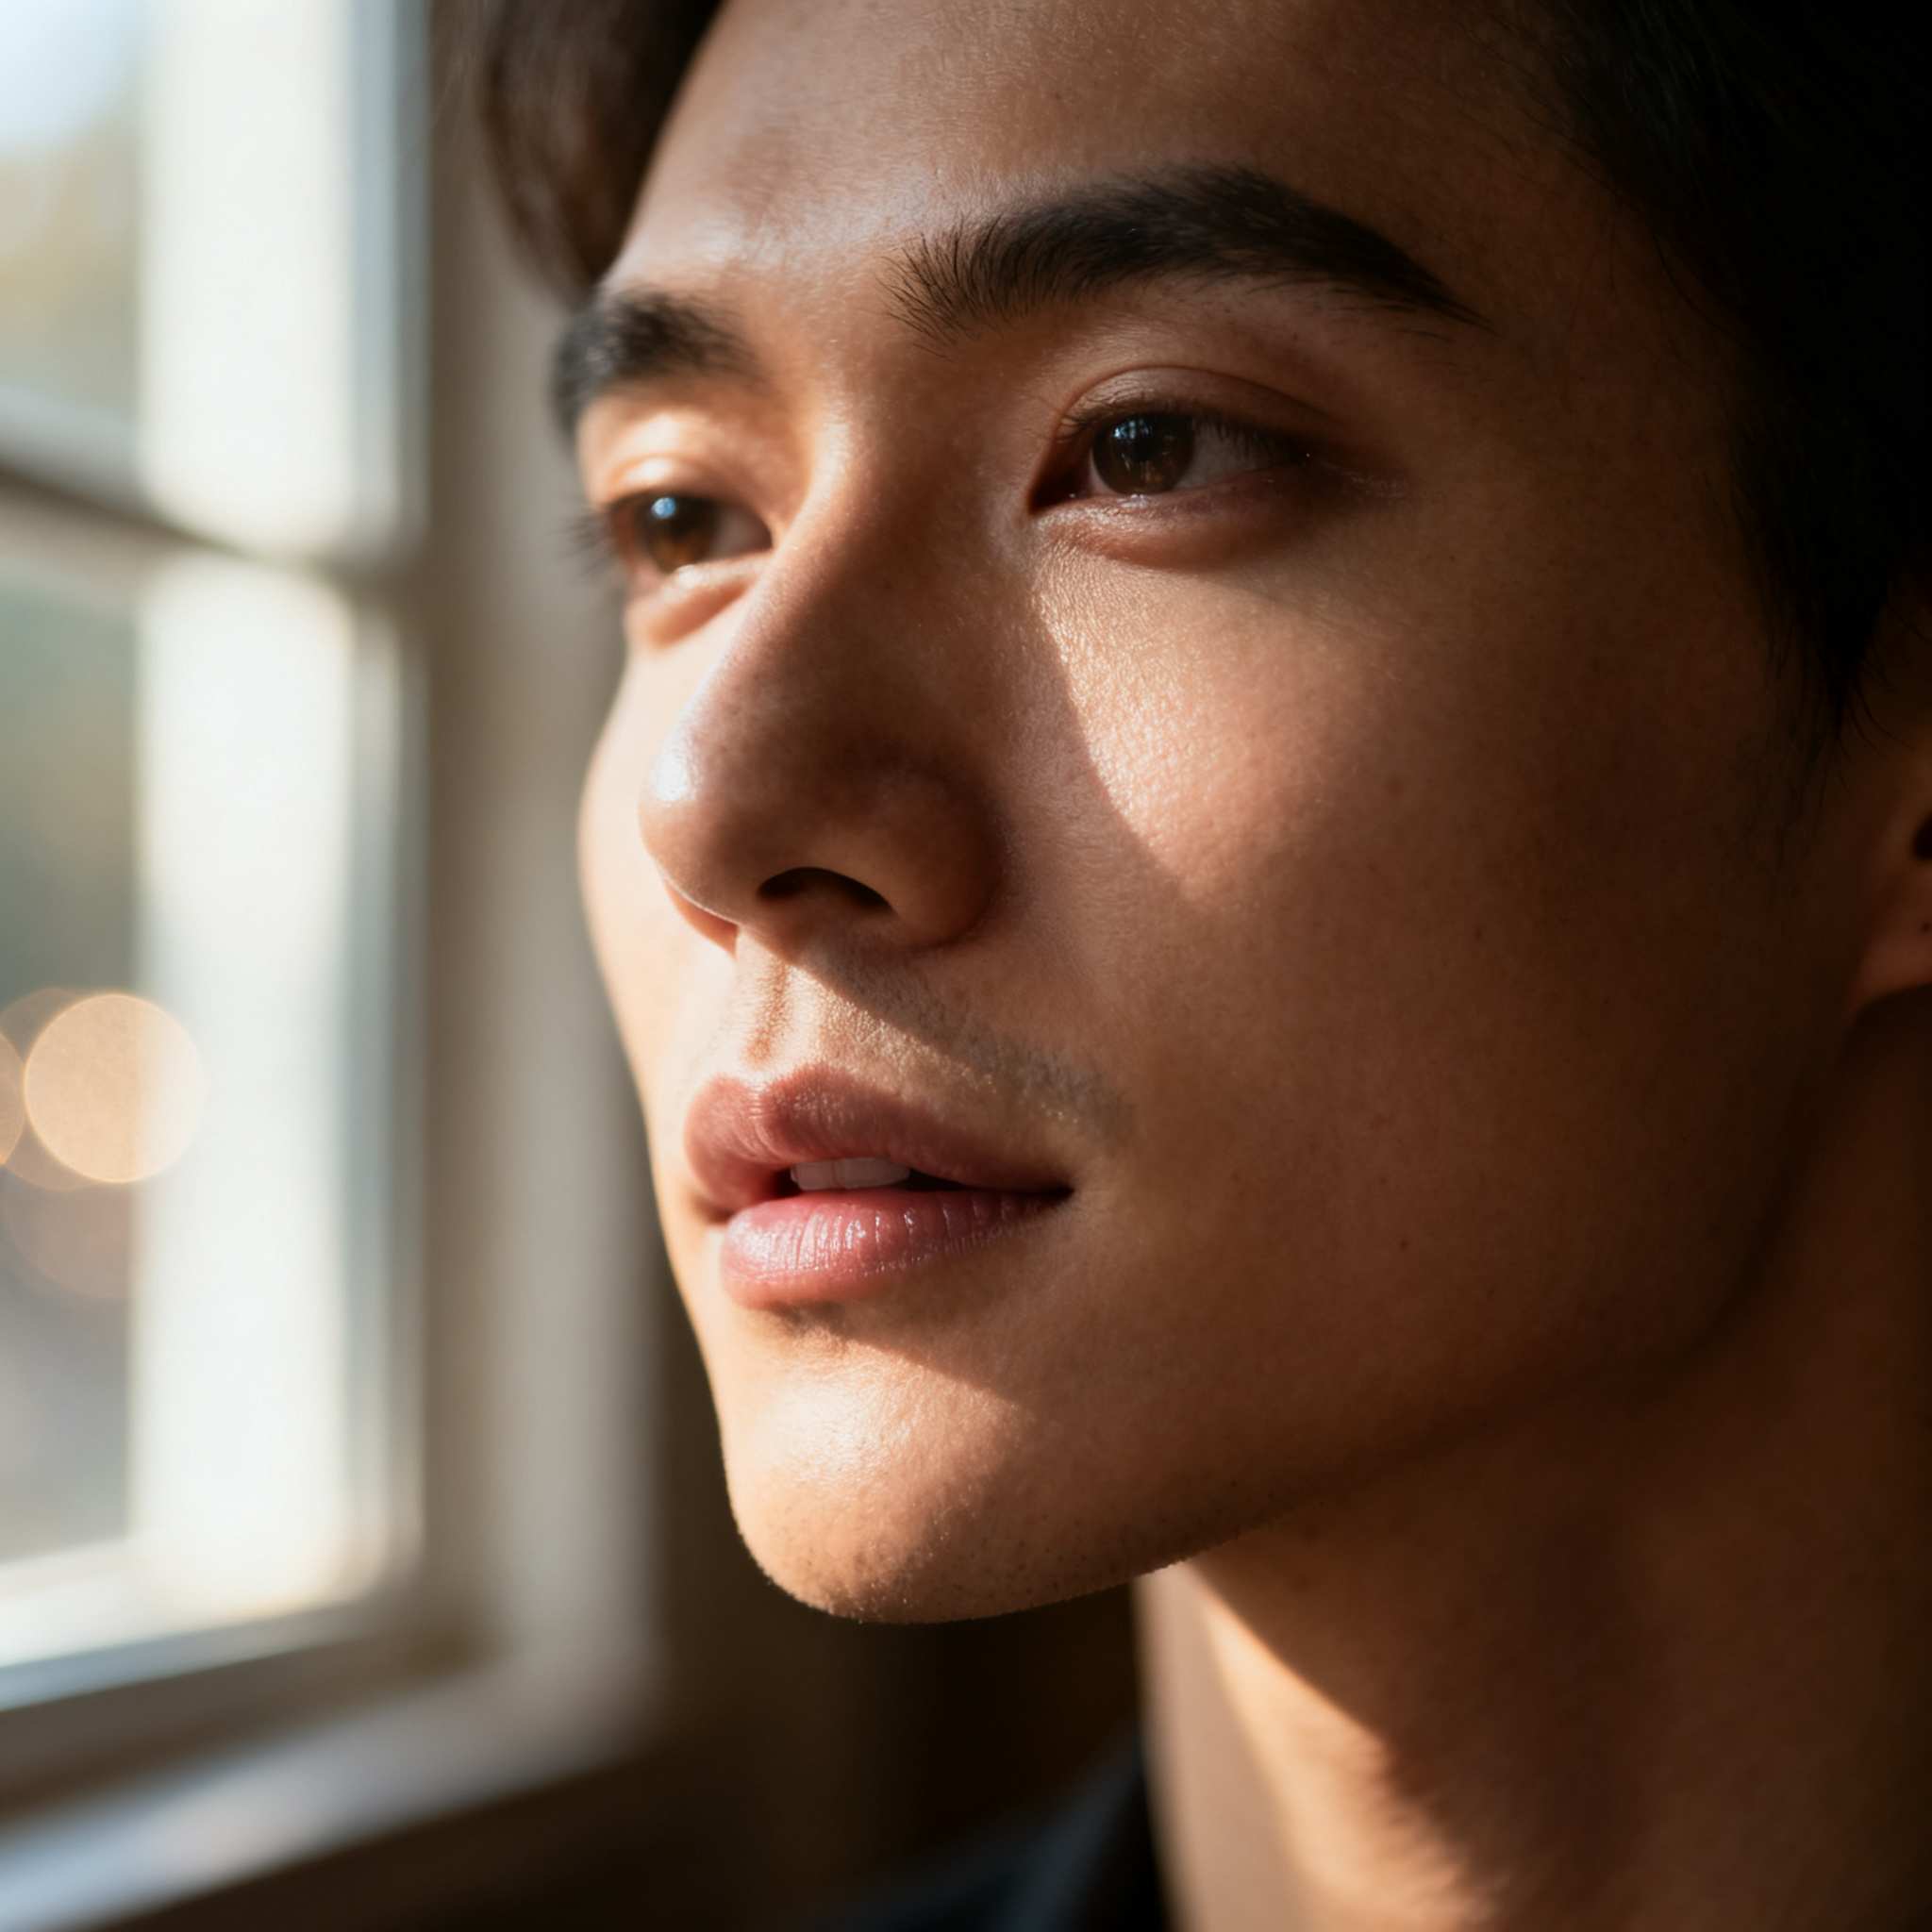
Working with Natural Light
Window Light Techniques
Windows are perhaps the most accessible and versatile light source for portrait photography. Here’s how to make the most of them:
Large North-Facing Windows: Provide consistent, soft light throughout the day without harsh directional shadows.
Setup for Window Portraits:
- Position your subject 2-6 feet from the window
- Angle them 45 degrees to the window for Rembrandt or loop lighting
- Use a white poster board or reflector on the opposite side to fill shadows
- Avoid direct sunlight streaming through the window
Controlling Window Light:
- Sheer curtains act as a giant softbox, diffusing harsh light
- Moving closer to the window increases light intensity
- Moving further away creates more even lighting
Golden Hour Portraits
The hour after sunrise and before sunset provides warm, flattering light that’s naturally diffused.
Golden Hour Technique:
- Position your subject with the low sun behind them for rim lighting
- Use a reflector to bounce light back onto their face
- Alternatively, use the sun as a large key light by having your subject face it (but be mindful of squinting)
Artificial Lighting Setup for Beginners
Single Light Setup
Start with one light and learn to shape it effectively before adding complexity.
Basic Single Light Portrait:
- Set up your light with a softbox or umbrella
- Position it 45 degrees to your subject for classic portrait lighting
- Adjust the height to create the desired shadow pattern
- Use a reflector on the opposite side for fill light
Camera Settings for Artificial Light:
- Aperture: f/2.8 - f/8 (depending on desired depth of field)
- ISO: 100-400
- Shutter Speed: 1/125s - 1/200s (stay within your camera’s sync speed)
Two-Light Setup
Once comfortable with single light, add a second light for more control.
Classic Two-Light Setup:
- Key light: Main light at 45 degrees to your subject
- Fill light: Softer light from the opposite side, about 1-2 stops dimmer than key light
- This setup gives you complete control over shadow depth
Common Beginner Mistakes and How to Avoid Them
Mistake 1: Using On-Camera Flash Directly
Problem: Creates harsh shadows and unflattering lighting Solution: Bounce the flash off a ceiling or wall, or use off-camera flash with modifiers
Mistake 2: Ignoring Background Lighting
Problem: Subject blends into background Solution: Use a background light or position your subject further from the background
Mistake 3: Inconsistent White Balance
Problem: Color temperature shifts between shots Solution: Set a custom white balance for your lighting conditions
Mistake 4: Overpowering Shadows
Problem: Shadows too dark, losing detail Solution: Use fill light or reflectors to brighten shadow areas
Mistake 5: Not Considering Catchlights
Problem: Eyes look lifeless without light reflection Solution: Ensure your key light creates catchlights in your subject’s eyes
Advanced Tips for Better Portrait Lighting
Creating Catchlights
Catchlights bring life to your subject’s eyes. The size, shape, and position of catchlights can dramatically affect the mood of your portrait.
Catchlight Guidelines:
- Position should be at 10 o’clock or 2 o’clock in the eye
- Size should be about 1/4 of the iris
- Avoid multiple catchlights (they look unnatural)
Understanding Light Ratios
Light ratio refers to the difference in intensity between your key light and fill light.
Common Ratios:
- 1:1 - No shadows (flat lighting)
- 2:1 - Subtle shadows (natural look)
- 4:1 - Dramatic shadows (artistic)
- 8:1 - Very dramatic (high contrast)
Controlling Spill Light
Unwanted light can ruin an otherwise perfect portrait setup.
Controlling Spill:
- Use flags or barn doors to block unwanted light
- Position lights carefully to avoid lighting unwanted areas
- Use grids on your lights for more precise control
Post-Processing Portrait Lighting
Basic Adjustments
Even with perfect lighting, post-processing can enhance your portraits:
Essential Adjustments:
- Exposure: Fine-tune overall brightness
- Highlights/Shadows: Balance the tonal range
- Clarity/Texture: Enhance skin texture (use sparingly)
- Vibrance: Boost color saturation naturally
Fixing Lighting Issues
Common Fixes:
- Dodge and Burn: Selectively lighten and darken areas
- Color Correction: Fix white balance issues
- Shadow/Highlight Recovery: Bring back lost detail
- Graduated Filters: Balance exposure across the frame
Practice Exercises for Beginners
Exercise 1: Master One Light Pattern
Choose one lighting pattern and practice it repeatedly with different subjects. Focus on consistently achieving the desired shadow pattern.
Exercise 2: Natural Light Challenge
Spend a week shooting only with natural light. Try different times of day and various window orientations.
Exercise 3: Modifier Comparison
Using the same lighting setup, photograph your subject with different modifiers (bare bulb, umbrella, softbox) to see how each affects the light quality.
Exercise 4: Light Ratio Exploration
Set up a two-light system and systematically change the fill light intensity to understand how ratios affect mood.
Building Your Portrait Lighting Kit
Budget-Friendly Starter Kit ($200-400)
- 5-in-1 reflector kit
- One speedlight with wireless trigger
- Light stand
- Shoot-through umbrella
- White poster boards for fill light
Intermediate Kit ($400-800)
- Two speedlights with wireless triggers
- Two light stands
- Softbox and umbrella
- Background stand and paper
- Light meter
Professional Kit ($800+)
- Studio strobes or high-end speedlights
- Multiple light modifiers (beauty dish, strip box, etc.)
- Professional light stands
- Wireless flash system
- Color temperature meter
Troubleshooting Common Lighting Problems
Problem: Images Are Too Dark
Solutions:
- Increase ISO (while watching for noise)
- Open aperture wider
- Move lights closer to subject
- Add more fill light
Problem: Harsh Shadows
Solutions:
- Use larger light modifiers
- Increase distance between light and subject
- Add fill light or reflectors
- Diffuse your light source
Problem: Uneven Lighting
Solutions:
- Check light positioning
- Ensure modifiers are properly positioned
- Use multiple lights for even coverage
- Adjust subject position
Conclusion and Next Steps
Mastering portrait lighting is a journey that requires practice, patience, and experimentation. Start with these fundamental techniques using natural light or simple artificial lighting setups. Focus on understanding how light direction, quality, and intensity affect your subjects before investing in expensive equipment.
Remember that great portrait lighting serves your subject and the story you’re trying to tell. Technical perfection means nothing if it doesn’t enhance your subject or create the desired emotional impact.
Key Takeaways:
- Start with natural light to understand basic principles
- Master one lighting pattern at a time
- Pay attention to catchlights and shadow patterns
- Practice consistently with different subjects
- Invest in education before expensive equipment
Recommended Next Steps:
- Choose one lighting pattern and practice it for a week
- Experiment with different light modifiers
- Study the work of portrait photographers you admire
- Consider taking a hands-on workshop or online course
- Build your equipment kit gradually based on your developing style
With dedication and practice, you’ll develop an intuitive understanding of light that will elevate your portrait photography from amateur snapshots to professional-quality images. Remember, the best camera for learning portrait lighting is the one you have with you—so start practicing today!
Related Tags
Looking for the Best Camera Deals?
Check out our latest buying guides and comparison articles to find the perfect camera for your needs.
Browse Buying Guides