Portrait Photography Lighting Guide: Master Any Lighting Setup
Learn portrait photography lighting from beginner to advanced. Covers natural light, studio strobes, and creative techniques.
Lighting is the single most important element in portrait photography. Master it, and you can create stunning images with any camera. This guide covers everything from natural light basics to professional studio setups.
Understanding Light Fundamentals
Before diving into specific setups, let’s understand how light behaves:
Light Quality
- Hard light: Creates sharp shadows (direct sun, bare flash)
- Soft light: Creates gradual shadows (cloudy day, diffused flash)
Light Direction
- Front light: Even illumination, flat appearance
- Side light: Dramatic shadows, texture emphasis
- Backlight: Silhouettes, rim lighting
- Top/bottom light: Unusual, dramatic effects
Light Color
- Measured in Kelvin (K)
- Daylight: ~5500K
- Tungsten: ~3200K
- Shade: ~7000K
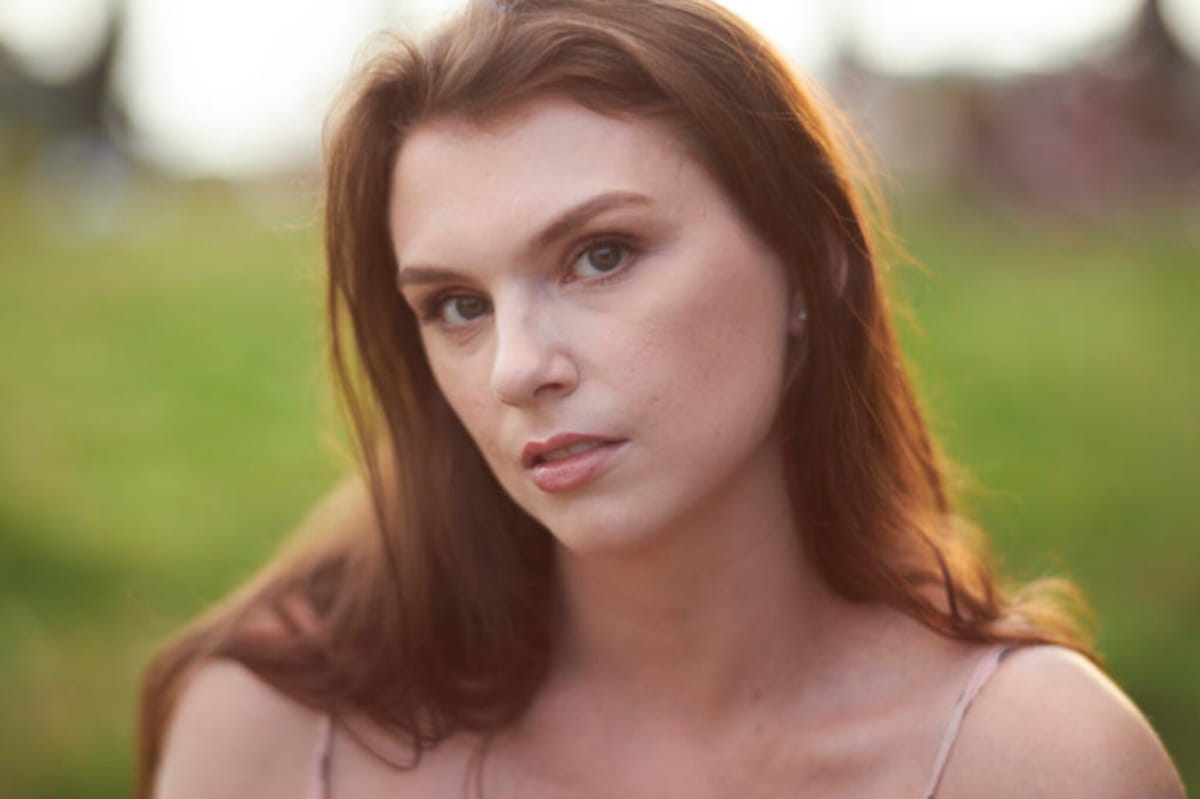
Natural Light Portraits
The best camera is the one you have, and natural light is free. Here’s how to use it effectively.
Window Light
Window light is incredibly flattering for portraits:
- Position your subject facing the window at a 45-degree angle
- Use a reflector on the shadow side to fill darkness
- Shoot during golden hour for warm, directional light
- Avoid direct sunlight through windows (use sheer curtains to diffuse)
Recommended settings:
- Aperture: f/2.8 to f/4 for shallow depth of field
- ISO: As low as possible while maintaining shutter speed
- Shutter: At least 1/125s for sharp portraits
Outdoor Natural Light
Golden hour (1 hour after sunrise, 1 hour before sunset) produces the most flattering natural light:
- Warm color temperature
- Low angle creates dimensional lighting
- Soft quality reduces harsh shadows
Overcast days are perfect for portraits:
- Giant natural softbox
- Even lighting across subjects
- No squinting
Basic One-Light Setup
You don’t need expensive equipment to create professional portraits. Start with one light.
Equipment Needed
- Godox AD200Pro or similar speedlight
- Softbox or umbrella
- Light stand
- Reflector (optional)
Rembrandt Lighting
Named after the Dutch painter, this classic setup creates a triangle of light on the shadow side of the face:
- Position light 45 degrees to one side
- Angle light 45 degrees downward
- Look for the characteristic triangle under the eye
- Use reflector to control shadow depth
Settings:
- Light power: Start at 1/4
- Camera: f/5.6, ISO 100, sync speed (usually 1/200s)
Loop Lighting
A softer, more approachable variation:
- Position light slightly to one side (30 degrees)
- Angle light downward (30-45 degrees)
- Shadow from nose creates a small loop on the cheek
- Flattering for most face shapes
Butterfly Lighting
Also called “paramount lighting,” popular for beauty and glamour:
- Position light directly in front, above subject
- Creates shadow under nose resembling a butterfly
- Defines cheekbones
- Often paired with reflector below face
Two-Light Setup
Adding a second light opens creative possibilities.
Main + Fill
The classic two-light setup:
- Main light: Primary illumination (follow one-light setups above)
- Fill light: Reduces shadow contrast
- Position opposite main light
- Set 1-2 stops lower than main
- Or use reflector instead
Lighting ratio:
- 2:1 - Subtle shadows (commercial, beauty)
- 3:1 - Moderate contrast (general portraits)
- 4:1 - Dramatic (character portraits)
Main + Hair Light
Separates subject from background:
- Main light: Standard portrait lighting
- Hair light: Behind and above subject
- Position to light hair and shoulders
- Use a grid or snoot to control spill
- Set 1 stop below main light
Three-Light Setup
The professional standard setup:
- Main light: Key illumination
- Fill light: Shadow control
- Hair/rim light: Separation
This gives you complete control over every aspect of the portrait.
Creative Lighting Techniques
Rim Lighting
Creates a glowing outline around your subject:
- Place light(s) behind subject, aimed toward camera
- Use flags or barn doors to prevent lens flare
- Keep main light subtle or absent
- Great for silhouettes and dramatic effect
Split Lighting
Dramatic half-face illumination:
- Position light at exact 90 degrees to subject
- One half of face lit, other in shadow
- Powerful for character portraits
- Emphasizes texture and form
Broad vs. Short Lighting
Broad lighting: Lit side of face toward camera (wider appearance) Short lighting: Shadow side toward camera (slimming effect)
Equipment Recommendations
Budget Setup
- Neewer Ring Light Kit - Great for beginners
- 5-in-1 reflector
- Total: ~$100
Intermediate Setup
- Godox AD200Pro x2
- Softbox and umbrella
- Light stands
- Total: ~$800
Professional Setup
- Godox AD600Pro or Profoto equivalent
- Multiple modifiers
- C-stands
- Total: ~$3,000+
Common Mistakes to Avoid
- Light too close to camera axis: Creates flat lighting
- No catch lights in eyes: Eyes look lifeless
- Too much fill: Removes all dimension
- Ignoring background: Light spill creates issues
- Wrong white balance: Mixed color temperatures
Practice Exercises
- Window light: Shoot 10 portraits with only window light
- One light: Master Rembrandt lighting with 50 portraits
- Reflector work: Practice fill techniques
- Two lights: Create a series with main + fill
- Creative: Experiment with colored gels
Conclusion
Lighting is a skill that develops with practice. Start simple with natural light or a single source, master the fundamentals, then expand your toolkit. The best portraits often use the simplest setups—it’s about understanding how light shapes your subject.
Recommended starting equipment:
- Godox AD200Pro Flash - Versatile and powerful
- Neewer Ring Light - Perfect for beginners
Have questions about portrait lighting? Leave a comment below, and we’ll help you troubleshoot your setup.
Related Tags
Looking for the Best Camera Deals?
Check out our latest buying guides and comparison articles to find the perfect camera for your needs.
Browse Buying Guides