Street Photography Tutorial: Master the Art in 7 Easy Steps
Learn street photography with our comprehensive step-by-step guide. Discover essential techniques, camera settings, and composition tips to capture stunning urban images.
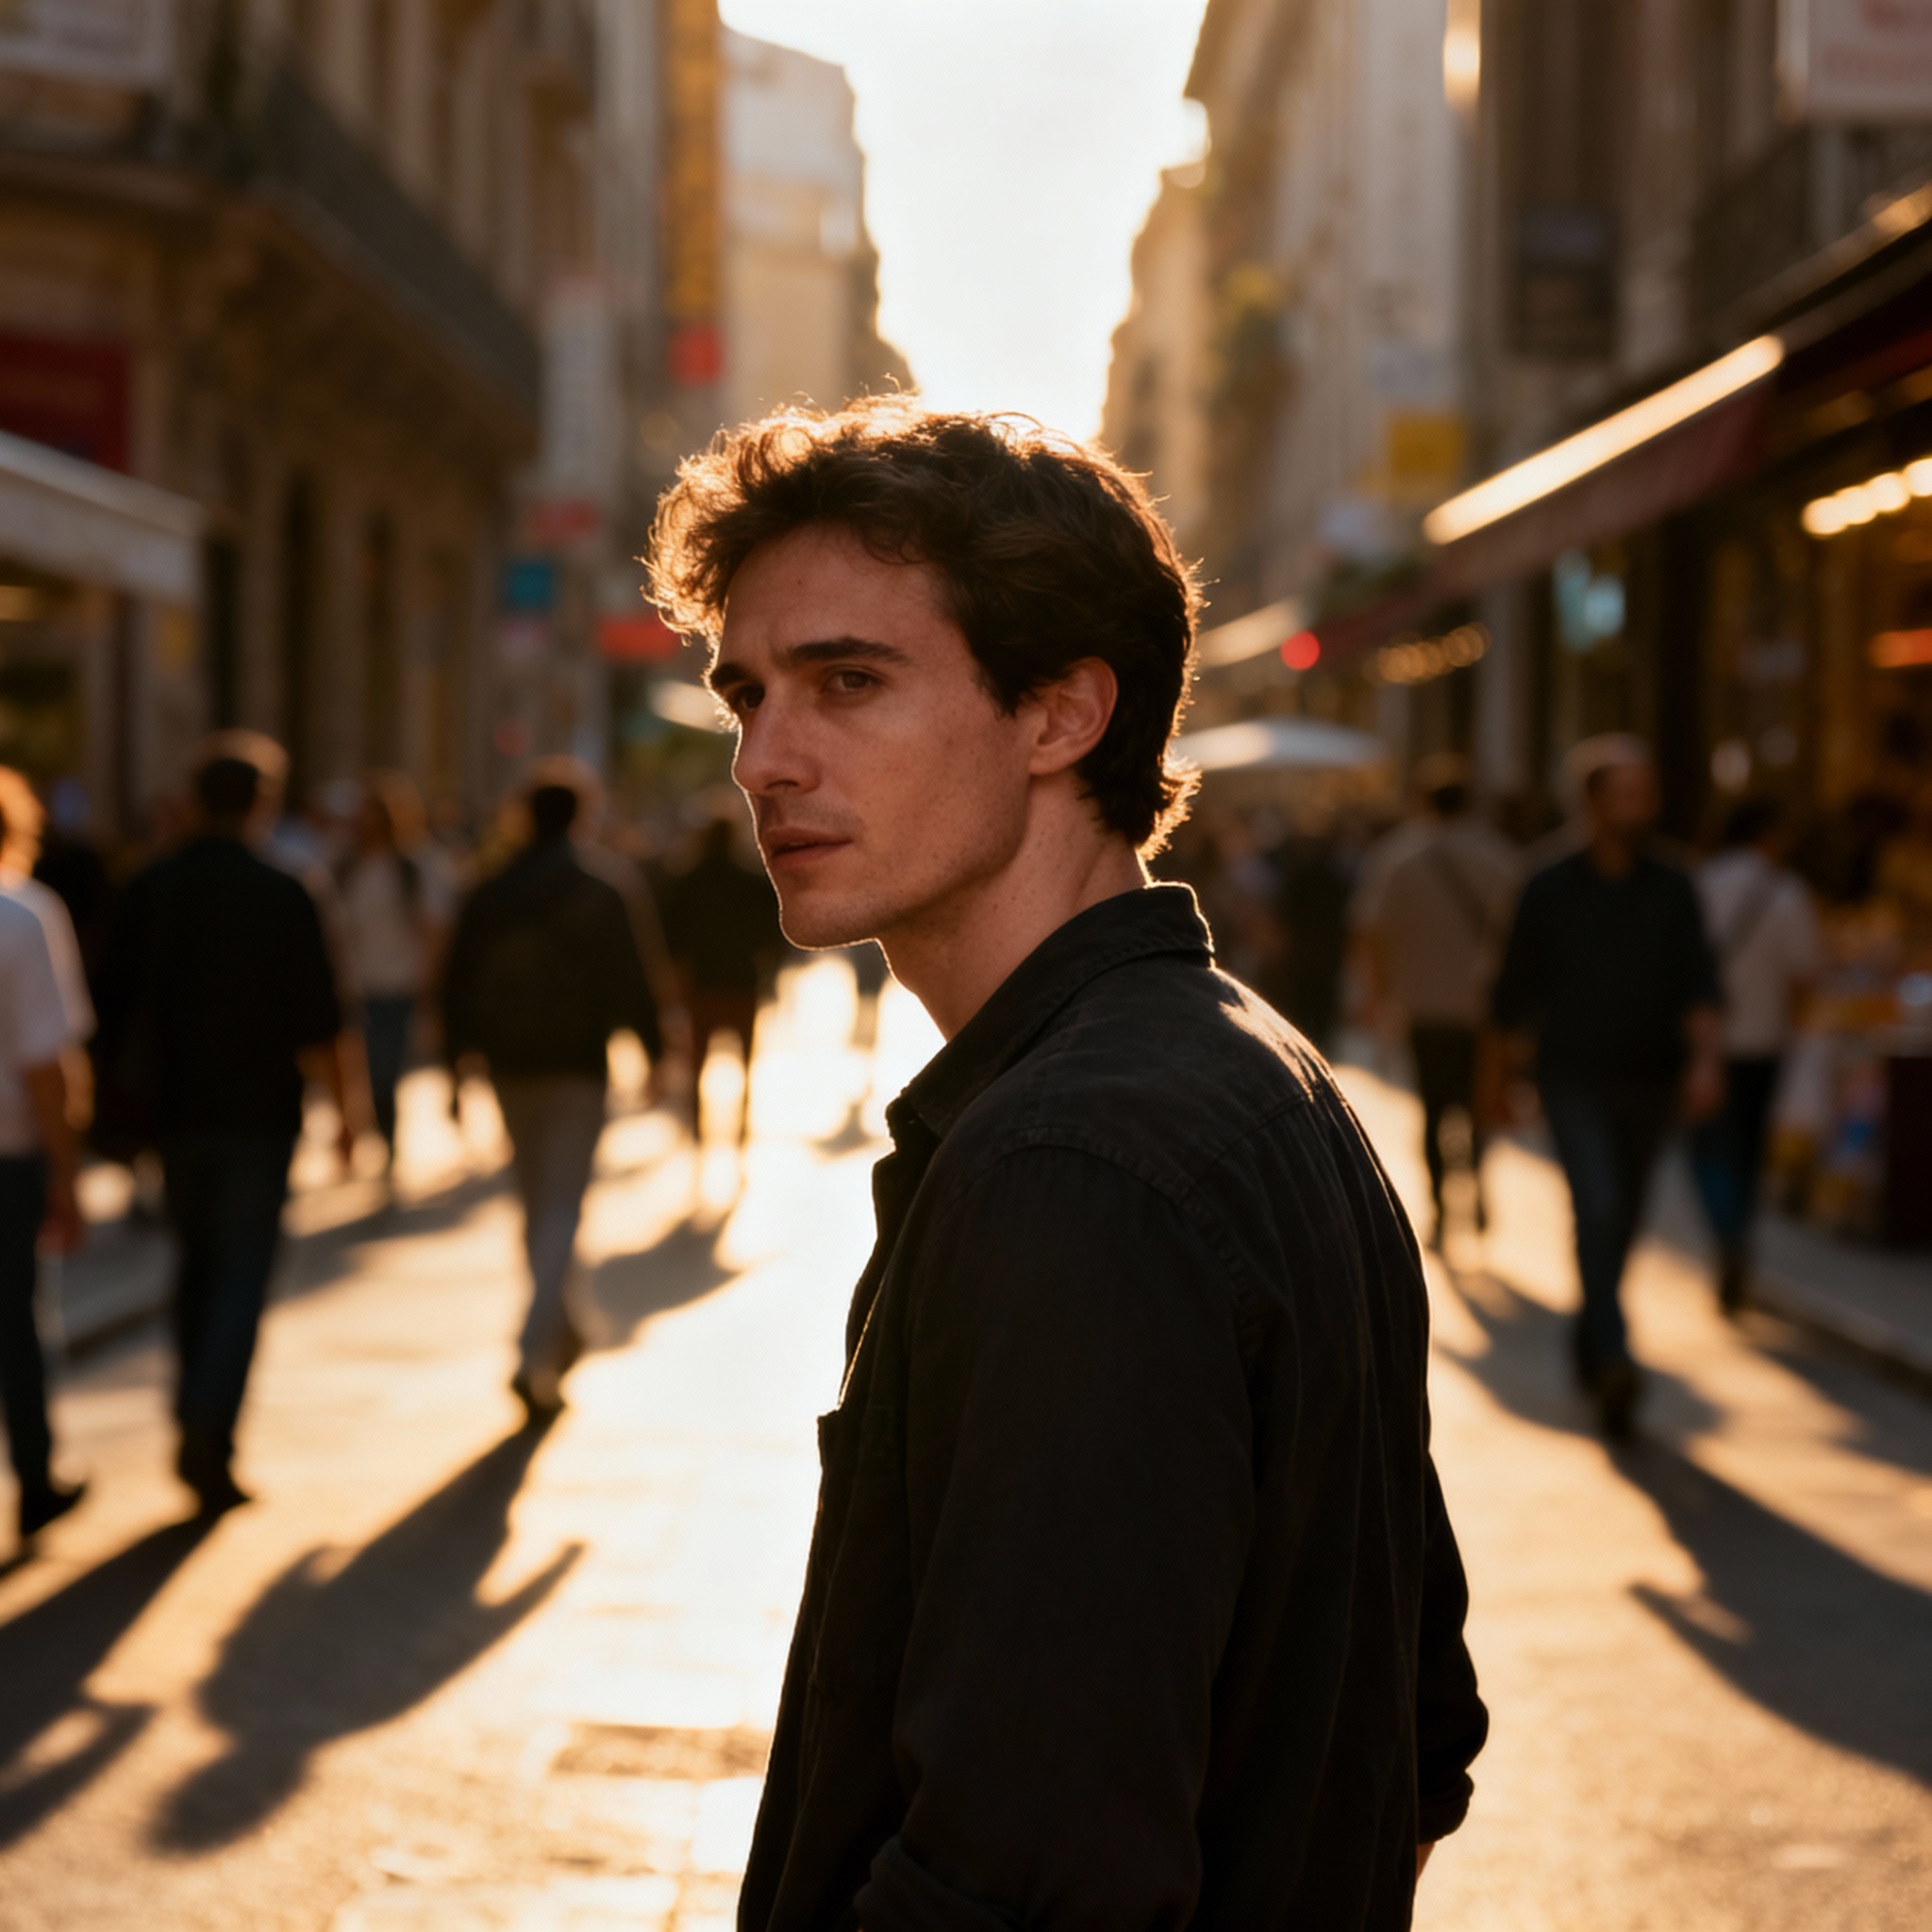
Street photography is one of the most rewarding and challenging forms of photography, capturing authentic moments of life as they unfold in public spaces. Whether you’re drawn to the bustling energy of city streets or the quiet charm of small-town life, mastering street photography requires a combination of technical skill, artistic vision, and street-smart awareness.
This comprehensive tutorial will guide you through everything you need to know to start creating compelling street photographs, from choosing the right equipment to developing your unique perspective on urban life.
What is Street Photography?
Street photography is the art of documenting everyday life in public places. It’s about capturing candid moments, genuine emotions, and the raw beauty of human interaction within urban environments. Unlike portrait photography, street photography focuses on unposed, spontaneous scenes that tell stories about society, culture, and the human condition.
The best street photographs often feature:
- Authentic, unguarded moments
- Strong compositional elements
- Interesting lighting conditions
- Social commentary or storytelling
- Technical excellence that serves the artistic vision
Essential Equipment for Street Photography
Camera Selection
While you can practice street photography with any camera, including smartphones, having the right equipment can significantly impact your results. The ideal street photography camera should be:
- Compact and inconspicuous
- Fast and responsive
- Excellent in low light conditions
- Quiet operation mode
- High-quality image sensor
The Sony A7 IV represents an excellent choice for serious street photographers. This full-frame mirrorless camera offers exceptional image quality, outstanding low-light performance, and a compact form factor that won’t intimidate subjects.
Sony A7 IV Specifications:
| Feature | Specification |
|---|---|
| Sensor | 33MP Full-Frame CMOS |
| ISO Range | 100-51,200 (expandable to 204,800) |
| Burst Rate | 10 fps mechanical, 6 fps silent |
| Video | 4K 60p, Full HD 120p |
| Battery Life | 520 shots (LCD), 610 shots (EVF) |
| Weight | 658g (body only) |
| Weather Sealing | Yes |
| Silent Mode | Yes |
Lens Recommendations
For street photography, prime lenses often work better than zooms due to their compact size, wider apertures, and superior image quality. Consider these focal lengths:
35mm: Offers a natural field of view similar to human vision, perfect for environmental portraits and street scenes.
50mm: Classic portrait length that allows you to isolate subjects while maintaining a comfortable working distance.
85mm: Ideal for capturing candid portraits from a distance without intruding on your subjects.
Additional Gear
- Extra batteries: Street photography sessions can last hours
- Memory cards: Always carry spares with fast write speeds
- Comfortable strap: A good camera strap reduces fatigue and keeps your camera secure
- Lens cleaning kit: Urban environments can be dusty and dirty
Camera Settings for Street Photography
Mastering your camera settings is crucial for capturing fleeting moments successfully. Here are the essential settings and shooting modes for street photography:
Shooting Modes
Aperture Priority Mode (A/Av): This mode gives you control over depth of field while letting the camera select shutter speed. It’s ideal for most street photography situations.
Manual Mode: Use when lighting conditions are consistent, or you want complete creative control over exposure.
Shutter Priority Mode (S/Tv): Helpful when motion is your primary concern, such as capturing moving vehicles or pedestrians.
Recommended Settings
Aperture:
- f/5.6 to f/8 for general street scenes (good depth of field)
- f/2.8 to f/4 for subject isolation
- f/1.4 to f/2.8 for low light conditions
ISO:
- Start at ISO 400-800 during daylight
- Push to ISO 1600-3200 in overcast conditions
- Use ISO 3200-6400+ for evening/night photography
- Modern cameras like the Sony A7 IV handle high ISO exceptionally well
Shutter Speed:
- Minimum 1/125s for stationary subjects
- 1/250s or faster for walking people
- 1/500s+ for running subjects or vehicles
Focus Settings:
- Single-point autofocus for precision
- Continuous AF (AF-C/AI Servo) for moving subjects
- Back-button focus for faster operation
- Zone focusing for quick shooting
Step-by-Step Street Photography Workflow
Step 1: Scout Your Location
Before you start shooting, spend time observing your chosen location. Look for:
- Interesting backgrounds and architectural elements
- Quality of light at different times of day
- Foot traffic patterns and busy areas
- Potential safety concerns
- Local customs and photography restrictions
Step 2: Set Up Your Camera
- Check your settings: Ensure your camera is set appropriately for current lighting conditions
- Format memory cards: Start with clean, fast cards
- Adjust your camera strap: Position it for quick access and security
- Test your equipment: Take a few test shots to confirm everything is working
Step 3: Position Yourself Strategically
- Find good light: Position yourself where subjects will walk through interesting light
- Use backgrounds: Look for clean, uncluttered backgrounds that complement your subjects
- Consider angles: Experiment with different heights and perspectives
- Be patient: Sometimes the best approach is to wait for the right moment to unfold
Step 4: Observe and Anticipate
Great street photography is about anticipation. Watch for:
- Interesting characters approaching your frame
- Developing interactions between people
- Changing light conditions
- Moments of authentic emotion or expression
Step 5: Capture the Moment
- Pre-focus: If possible, pre-focus on the area where action will occur
- Use burst mode: For peak action moments, shoot in continuous mode
- Follow through: Don’t stop shooting immediately after the “decisive moment”
- Stay aware: Keep one eye on your surroundings for safety and new opportunities
Step 6: Review and Learn
After each shooting session:
- Review your images critically
- Analyze what worked and what didn’t
- Note successful settings for similar future situations
- Plan improvements for next session
Composition Techniques for Street Photography
Rule of Thirds
Place important elements along the intersection points of imaginary grid lines. This creates more dynamic and visually interesting compositions than centering everything.
Leading Lines
Use architectural elements, shadows, or street patterns to guide the viewer’s eye toward your main subject.
Framing
Look for natural frames within the urban environment - doorways, windows, bridges, or overhanging structures that create a frame around your subject.
Layering
Create depth by including foreground, middle ground, and background elements. This technique adds dimension and complexity to your images.
Patterns and Repetition
Urban environments are full of patterns. Look for ways to incorporate or break these patterns for visual impact.
Working with Light in Street Photography
Golden Hour
The hour after sunrise and before sunset provides warm, soft light that’s flattering for street portraits and creates long, dramatic shadows.
Blue Hour
The period just after sunset when the sky turns deep blue provides excellent ambient light for urban scenes, especially when combined with artificial lighting.
Overcast Conditions
Cloudy skies act as a giant softbox, providing even, diffused lighting that’s perfect for portraits and reducing harsh shadows.
Harsh Midday Sun
While challenging, bright sunlight creates strong shadows that can be used creatively for high-contrast, dramatic images.
Artificial Light
Learn to work with street lights, neon signs, and storefront lighting to create mood and atmosphere in your evening photography.
Ethics and Legal Considerations
Know Your Rights
In most public spaces, you have the legal right to photograph people and scenes. However, laws vary by location, so research local regulations.
Respect Privacy
While legal rights exist, ethical considerations are equally important:
- Avoid photographing people in vulnerable situations
- Be respectful when photographing children
- Consider cultural sensitivities
- If someone objects to being photographed, respect their wishes
Model Releases
For commercial use, you’ll need model releases from recognizable individuals in your photos. For editorial or artistic use, releases are typically not required in public spaces.
Developing Your Street Photography Style
Study the Masters
Learn from legendary street photographers like Henri Cartier-Bresson, Vivian Maier, Bruce Gilden, and Alex Webb. Analyze their composition, timing, and approach to human subjects.
Practice Regularly
Street photography skills develop through consistent practice. Try to shoot regularly, even if it’s just during your daily commute.
Focus on Storytelling
The best street photographs tell stories. Look for moments that convey emotion, conflict, joy, or social commentary.
Experiment with Different Approaches
Try various techniques:
- Candid vs. environmental portraits
- Color vs. black and white processing
- Wide environmental shots vs. intimate close-ups
- Documentary style vs. artistic interpretation
Post-Processing Tips for Street Photography
Keep It Natural
Street photography processing should enhance rather than overpower the authentic moment you captured. Avoid over-processing that makes images look artificial.
Black and White Conversion
Many street photographs work beautifully in black and white. This approach can:
- Emphasize mood and emotion
- Remove distracting colors
- Create timeless quality
- Focus attention on composition and light
Essential Adjustments
- Exposure correction: Fine-tune overall brightness
- Shadow/highlight recovery: Bring back detail in extreme tones
- Contrast adjustment: Enhance the mood and visual impact
- Noise reduction: Clean up high-ISO images while preserving detail
Common Mistakes to Avoid
Getting Too Close Too Soon
Build confidence gradually. Start with wider shots and longer focal lengths before attempting intimate close-ups.
Ignoring Backgrounds
Always check what’s behind your subject. Cluttered or distracting backgrounds can ruin otherwise great shots.
Waiting for Perfect Conditions
Great street photography can happen in any conditions. Don’t wait for perfect weather or lighting.
Over-Editing
Maintain the authentic feel of your street photographs. Heavy processing can destroy the candid quality that makes street photography special.
Not Engaging with Your Environment
Don’t just be a tourist with a camera. Spend time in the communities you photograph and develop an understanding of the places and people you’re documenting.
Building Confidence as a Street Photographer
Start in Comfortable Locations
Begin practicing in areas where you feel comfortable and safe. This might be your own neighborhood or familiar parts of your city.
Use Longer Lenses Initially
If approaching strangers feels intimidating, start with longer focal lengths that allow you to maintain distance while learning.
Practice the Technical Aspects
Master your camera settings at home so you can focus on composition and timing when you’re on the street.
Join Photography Groups
Connect with other street photographers through local photography groups, online communities, or workshops.
Conclusion
Street photography offers an incredible opportunity to document the world around us while developing both technical skills and artistic vision. Success in street photography comes from combining technical proficiency with patience, observation skills, and respect for your subjects.
The Sony A7 IV provides an excellent foundation for serious street photography with its outstanding image quality, low-light performance, and discreet operation. However, remember that the best camera is the one you have with you, and developing your eye and instincts is more important than having the most expensive equipment.
Start practicing these techniques in your own neighborhood, be patient with your progress, and always prioritize respect and ethics in your approach to photographing people and places. With consistent practice and attention to the principles outlined in this tutorial, you’ll develop the skills and confidence needed to create compelling street photographs that capture the authentic beauty of everyday life.
Remember that street photography is a journey of continuous learning and discovery. Each shooting session offers new challenges and opportunities to grow as both a photographer and observer of human nature. Embrace the unpredictability, stay curious, and keep your camera ready for those magical moments when life unfolds perfectly in front of your lens.
Related Tags
Looking for the Best Camera Deals?
Check out our latest buying guides and comparison articles to find the perfect camera for your needs.
Browse Buying Guides