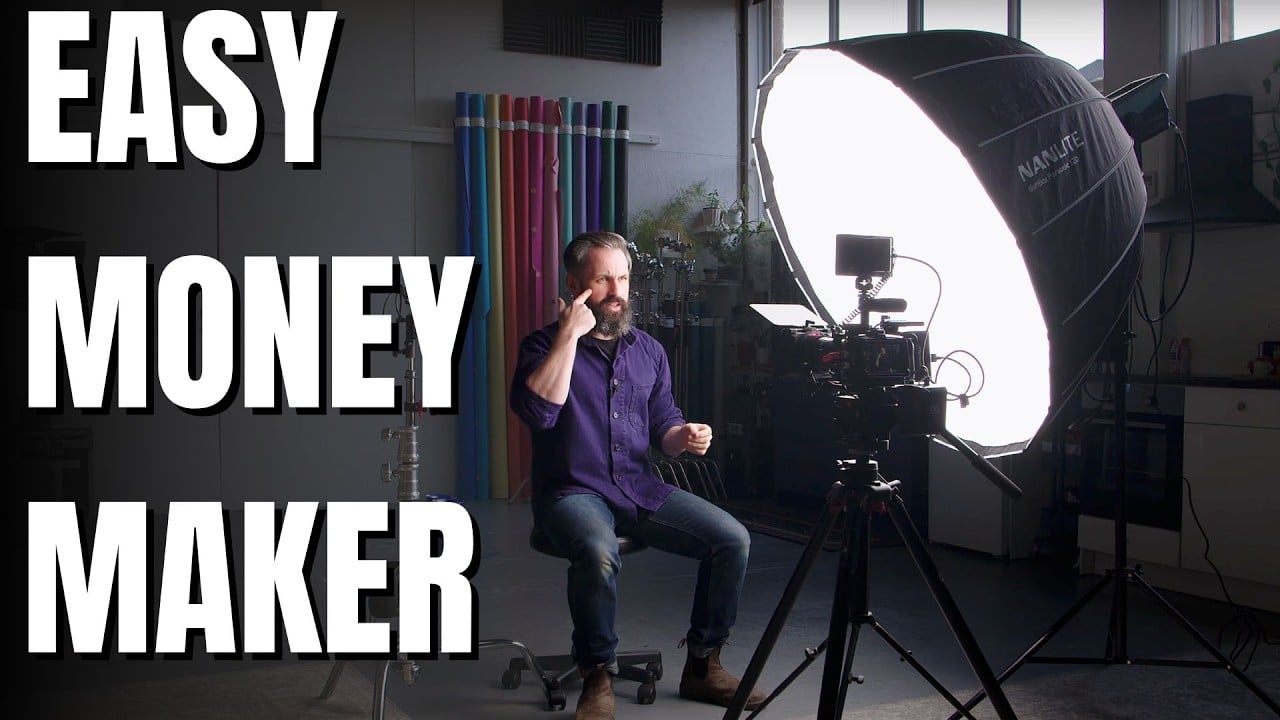
Photographing headshots is easy money, but it’s also low-hanging fruit. By this, I mean that everyone can do them pretty well. In order to stand out, you can go one step further and offer short video interviews to business clients. It doesn’t require a much more complicated setup, but they are a step up from basic headshots, both in complexity and value, which makes them a more profitable niche.
In this video, Scott from Tin House Studio shows us how he films a basic video interview with three lights. Once you’ve done it a few times, it’s easy and a great addition to what you can offer clients. Let’s take a look at how Scott does it.
Master the Lighting
Lighting is the secret ingredient for making your subject look polished and professional. Here’s how to nail it:
- Key Light: Use a large, soft light source as your primary light. A softbox, like the Nanlite Parabolic 120 with a bi-colour LED, creates flattering illumination for almost anyone. Position it close to your subject and at a 45-degree angle for a soft, even glow. If you’re working with a single light, this is the one to invest in.
- Background Light: To avoid blending your subject into the background, use a secondary light for separation. A zoomable Fresnel light works wonders here. Position it slightly behind your subject to create subtle highlights on their shoulders and hair without creating harsh “hot spots.”
- Ambient Light: Incorporate natural light when possible, but control it so it doesn’t overpower your setup. Adjust your lights to blend seamlessly with the ambient light for a balanced look.
Pro Tip: Use the inverse square law to your advantage. Moving the light closer to your subject creates a dramatic falloff while positioning it farther away softens the effect for more even illumination.
Camera Settings for Video Interviews
Your camera settings can make or break your shoot. Keep these in mind for crisp, professional results:
- Shutter Speed and Frame Rate: In most cases, shoot at 25 fps (or 24 fps in the U.S.) with a 180° shutter angle (or double the frame rate, so 1/50 if you’re using those parameters). This ensures natural motion and a cinematic feel.
- Aperture: Avoid wide apertures like f/1.8 unless you’re confident in your focusing skills. For interviews, f/5.6 strikes the perfect balance between sharpness and depth of field.
- Focus: Use autofocus if your camera supports it well. If not, double-check your manual focus using an external monitor.
Audio is Everything
The audio quality will make or break your video, this is the golden rule. We can put up with poor-quality visuals, but we will always skip poor audio for some reason. Fortunately, achieving great audio doesn’t require a massive investment:
- Wireless Lavalier Mic: Compact wireless options like the Rode Wireless Go deliver excellent sound quality without breaking the bank. Attach the mic close to the subject’s mouth for clear audio.
- Backup Options: If you’re using a smartphone, pair it with a basic lav mic or even your earphones’ built-in mic. Proximity to the subject’s mouth will make all the difference.
Simplify Your Equipment
You don’t need a cinema-grade camera to create professional-looking interviews. Smartphones paired with affordable accessories can yield impressive results:
- Stabilizers: A basic phone cage or tripod ensures steady footage.
- Accessories: Use inexpensive adapters or cables to connect external mics to your phone. The closer the mic is to your subject, the better your audio will sound.
Frame for Impact
Composition and framing can add personality and professionalism to your interviews:
- Engagement: Decide whether your subject will look directly into the camera (for a personal, engaging effect) or slightly off-camera (for a conversational tone).
- Wide Shots: Include elements of the setup—like microphones or lights—in the frame for a casual, documentary-style feel. Alternatively, crop tightly for a formal look.
- Background: Keep it clean but interesting. Natural window light or minimal décor can add depth without distractions.
Video interviews are a fantastic way for photographers to add another income stream without either having to invest in more gear or being too complicated. By mastering basic lighting, audio, and framing techniques, you can deliver polished results that clients are willing to pay for. With a little practice, you’ll be able to offer this service with confidence—and boost your income while doing what you love.

