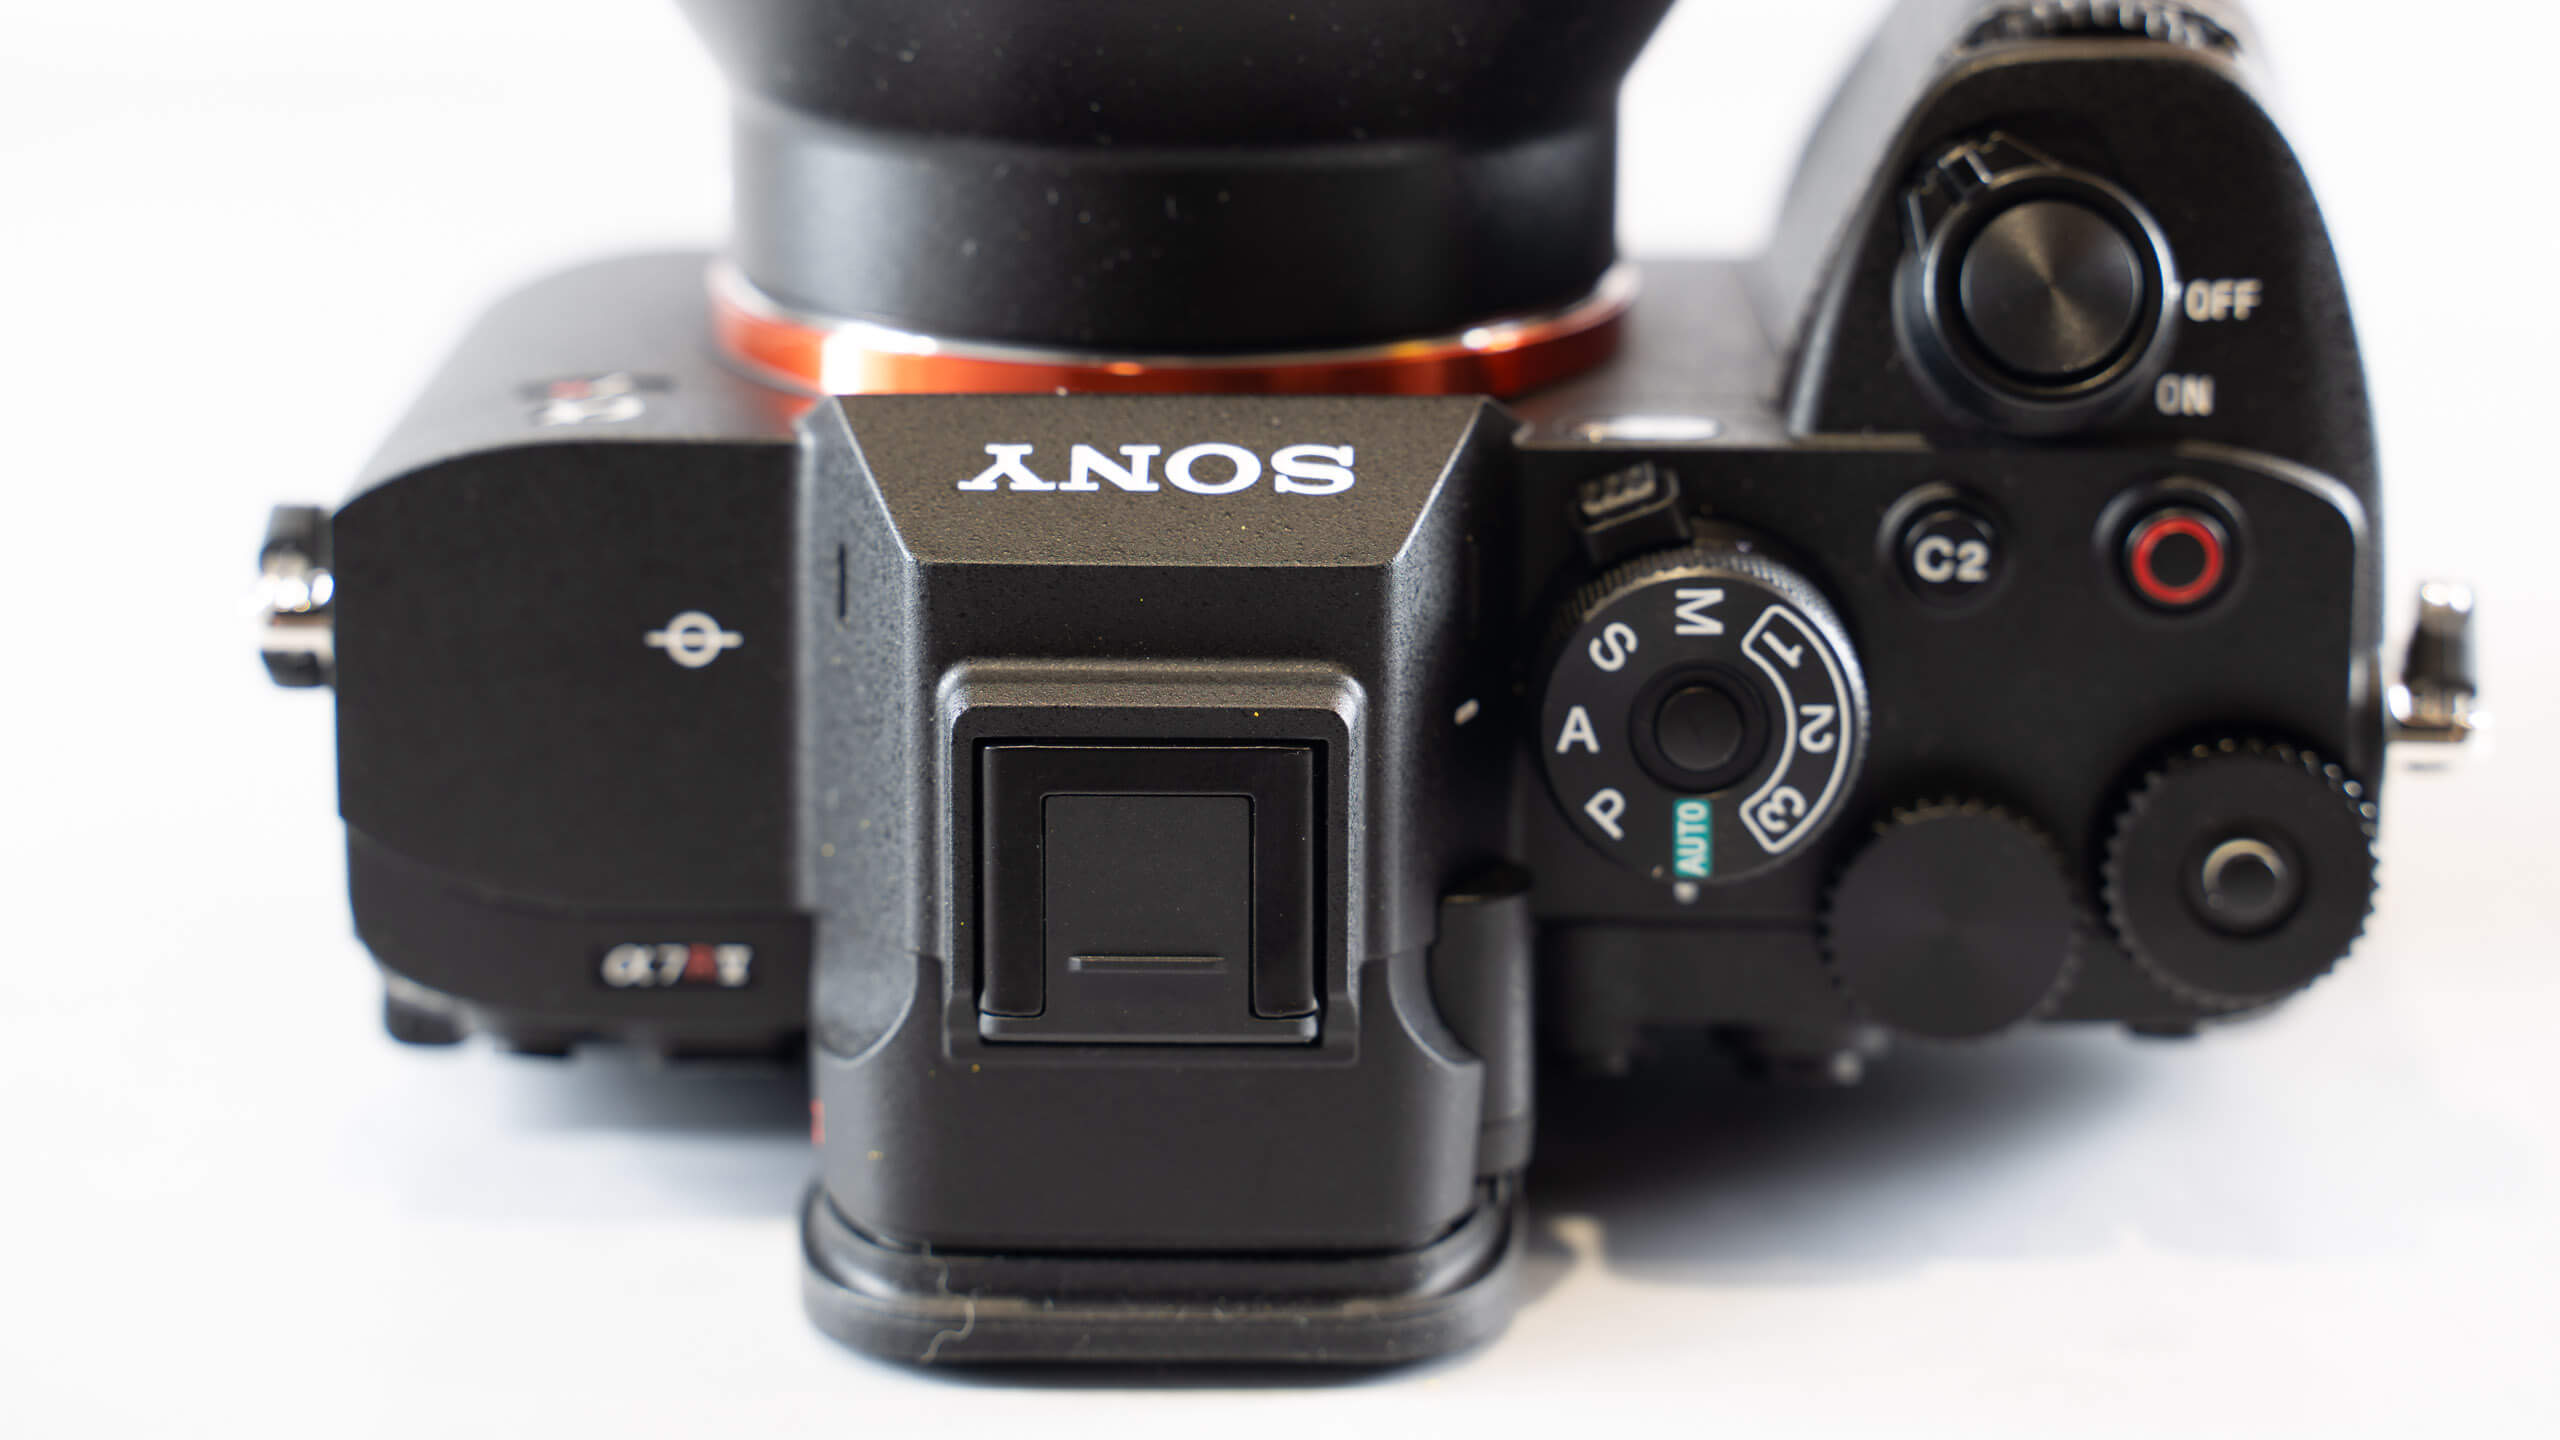
As a beginner photographer, the first time you pick up a camera can feel a little overwhelming. All those dials, buttons and menus might make you think, “Do I really need to learn all of this?” Among the myriad of settings available, there’s one mode that often sparks a mix of curiosity and fear: Manual Mode. You’ve probably heard people say that “real photographers” only shoot in manual. While that statement isn’t necessarily true, understanding manual mode can be a game-changer for your photography journey.
Let’s talk about why learning manual mode is beneficial, and just as importantly, why you don’t have to use it exclusively.
The power of understanding your camera
At its core, manual mode gives you full control over three fundamental elements of photography: aperture, shutter speed and ISO. Together, these make up the exposure triangle, which determines how light or dark your image is, how much of it is in focus (ie; Depth of Field), and how motion is captured, freeze it or blur it.
When you learn to use manual mode, you’re essentially learning how these three elements work together. For example:
- Aperture controls depth of field—how much of the scene is in sharp focus versus blurred.
- Shutter speed determines whether motion is frozen or blurred.
- ISO affects the brightness of your image and its noise level.
Understanding these settings enables you to make deliberate creative choices instead of leaving it all up to the camera. When you see a beautifully blurred background behind a sharp subject or a crystal-clear photo of a waterfall mid-motion, you’ll know how to replicate it yourself.
Why manual mode matters
Many beginner photographers start in Auto mode, and that’s perfectly fine. Auto mode lets your camera make the decisions for you, which is helpful when you’re new and focusing on composition or storytelling. But relying solely on Auto can limit your growth as a photographer. Cameras, no matter how advanced, don’t always know your artistic intent.
For example:
- In low light, your camera might automatically raise the ISO, resulting in noisy photos.
- It might choose a shutter speed that freezes motion when you’d prefer a bit of blur to convey movement.
- It could pick an aperture that keeps everything in focus when you want the background to melt away in a creamy bokeh.
By learning manual mode, you take control. It’s empowering to know that you can handle tricky lighting situations, adjust for fast-moving subjects, or creatively manipulate depth of field.
You don’t have to stay in manual
Here’s the thing: while manual mode is a fantastic learning tool, it’s not the only mode you’ll ever need. Photography isn’t about proving yourself to anyone; it’s about creating images you love. There are plenty of scenarios where using a semi-automatic mode like Aperture Priority (A) or Shutter Priority (S) makes perfect sense.
In Aperture Priority, you set the aperture, and the camera automatically adjusts shutter speed and ISO to match. This is great for portraits, where controlling depth of field is key.
In Shutter Priority, you control the shutter speed, and the camera does the rest. This is ideal for capturing fast-moving action, like sports or wildlife.
And sometimes, especially in rapidly changing conditions or during high-pressure shoots, even Auto mode has its place. The point is, that understanding manual mode equips you with the knowledge to make these choices confidently.
The learning process
Getting started with manual mode doesn’t have to be intimidating. Begin by experimenting with one element at a time:
- Start with Aperture Priority: Adjust the aperture and observe how it changes the depth of field. Notice how the camera automatically changes shutter speed and ISO.
- Try Shutter Priority: Play with different shutter speeds to see how they affect motion in your photos.
- Practice Manual Mode: Once you’re comfortable with how aperture, shutter speed, and ISO interact, switch to manual. Pick a simple subject and take multiple shots, adjusting one setting at a time, using what you have discovered from the S and A modes. You can even try the same settings in Manual Mode.
Mistakes are part of the journey
When you’re first learning manual mode, mistakes will happen. You might end up with overexposed photos or blurry subjects. That’s okay! Every mistake is an opportunity to learn. The more you practice, the more intuitive it becomes. Over time, adjusting your settings will feel as natural as driving a car or riding a bike.
The balance between technical and creative
Photography is both an art and a science. Mastering manual mode helps you understand the technical side, but it’s your creativity that brings your images to life. Knowing how to use your camera to its full potential gives you the freedom to focus on storytelling, composition, and emotion.
So, should you learn manual mode? Absolutely. It’s an essential step in growing as a photographer. But remember, it’s not the only way to create stunning images. Your camera is a tool, and like any tool, it’s there to serve your vision. Whether you’re in manual, aperture priority or auto, what truly matters is the story you’re telling through your lens.
Interested in learning more about when to use Manual Mode and when to use Aperture Priority Mode? Check out my YouTube channel
Happy shooting!


